 Website:
3B Scientific
Group: 3B Scientific
Catalog excerpts

Upgrade Kit BASICBilly+ Basic Life Support BASICBilly+ manikin USER INSTRUCTIONS
Open the catalog to page 1
2 BLS MANIKIN BASICBILLY+ | CONTENTS
Open the catalog to page 2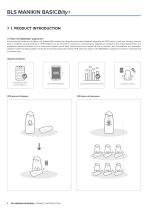
BLS MANIKIN BASICBilly+ 1. PRODUCT INTRODUCTION 1.1. What is the BASICBilly+ Upgrade kit? As a sensor kit installed in the Basic Life Support Billy manikin the Upgrade kit provides feedback regarding the CPR action in real-time, allowing users to have a complete training experience. CPR feedback can be received in real time by connecting the Upgrade kit installed to the mobile applications. The application provides feedback for the compression (depth, recoil, rate), breath (volume) and hands-off time in real-time, and the feedback and evaluation standard meets the latest guideline of the...
Open the catalog to page 3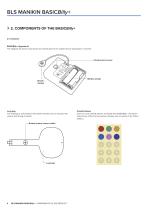
BLS MANIKIN BASICBilly+ 2. COMPONENTS OF THE BASICBilly+ 2.1. Hardware BASICBilly+ Upgrade kit The Upgrade kit sends compression and breath data to the mobile device application in real time. Breath module Lung bag The lung bag is connected to the breath module and can measure the volume and timing of breath. Breath module sensor holder BLS MANIKIN BASICBilly+ | COMPONENTS OF THE PRODUCT ColorID stickers Users can use ColorID stickers to identify their BASICBilly+, during the initial set-up of the first connection. (Please refer to section 5 for further details.)
Open the catalog to page 4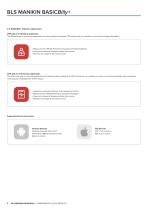
BLS MANIKIN BASICBilly+ 2.2. BASICBilly+ Software applications CPR add-on kit Student application The Student app is a learning application and this software analyzes CPR carried out by a student in real time and gives feedback. • Measures the CPR performance and gives real-time feedback • Saves and converts measured data into a score • Reviews and exports the saved score CPR add-on kit Instructor application The Instructor app is a training application that enables the monitoring of CPR carried out by a student or more in real time and helps with evaluation, recording and management of the...
Open the catalog to page 5
BLS MANIKIN BASICBilly+ 3. HARDWARE INSTALLATION 3.1. Installing the BASICBilly+ Upgrade kit 1) isassemble two screws from the back of the manikin. If the screw are not installed on your D version please proceed to the next step. 2) ake off the manikin skin, and disassemble the clicker located next to the spring from the manikin. T Store it separately or discard it. 3) Take off the protective film from the sticker on the back of your Upgrade Kit. 4) nstall the Upgrade kit inside the BASICBilly so the kit can fit the frame and make sure the hole on I the kit has been placed towards the...
Open the catalog to page 6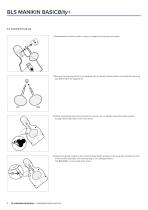
BLS MANIKIN BASICBilly+ 3.2. Installing the lung bag 1) Disassemble manikin’s mouth in order to change the lung bag more easily. 2) emove the lung bag which is not equiped with the Breath module holder and install the new lung R bag delivered in the Upgrade kit. 3) hen assembling chest frame back to the manikin, do not forget to pass the breath module W through the left top hole on the chest frame 4) ttach the Breath module to the breath module holder situated on the lung bag. Put back the skin A of the manikin and make sure the lung bag is not strangely folded. The BASICBilly+ is now ready...
Open the catalog to page 7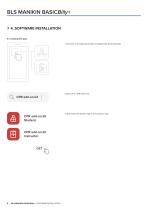
BLS MANIKIN BASICBilly+ 4. SOFTWARE INSTALLATION 4.1. Installing the apps 1) Connect to the App Store (iOS) or Google Play Store (Android). CPR add-on kit Student CPR add-on kit Instructor GET BLS MANIKIN BASICBilly+ | SOFTWARE INSTALLATION 3) Download the Student app or the Instructor app.
Open the catalog to page 8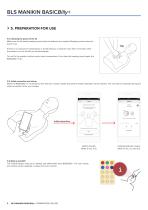
BLS MANIKIN BASICBilly+ 5. PREPARATION FOR USE 5.1. Checking the power of the kit Make sure the kit makes beeping sound when the batteries are inserted. Beeping sound means the power is on. If there is no input (chest compression or breath delivery, or both) for more than 10 minutes while the power is on, the kit will turn off automaticaly.. To turn On the manikin, perform some chest com ressions. If you hear the beeping sound again, the p BASICBilly+ is On. . 5.2. Initial connection and set-up When the BASICBilly+ is connected for the first time, assign ColorID and perform breath...
Open the catalog to page 9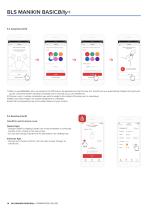
BLS MANIKIN BASICBilly+ 5.4. Assigning ColorID 1) When a new BASICBilly+ kit is connected to the CPR add-on kit application for the first time, the ColorID set-up is automatically initiated. During the set up, the connected manikin will beep constantly each 5 seconds so you can identify him. 2) Choose a color + number combination you want to assign to this manikin (Choosing color is mandatory.) 3) When you select ‘Assign’, the ColorID assignment is completed. 4) Stick the corresponding color and number stickers on your manikin. 5.5. Resetting ColorID ColorID for each kit may be re-set....
Open the catalog to page 10
BLS MANIKIN BASICBilly+ 6. MAIN FEATURES OF THE APPLICATION 6.1. Tab menu CPR add-on kit Student app The CPR add-on kit Student app consists of the following tabs. You can monitor CPR performance in real time. You can manage saved training records. You can adjust the settings applied to the training including the guideline and score calculation settings. Training CPR add-on kit Instructor app The CPR add-on kit Instructor app consists of the following tabs. You can select the measurement method and monitor CPR performance in real time. The connected manikin information is displayed,...
Open the catalog to page 11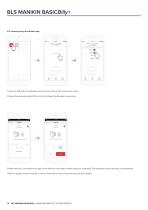
6.2. Learning using the Student app 1) Run the CPR add-on kit Student and then select Connect Kit on the main screen. 2) Select the desired manikin ID from the list to begin the Bluetooth connection. 3) When the kit is connected to the app for the first time, the breath module should be calibrated. The calibration screen will pop up automatically. *Deliver a proper volume of breath 5 times as instructed on the screen and press the Save button. 12 BLS MANIKIN BASICBilly+ | MAIN FEATURES OF THE APPLICATION
Open the catalog to page 12
4) hen the Bluetooth connection is made successfully, the manikin information will be displayed W on the screen. Select the evaluation item(s), measuring compression only or both compression and breath. * You can calibrate the breath sensor by selecting the target-shaped icon. If the breath sensor is calibrated If the breath sensor is not calibrated * You can set the metric of measurement Evaluation is carried out based on the hands-only CPR. Evaluation is carried out based on the CPR (30:2). 5) When a user performs CPR, the application gives feedback for the compression or breath. 6) When...
Open the catalog to page 13All 3B Scientific catalogs and technical brochures
-
Product Manual QuickLung
12 Pages
-
Product Manual SAM4
9 Pages
-
Sellsheet Airway P73
2 Pages
-
Product Manual P103
7 Pages
-
Quick Start Guide Atlas Baby
4 Pages
-
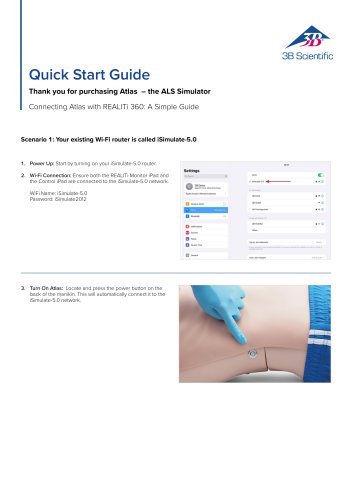
Quick Start Guide Atlas
4 Pages
-
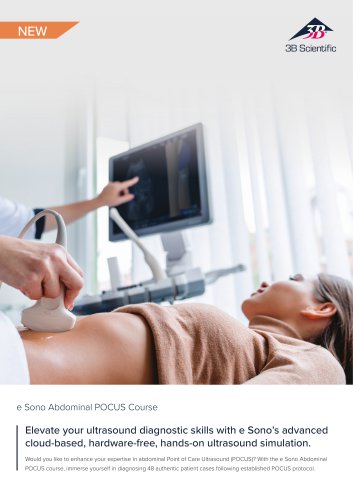
Sellsheet eSono Abdominal
3 Pages
-
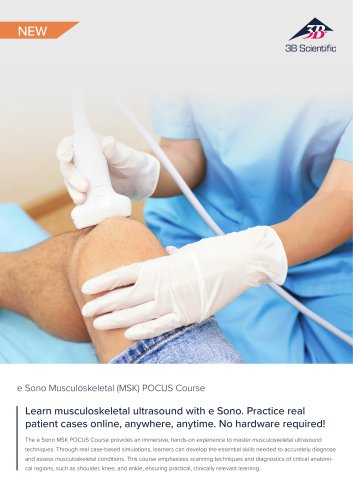
Sellsheet eSono MSK
3 Pages
-
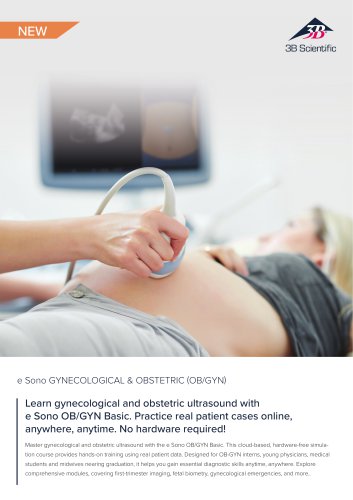
Sellsheet eSono OBGYN
3 Pages
-
Sellsheet IngMar RespiSim
2 Pages
-
Sellsheet Stops 6N1 Trainer
2 Pages
-
Sellsheet SimConnect
3 Pages
-
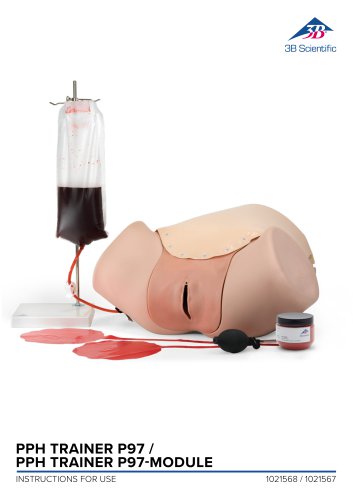
Product Manual P97P
13 Pages
-
Product Manual P97
14 Pages
-
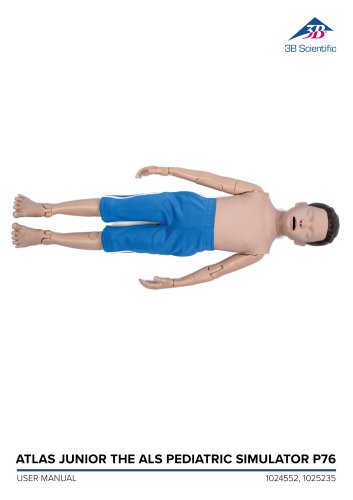
Product Manual Atlas Junior
17 Pages
-
Sellsheet Lifecast Neonatal
3 Pages
-
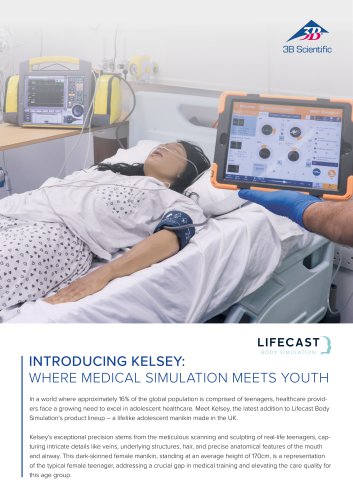
Sellsheet Lifecast Teenager
2 Pages
-
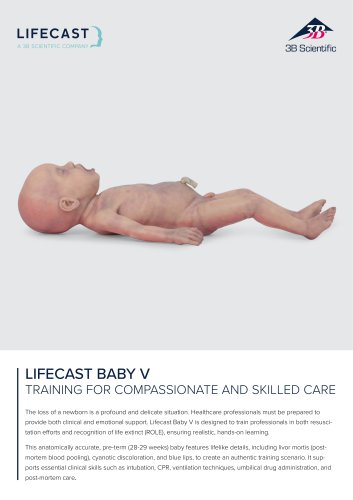
Sellsheet Lifecast Baby V
2 Pages
-
Sellsheet Atlas Junior
3 Pages
-
Product Manual SAM4 PAT4
9 Pages
-
Cardionics Sellsheet SAM4
3 Pages
-
Product Manual Atlas Baby
16 Pages
-
IngMar Sellsheet Aurora
2 Pages
-
IngMar Sellsheet QuickLung
2 Pages
-
Sellsheet VSI 1025586
2 Pages
-
Sellsheet VSI 1025528
2 Pages
-
Sellsheet VSI 1025662
2 Pages
-
Sellsheet VSI 1025616
2 Pages
-
Immersive Brochure
13 Pages
-
Lifecast Brochure
16 Pages
-
Medical Simulation
51 Pages
-
Atlas Product Manual
18 Pages
-
Cardionics Brochure Simulation
23 Pages
-
Acupuncture
35 Pages
-
Best of Therapy
12 Pages
-
Manual P120/P121/P122/P124/P125
60 Pages
-
Medical Simulation EMS TCCC
9 Pages
-
Catalog Natural Sciences
196 Pages
-
L50, L51, L55
36 Pages
-
P80 SIMone Product Manual
52 Pages
-
N30 / N31 Product Manual
12 Pages
-
P10/1,P11/1 product manual
11 Pages
-
P10CCD product manual
16 Pages
-
P10CCD product brochure
2 Pages
-
P72+light Product brochure
2 Pages
-
P16 Product manual
8 Pages
-
P16 Product brochure
2 Pages
-
Female Breast
30 Pages
-
C41
16 Pages
-
C18
9 Pages
-
G01
24 Pages
-
3B Smart Anatomy
3 Pages
-
M10
16 Pages
-
A291
20 Pages
-
F11
13 Pages
-
P72
48 Pages
-
B60
16 Pages
-
A05/2 ,A11, A13
18 Pages
-
A290 A291
20 Pages
-
G21, G22
9 Pages
-
K25
12 Pages
-
K20, K21
12 Pages
-
K17
16 Pages
-
D25 Half Lower Jaw
13 Pages
-
D20 Dentition Development
12 Pages
-
D10
12 Pages
-
L56
30 Pages
-
C15, C16, C17, C18, C20
12 Pages
-
P57 Quick instructions
16 Pages
-
N15 Acupuncture Ears
2 Pages










![Product Manual - I.v. Injection Arm P50/1 - P50/1 [1021418]](https://img.medicalexpo.com/pdf/repository_me/67454/product-manual-iv-injection-arm-p50-1-p50-1-1021418-249392_1mg.jpg)


![Product Manual - Hemorrhage Control Arm Trainer P102 - P102 [1022652]](https://img.medicalexpo.com/pdf/repository_me/67454/product-manual-hemorrhage-control-arm-trainer-p102-p102-1022652-249356_1mg.jpg)
![Product Manual - Trainer for wound care and bandaging techniques - P100 [1020592]](https://img.medicalexpo.com/pdf/repository_me/67454/product-manual-trainer-wound-care-bandaging-techniques-p100-1020592-249350_1mg.jpg)
![Product Manual - Postpartum Hemorrhage Trainer - PPH Trainer P97 - P97 [1021568]](https://img.medicalexpo.com/pdf/repository_me/67454/product-manual-postpartum-hemorrhage-trainer-pph-trainer-p97-p97-1021568-249337_1mg.jpg)


