- Company
- Products
- Catalogs
- News & Trends
- Exhibitions
P72
1 /48Pages

P72
1 /48Pages
Catalog excerpts

…going one step further
Open the catalog to page 1
BLS-Simulator BASICBilly™ 1 BASICBilly™ consists of 2 Assembly 2.1 Changing the springs 2.2 Changing the air bag 3 Cleaning and care 4 Possible exercises 5 Product information 6 Guarantee and Certifications 7 Consumables, accessories and replacement parts BASICBilly™ is a Cardiopulmonary Resuscitation (CPR) training model for the education of non professionals. The simulator is compliant with the latest CPR guidelines (AHA and ERC). Thanks to its robust construction, its easy use and realistic handling, it is suitable for both medical training and for teaching in schools, clubs and for first...
Open the catalog to page 4
BLS-Simulator BASICBilly™ 2 Assembly 2.1 Changing the springs BASICBilly™ can be used in adult or in child mode. To do this, change the springs to alter the thorax resistance for cardiac massage, and change the lung bags for artificial ventilation. • Place the BASICBilly™ on a flat, even surface. • First of all, remove the face skin by releasing the attachments 1, 2, 3 and 4. To do this, pull down on the button tabs on the skin at the designated points: • Do the same for the torso skin. • Once the press studs placed around the white thorax have been undone you can remove the skin. • Place the...
Open the catalog to page 5
BLS-Simulator BASICBilly™ 2.2 Changing the lung bag • Place the ASICBilly™ on a flat, even surface. B • Remove the face skin first of all by releasing the four attachments. To do this, pull down on the button tabs on the skin at the designated points: • Do the same for the torso skin. • Remove the jaw insert that is attached with magnets and take off the lung bag socket inside. Magnets • Now, pick up one of the lung bags provided. • Push the upper end of the lung bag (start of the simulated trachea) over the round opening of the lung bag socket (make sure, that the lung bag alignes with the flat...
Open the catalog to page 6
BLS-Simulator BASICBilly™ The disposable airways (lung bags) also ensure that the simulator is particularly hygienic to use. The disinfectant provided has been tested with the simulator material. We recommend to use our tested disinfectant (#1013579), to prevent any damage to the product. 4 Possible exercises • Freeing up the airways Head tilt to open the airways. • Finding the compression point Realistic anatomical characteristics ensure that the correct compression point can be easily found. • Compression depth audio feedback indicates that the required compression depth has been reached this...
Open the catalog to page 7
BLS-Simulator BASICBilly™ 1 BASICBilly™ Lieferumfang 2 Montage 2.1 Auswechseln der Federn 2.2 Auswechseln des Lungenbeutels 3 Reinigung und Pflege 4 Übungsmöglichkeiten 5 Produktdaten 6 Garantie und Zertifizierungen 7 Verbrauchsmaterial, Zubehör und Ersatzteile BASICBilly™ ist ein Übungsmodell für die Herz-Lungenwiederbelebung (CPR) in der Laienausbildung. Der Simulator erfüllt die neuesten Richtlinien zur CPR (AHA und ERC). Dank seiner robusten Bauweise, seiner einfachen Handhabung und der realistischen Anwendung eignet er sich sowohl für die medizinische Ausbildung als auch für die Breitenausbildung...
Open the catalog to page 8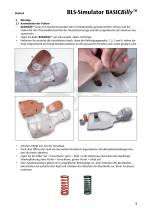
BLS-Simulator BASICBilly™ 2 Montage 2.1 Auswechseln der Federn BASICBilly™ kann im Erwachsenenmodus oder im Kindermodus genutzt werden. Hierzu sind die Federn für den Thoraxwiderstand bei der Herzdruckmassage und die Lungenbeutel zum Beatmen auszuwechseln. • Legen Sie dafür BASICBilly™ auf eine gerade, ebene Unterlage. • Entfernen Sie zunächst die Gesichtshaut durch Lösen der Befestigungspunkte 1, 2, 3 und 4, indem die Haut entsprechend der Knopf-Ösenkonstruktion an den genannten Punkten nach unten gezogen wird: 2 1 • Gleiches erfolgt nun mit der Torsohaut. • Nach dem Öffnen der rund um den weißen...
Open the catalog to page 9
BLS-Simulator BASICBilly™ 2 .2 Auswechseln des Lungenbeutels • Legen Sie dafür BASICBilly™ auf eine gerade, ebene Unterlage. • Entfernen Sie zunächst die Gesichtshaut durch Lösen der vier Befestigungspunkte, indem die Haut entsprechend der Knopf-Ösenkonstruktion an den genannten Punkten nach unten gezogen wird: • Gleiches erfolgt nun mit der Torsohaut. • Entnehmen Sie den mit Magneten fixierten Gesichtseinsatz und ziehen den innenseitig gelegenen Lungenbeutelhalter ab. • Nehmen Sie nun einen der beigefügten Lungenbeutel zur Hand. • Schieben Sie das obere Ende des Lungenbeutels (Beginn der simulierten...
Open the catalog to page 10
BLS-Simulator BASICBilly™ fiziert werden. Die Einweg-Atemwege (Lungenbeutel) sorgen zudem für eine besonders hygienische Anwendung. Das beigefügte Desinfektionsmittel wurde mit dem Material des Simulators getestet. Wir empfehlen die Verwendung unseres geprüften Desinfektionsmittels (Nr. 1013579), um eventuelle Schäden am Produkt zu vermeiden. 4 Übungsmöglichkeiten • Freimachen der Atemwege Die Öffnung der Atemwege erfolgt durch Überstrecken des Kopfes. • Auffinden des Druckpunktes Realistische anatomische Merkmale ermöglichen ein rasches Auffinden des korrekten Druckpunktes. • Eindrucktiefe Erreichen...
Open the catalog to page 11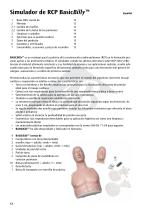
Basic Billy consta de Montaje Cambio de muelles Cambio de la bolsa de los pulmones Limpieza y cuidados Ejercicios que se pueden realizar Datos del producto Garantías y certificados Consumibles, accesorios y piezas de recambio BASICBilly™ es un maniquí para la práctica de la reanimación cardio-pulmonar (RCP) en la formación personas ajenas a las profesiones médicas. El simulador cumple las últimas directrices sobre RCP (AHA y ERC). Gracias al material altamente resistente y a su facilidad de manejo y sus aplicaciones realistas, resulta adecuado tanto para la formación específica del personal sanitario...
Open the catalog to page 12
2 Montaje 2.1 Cambio de muelles ASICBilly™ Basic Billy puede utilizarse tanto en modo adulto como en modo pediátrico. Para ello B deben cambiarse los muelles para la resistencia ofrecida durante el masaje cardíaco y las bolsas de aire en la respiración. • Coloque el Basic Billy sobre una superficie plana y lisa. • primer lugar, separe la piel del rostro soltando los cuatro puntos de sujeción 1, 2, 3 y 4 tirando de En la piel hacia abajo tal y como corresponde a los botones y ojales de cierre de los puntos indicados. 2 1 • Lo mismo debe hacer ahora con la piel del torso. • Tras soltar los cierres...
Open the catalog to page 13All 3B Scientific catalogs and technical brochures
 QuickLung Breather
12 Pages
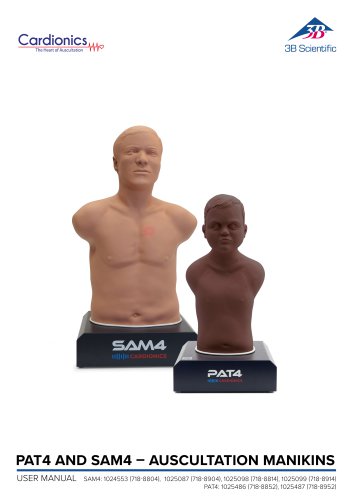
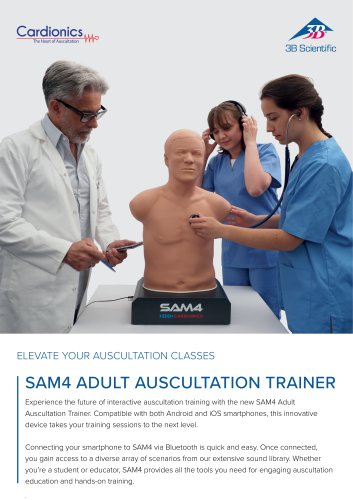
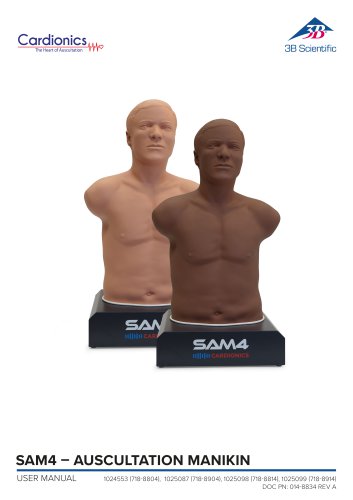 SAM4 - Auscultation Manikin
9 Pages
 Quick Start Guide Atlas Baby
4 Pages
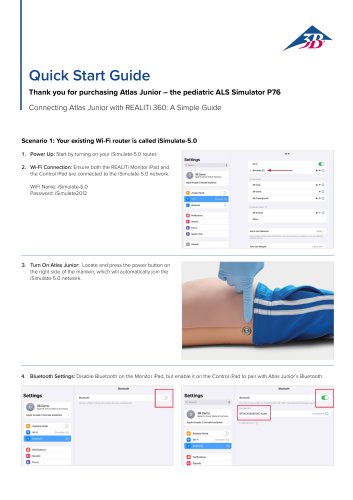
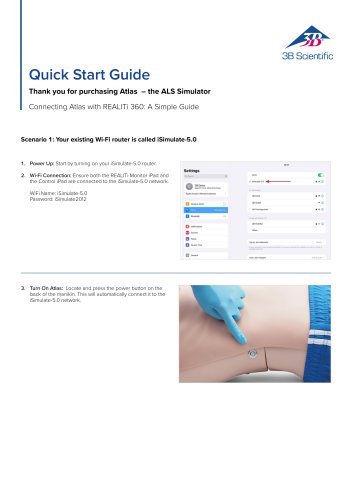 Quick Start Guide Atlas
4 Pages
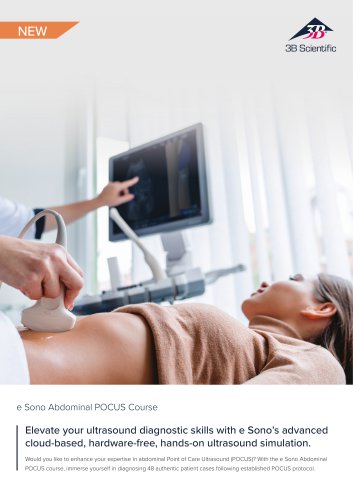 Sellsheet eSono Abdominal
3 Pages
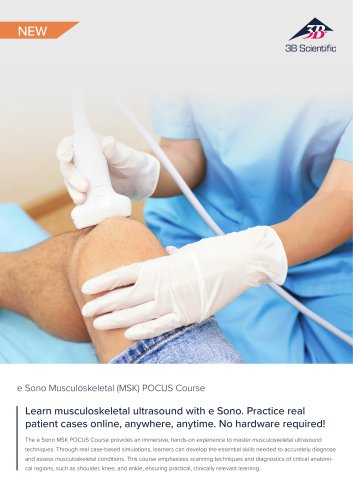 Sellsheet eSono MSK
3 Pages
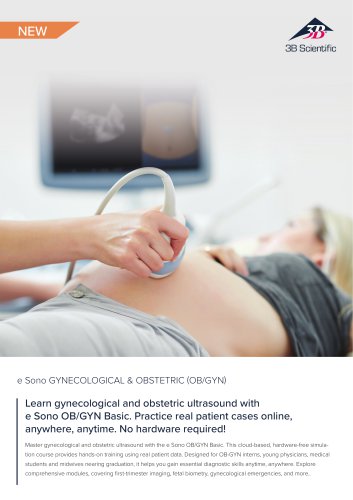 Sellsheet eSono OBGYN
3 Pages
 Sellsheet IngMar RespiSim
2 Pages
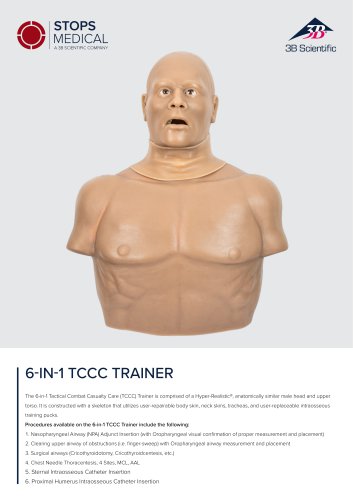 Sellsheet Stops 6N1 Trainer
2 Pages
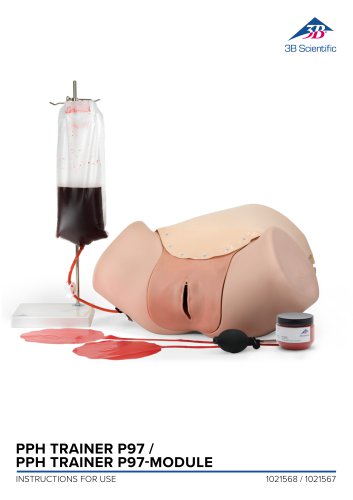 PPH Trainer P97
14 Pages
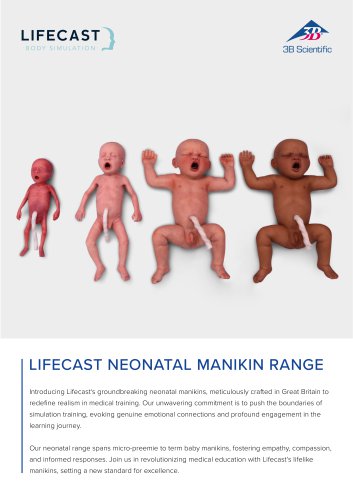 Sellsheet Lifecast Neonatal
3 Pages
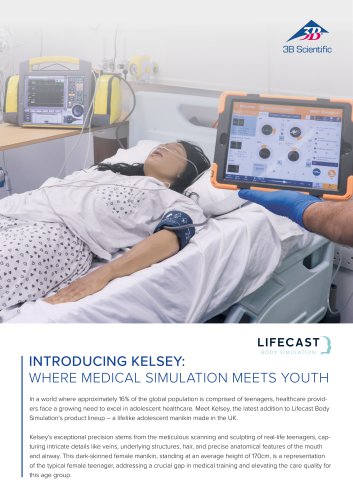 Sellsheet Lifecast Teenager
2 Pages
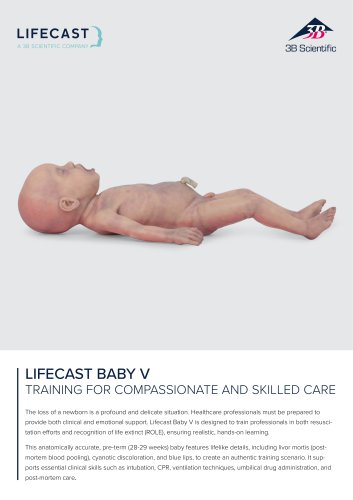 Sellsheet Lifecast Baby V
2 Pages
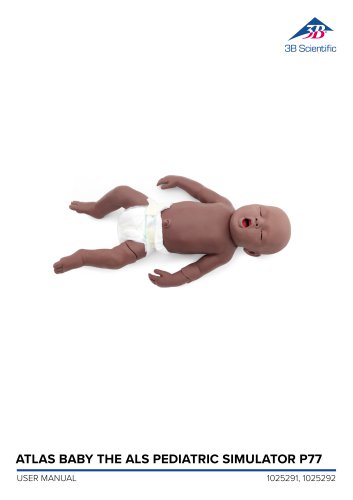 Product Manual Atlas Baby
16 Pages
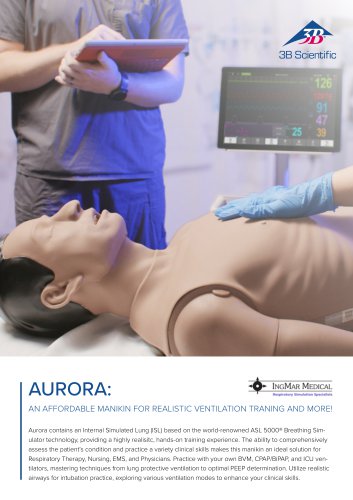 IngMar Sellsheet Aurora
2 Pages
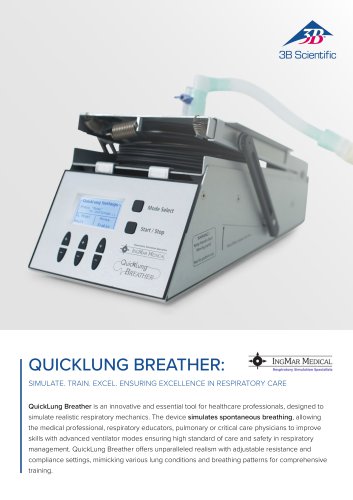 IngMar Sellsheet QuickLung
2 Pages
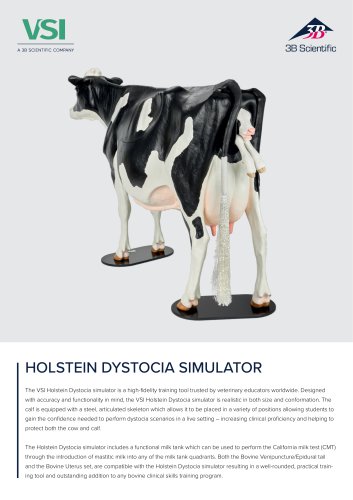
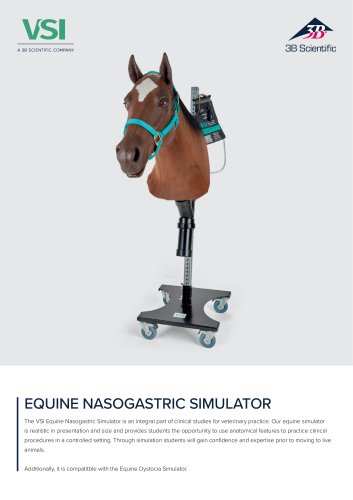
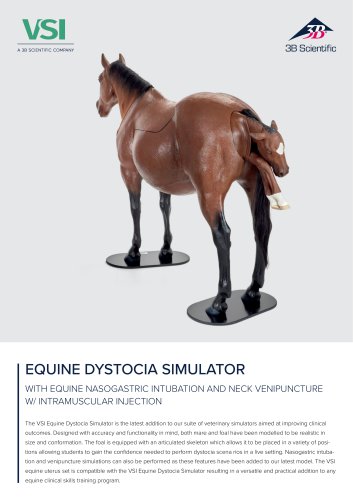 Sellsheet VSI 1025586
2 Pages
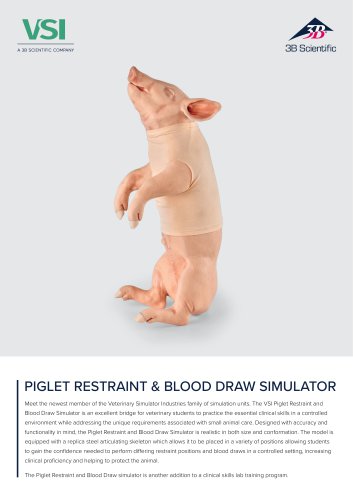
 Sellsheet VSI 1025528
2 Pages
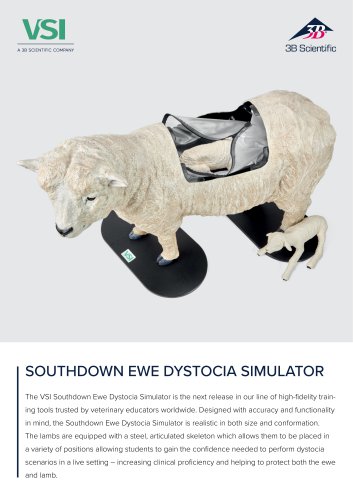
 Sellsheet VSI 1025662
2 Pages
 Sellsheet VSI 1025616
2 Pages
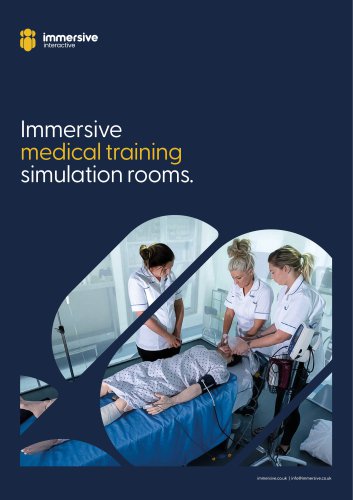 Immersive Brochure
13 Pages
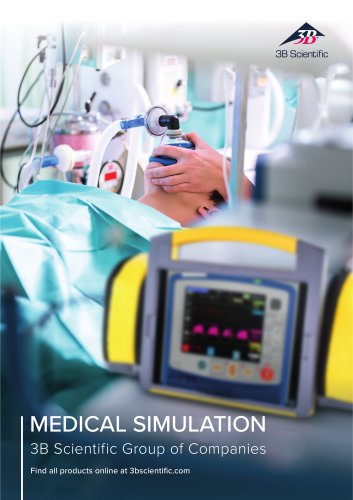 Medical Simulation
51 Pages
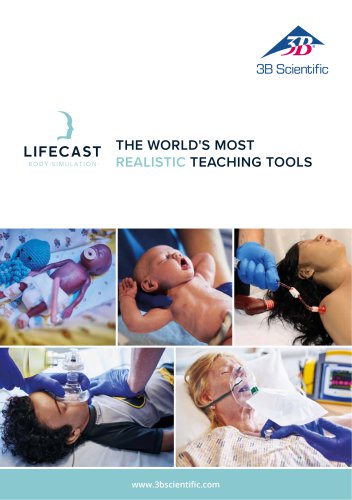 Lifecast Brochure
16 Pages
 Atlas Product Manual
18 Pages
 Cardionics Brochure Simulation
23 Pages
 Acupuncture
35 Pages
 Best of Therapy
12 Pages
 Manual P120/P121/P122/P124/P125
60 Pages
 P10/1,P11/1 product manual
11 Pages
 P16 Product brochure
2 Pages
 Medical Simulation EMS TCCC
9 Pages
 Catalog Natural Sciences
196 Pages
 K17
K1716 Pages
 D25 Half Lower Jaw
13 Pages
 D20 Dentition Development
12 Pages
 D10
D1012 Pages
 L56
L5630 Pages
 L50, L51, L55
36 Pages
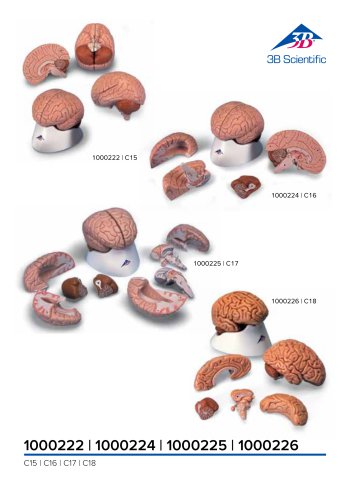
 C15, C16, C17, C18, C20
12 Pages
 P80 SIMone Product Manual
52 Pages
 P57 Quick instructions
16 Pages
 N30 / N31 Product Manual
12 Pages
 N15 Acupuncture Ears
2 Pages
 P16 Product manual
8 Pages
 P10CCD product brochure
2 Pages
 P10CCD product manual
16 Pages
 P72+light Product manual
28 Pages
 P72+light Product brochure
2 Pages
 Female Breast
30 Pages
 C41
C4116 Pages
 C18
C189 Pages
 G01
G0124 Pages
 3B Smart Anatomy
3 Pages
 M10
M1016 Pages
 A291
A29120 Pages
 F11
F1113 Pages
 B60
B6016 Pages
 A05/2 ,A11, A13
18 Pages
 A290 A291
20 Pages
 G21, G22
9 Pages
 K25
K2512 Pages
 K20, K21
12 Pages


![Product Manual - I.v. Injection Arm P50/1 - P50/1 [1021418]](https://img.medicalexpo.com/pdf/repository_me/67454/product-manual-iv-injection-arm-p50-1-p50-1-1021418-249392_1mg.jpg)

![Product Manual - Hemorrhage Control Arm Trainer P102 - P102 [1022652]](https://img.medicalexpo.com/pdf/repository_me/67454/product-manual-hemorrhage-control-arm-trainer-p102-p102-1022652-249356_1mg.jpg)
![Product Manual - Trainer for wound care and bandaging techniques - P100 [1020592]](https://img.medicalexpo.com/pdf/repository_me/67454/product-manual-trainer-wound-care-bandaging-techniques-p100-1020592-249350_1mg.jpg)
![Product Manual - Postpartum Hemorrhage Trainer - PPH Trainer P97 - P97 [1021568]](https://img.medicalexpo.com/pdf/repository_me/67454/product-manual-postpartum-hemorrhage-trainer-pph-trainer-p97-p97-1021568-249337_1mg.jpg)


- Hosley anatomical model
- Hosley training anatomical model
- Hosley teaching anatomical model
- Hosley training simulator
- Hosley general care simulator
- Hosley tooth model
- Hosley upper body simulator
- Hosley flexible anatomical model
- Hosley bone model
- Dental care model
- Hosley skull model
- Hosley training manikin
- Hosley surgery simulator
- Stethoscope
- Hosley plastic anatomical model
- Hosley mouth anatomical model
- White anatomical model
- Vascular model
- Patient simulation unit
- Demonstration vascular model