- Catalogs
- 3B Scientific
- Product Manual - I.v. Injection Arm P50/1 - P50/1 [1021418]
- Company
- Products
- Catalogs
- News & Trends
- Exhibitions
Product Manual - I.v. Injection Arm P50/1 - P50/1 [1021418]
1 /6Pages
![Product Manual - I.v. Injection Arm P50/1 - P50/1 [1021418]](https://img.medicalexpo.com/pdf/repository_me/67454/product-manual-iv-injection-arm-p50-1-p50-1-1021418-249392_1mg.jpg)
Product Manual - I.v. Injection Arm P50/1 - P50/1 [1021418]
1 /6Pages
Catalog excerpts
![Product Manual - I.v. Injection Arm P50/1 - P50/1 [1021418]-1](https://img.medicalexpo.com/pdf/repository_me/67454/product-manual-iv-injection-arm-p50-1-p50-1-1021418-249392_1m.jpg)
I.V. INJECTION ARM P50/1 (1021418) USER MANUAL
Open the catalog to page 1![Product Manual - I.v. Injection Arm P50/1 - P50/1 [1021418]-2](https://img.medicalexpo.com/pdf/repository_me/67454/product-manual-iv-injection-arm-p50-1-p50-1-1021418-249392_2m.jpg)
I.V. Injection Arm P50/1 (1021418) The I.V. Injection Arm P50/1 is an educational system developed to assist a certified instructor. It is not a substitute for a comprehensive understanding of the subject matter and not intended for clinical decision making. Congratulations, you have acquired a 3B Scientific® quality product. The I.V. Injection Arm P50/1 is made of 3B SKINlike™ silicone. The injection arm can be used to train the following: • Intravenous injections • Punctures of the peripheral veins [basilic v., cephalic v., median cubital v., hand (dorsal venous network)] • Positioning of a...
Open the catalog to page 2![Product Manual - I.v. Injection Arm P50/1 - P50/1 [1021418]-3](https://img.medicalexpo.com/pdf/repository_me/67454/product-manual-iv-injection-arm-p50-1-p50-1-1021418-249392_3m.jpg)
Filling of the infusion bottle with the blood 1. Make sure that the locking clip of the ventilation tube of the infusion bottle is locked 2. Fill the infusion bottle up to the red line with the artificial blood concentrate 3. Then fill the infusion bottle up to the blue line with water 4. Close the bottle and shake gently to obtain a homogeneous solution. Installation of the infusion system 1. Fasten the hanging hook at the middle of the stand 2. Hang the injection arm onto the hanging hook using the arm ring screw 3. Connect the shorter injection tube to the infusion bottle 4. Make sure that...
Open the catalog to page 3![Product Manual - I.v. Injection Arm P50/1 - P50/1 [1021418]-4](https://img.medicalexpo.com/pdf/repository_me/67454/product-manual-iv-injection-arm-p50-1-p50-1-1021418-249392_4m.jpg)
8. he system will then be filled up and blood will start to flow out of the longer tube in the plastic cup. Let the blood flow out until you see no T more bubbles coming out from the longer tube 9. Close the locking clip of the longer tube and connect it to one branch of the Y-connector on the infusion bottle 10. You can now start puncturing the peripheral veins. è Note: During training breaks, please remove the infusion bottle from the holder of the stand and place it upright. This will prevent leaks and prolong the life of the injection arm. After using of the Injection arm To remove the artificial...
Open the catalog to page 4![Product Manual - I.v. Injection Arm P50/1 - P50/1 [1021418]-5](https://img.medicalexpo.com/pdf/repository_me/67454/product-manual-iv-injection-arm-p50-1-p50-1-1021418-249392_5m.jpg)
3. Starting at the top of the arm, roll the skin off the arm core 4. Unfasten the Velcro strips and remove the tubing system from the arm core 5. Fit the new tubing system into the provided grooves and refasten it using the Velcro strips. 1. he new skin can be pulled over the hand and arm core by putting some talcum powder onto the skin and distributing the powder by T moving the skin back-and-forth 2. ull the skin over the hand core and arm core, put the tube back through the location hole and the cover plates. The rim of the skin should P be closed between the two cover plates. Fasten the ring...
Open the catalog to page 5![Product Manual - I.v. Injection Arm P50/1 - P50/1 [1021418]-6](https://img.medicalexpo.com/pdf/repository_me/67454/product-manual-iv-injection-arm-p50-1-p50-1-1021418-249392_6m.jpg)
A worldwide group of companies UK 3B Scientific Limited 9 Regent Street TA8 1AX Burnham-on-Sea • Somerset Phone: 01934 425333 3bscientific.com • [email protected] © Copyright 2021 for instruction manual and design of product: 3B Scientific GmbH, Germa
Open the catalog to page 6All 3B Scientific catalogs and technical brochures
 QuickLung Breather
12 Pages
 SAM4 - Auscultation Manikin
9 Pages
 Quick Start Guide Atlas Baby
4 Pages
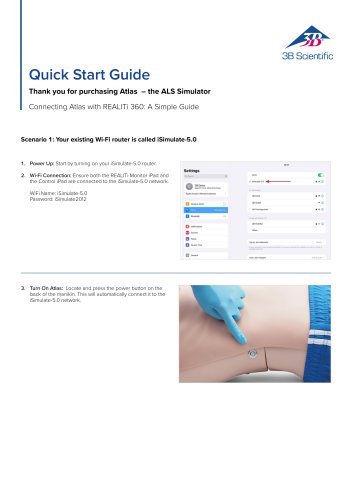 Quick Start Guide Atlas
4 Pages
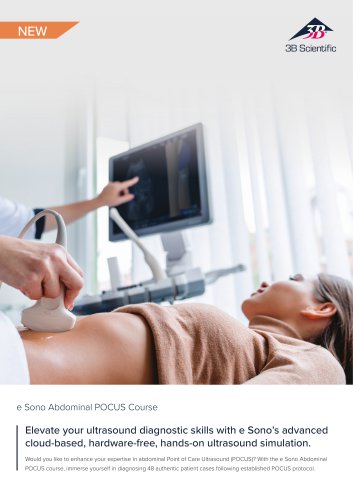 Sellsheet eSono Abdominal
3 Pages
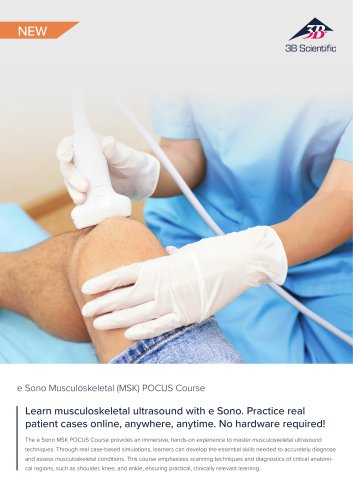 Sellsheet eSono MSK
3 Pages
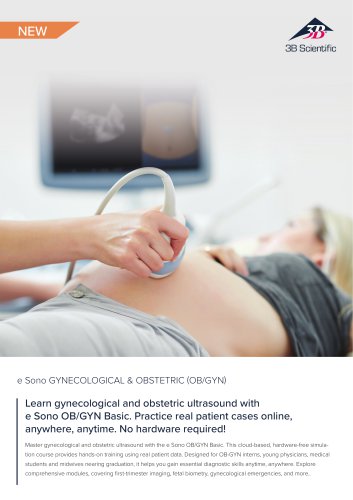 Sellsheet eSono OBGYN
3 Pages
 Sellsheet IngMar RespiSim
2 Pages
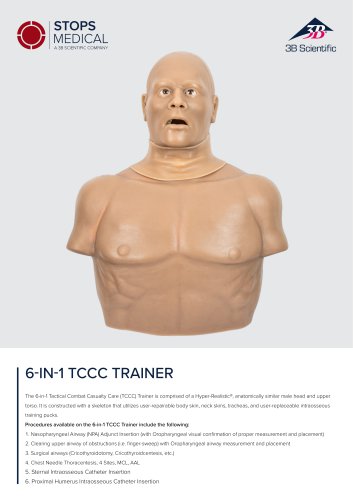 Sellsheet Stops 6N1 Trainer
2 Pages
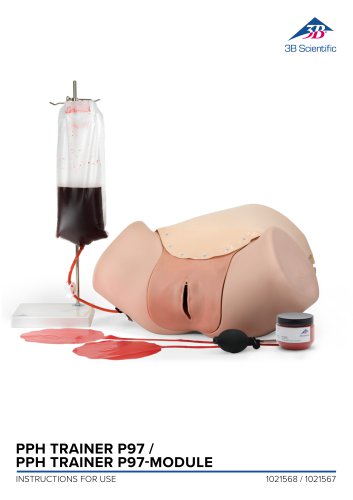 PPH Trainer P97
14 Pages
 Sellsheet Lifecast Neonatal
3 Pages
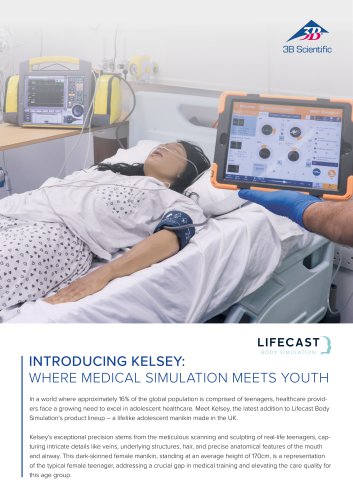 Sellsheet Lifecast Teenager
2 Pages
 Sellsheet Lifecast Baby V
2 Pages
 Product Manual Atlas Baby
16 Pages
 IngMar Sellsheet Aurora
2 Pages
 IngMar Sellsheet QuickLung
2 Pages
 Sellsheet VSI 1025586
2 Pages
 Sellsheet VSI 1025528
2 Pages
 Sellsheet VSI 1025662
2 Pages
 Sellsheet VSI 1025616
2 Pages
 Immersive Brochure
13 Pages
 Medical Simulation
51 Pages
 Lifecast Brochure
16 Pages
 Atlas Product Manual
18 Pages
 Cardionics Brochure Simulation
23 Pages
 Acupuncture
35 Pages
 Best of Therapy
12 Pages
 Manual P120/P121/P122/P124/P125
60 Pages
 P10/1,P11/1 product manual
11 Pages
 P16 Product brochure
2 Pages
 Medical Simulation EMS TCCC
9 Pages
 Catalog Natural Sciences
196 Pages
 K17
K1716 Pages
 D25 Half Lower Jaw
13 Pages
 D20 Dentition Development
12 Pages
 D10
D1012 Pages
 L56
L5630 Pages
 L50, L51, L55
36 Pages
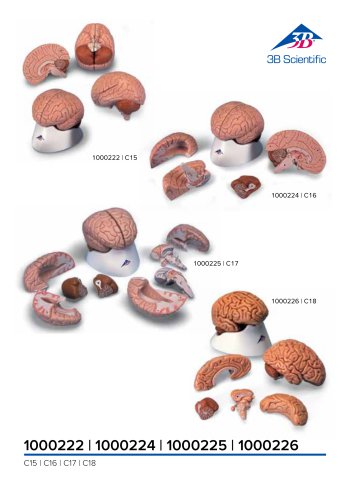
 C15, C16, C17, C18, C20
12 Pages
 P80 SIMone Product Manual
52 Pages
 P57 Quick instructions
16 Pages
 N30 / N31 Product Manual
12 Pages
 N15 Acupuncture Ears
2 Pages
 P16 Product manual
8 Pages
 P10CCD product brochure
2 Pages
 P10CCD product manual
16 Pages
 P72+light Product manual
28 Pages
 P72+light Product brochure
2 Pages
 Female Breast
30 Pages
 C41
C4116 Pages
 C18
C189 Pages
 G01
G0124 Pages
 3B Smart Anatomy
3 Pages
 M10
M1016 Pages
 A291
A29120 Pages
 F11
F1113 Pages
 P72
P7248 Pages
 B60
B6016 Pages
 A05/2 ,A11, A13
18 Pages
 A290 A291
20 Pages
 G21, G22
9 Pages
 K25
K2512 Pages
 K20, K21
12 Pages


![Product Manual - Hemorrhage Control Arm Trainer P102 - P102 [1022652]](https://img.medicalexpo.com/pdf/repository_me/67454/product-manual-hemorrhage-control-arm-trainer-p102-p102-1022652-249356_1mg.jpg)
![Product Manual - Trainer for wound care and bandaging techniques - P100 [1020592]](https://img.medicalexpo.com/pdf/repository_me/67454/product-manual-trainer-wound-care-bandaging-techniques-p100-1020592-249350_1mg.jpg)
![Product Manual - Postpartum Hemorrhage Trainer - PPH Trainer P97 - P97 [1021568]](https://img.medicalexpo.com/pdf/repository_me/67454/product-manual-postpartum-hemorrhage-trainer-pph-trainer-p97-p97-1021568-249337_1mg.jpg)


- Hosley anatomical model
- Hosley training anatomical model
- Hosley teaching anatomical model
- Hosley training simulator
- Hosley general care simulator
- Hosley tooth model
- Hosley upper body simulator
- Hosley flexible anatomical model
- Hosley bone model
- Dental care model
- Hosley skull model
- Hosley training manikin
- Hosley surgery simulator
- Stethoscope
- Hosley plastic anatomical model
- Hosley mouth anatomical model
- White anatomical model
- Vascular model
- Patient simulation unit
- Demonstration vascular model