
- Catalogs
- ARTIGLIO SNC
- ProceduraPianificazioneImplantare2013

ProceduraPianificazioneImplantare2013

ProceduraPianificazioneImplantare2013
This document outlines the procedure for computer-aided 3D implant planning using Winmed® software, guided prosthetically with Galileo and Safe & Fast systems. The process involves several key steps, from impression taking to the fabrication of a surgical template.
The clinician begins by taking a precise impression of the patient's jaws and an occlusal registration wax. A dental technician then prepares a radiographic guide with radiopaque teeth positioned ideally. The stone model is fixed onto the Galileo model holder, allowing for easy removal and repositioning of the template.
The technician uses the SPOT STAGE reference system, which includes radiopaque spheres, to align CT data with the stone model. This ensures the virtual 3D model corresponds accurately to the real model.
With the radiographic template in place, the patient undergoes CT or Cone Beam scanning. The clinician then loads the DICOM data onto a laptop for virtual implant planning, utilizing various views and a 3D model for accurate implant positioning.
The virtual implant treatment is printed and given to the technician for surgical template fabrication. The printed data includes implant inclination, sleeve depth, analogue depth, and the global risk factor (FDRS) of the treatment.
The technician cuts and fixes the planning onto the Galileo system. Using the Implart Evo or Galileo DGT, the technician verifies implant inclination and proceeds with placing the sleeve/analog or drilling. The surgical template is customized using the Safe & Fast system, which offers various guidance solutions based on clinician preference.
Catalog excerpts

Scomputer aided with Winmed® software Sprosthetically guided with Galileo and Safe & Fas
Open the catalog to page 1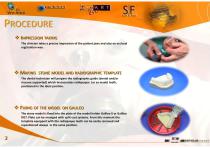
PROCEDURE IMPRESSION TAKING The clinician takes a precise impression of the patient jaws and also an occlusal registration wax. STONE MODEL AND RADIOGRAPHIC TEMPLATE The dental technician will prepare the radiographic guide (dental and/or mucosa supported) which incorporates radiopaque (or so made) teeth, positioned in the ideal position. FIXING OF THE MODEL ON GALILEO The stone model is fixed into the plate of the model holder Galileo II or Galileo DGT. Plate can be arranged with split-cast systems. From this moment the template equipped with the radiopaque teeth can be easily removed and repositioned...
Open the catalog to page 2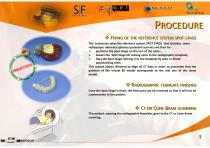
PROCEDURE FIXING OF THE REFERENCE SYSTEM SPOT-STAGE The technician takes the reference system SPOT STAGE that includes some radiopaque reference spheres (patented system) and then he: positions the Spot Stage on the rest of the plate.; lowers the Spot Stage till coming close to the radiographic template; fixes the Spot Stage relining it to the template by auto or photo polymerising resin. This system allows Winmed to align all CT data in order to guarantee that the position of the virtual 3D model corresponds to the real one of the stone model. RADIOGRAPHIC TEMPLATE FINISHED Once the Spot Stage...
Open the catalog to page 3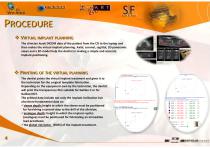
cRIORE Galileo VIRTUAL IMPLANT PLANNING The clinician loads DICOM data of the patient from the CD to the laptop and then makes the virtual implant planning. Axial, coronal, sagittal, 3D panoramic views and a 3D model help the dentist in making a simple and accurate implant positioning. ❖ PRINTING OF THE VIRTUAL PLANNING The dentist prints the virtual implant treatment and gives it to the technician for the surgical template fabrication. Depending on the equipment own by the technician, the dentist will print the transparency film suitable for Galileo II or for The printed data include not only...
Open the catalog to page 4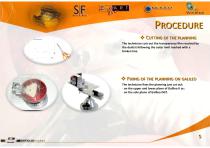
PROCEDURE CUTTING OF THE PLANNING The technician cuts out the transparency film received by the dentist following the outer limit marked with a broken line. FIXING OF THE PLANNING ON GALILEO The technician fixes the planning just cut out: - on the upper and lower plane of Galileo II or; - on the sole plane of Galileo DGT.
Open the catalog to page 5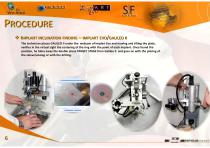
PROCEDURE IMPLANT INCLINATION FINDING – IMPLART EVO/GALILEO II The technician places GALILEO II under the webcam of Implart Evo and moving and tilting the plate, verifies in the virtual sight the centering of the ring with the point of each implant. Once found the position, he takes away the double plane TARGET STAGE from Galileo II and goes on with the placing of the sleeve/analog or with the drilling.
Open the catalog to page 6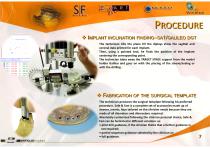
PROCEDURE IMPLANT INCLINATION FINDING–SA1/GALILEO DGT The technician tilts the plane till the diplays show the sagittal and coronal data printed for each implant. Then, using a pointed tool, he finds the position of the implant centering the corresponding point. The technician takes away the TARGET STAGE support from the model holder Galileo and goes on with the placing of the sleeve/analog or with the drilling. FABRICATION OF THE SURGICAL TEMPLATE The technician produces the surgical template following his preferred procedure. Safe & Fast is a complete set of accessories made up of sleeves,...
Open the catalog to page 7
ARTIGLIO S.N.C. di Benecchi Lino e C. Mail: [email protected] Skype: artiglio sales
Open the catalog to page 8All ARTIGLIO SNC catalogs and technical brochures
 A3 IRON STONE
2 Pages
 Perseo Catalogue
1 Page
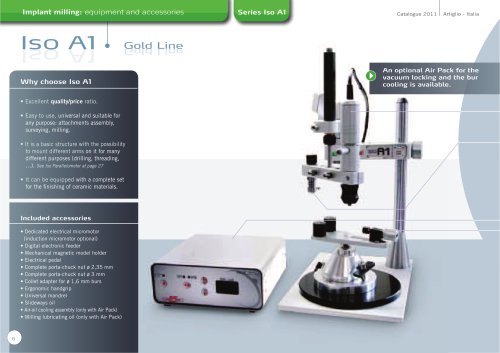 Iso a1
2 Pages
 MainCatalogue2011
44 Pages
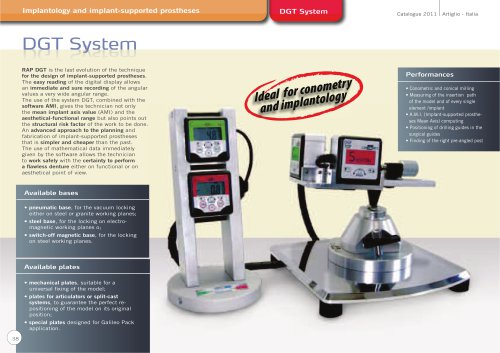 Rap_DGT_System
2 Pages
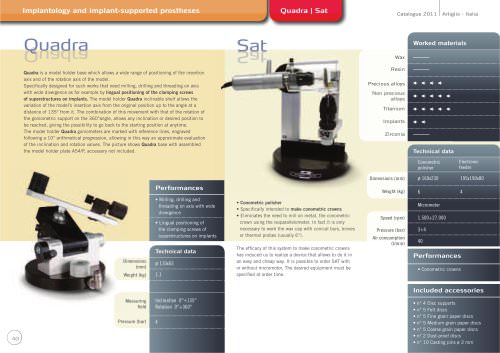 Quadra_Sat_
1 Page
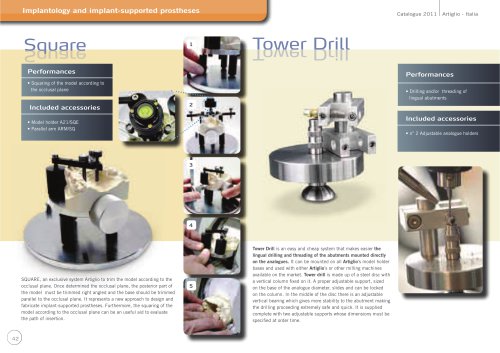 Square_TowerDrill
1 Page
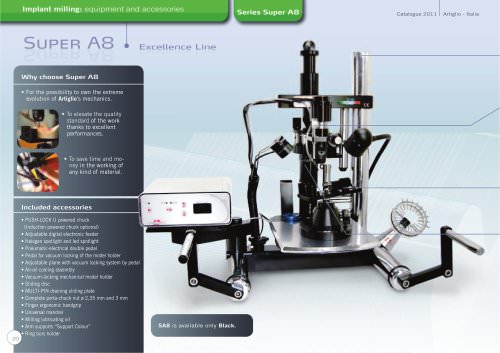 Super A8
2 Pages
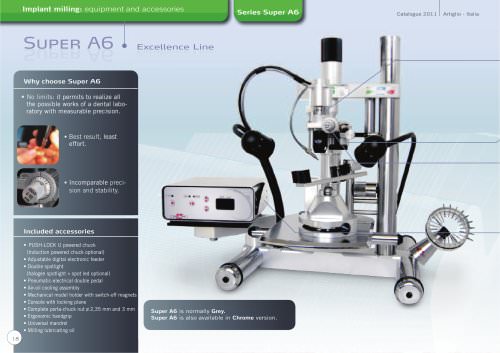 Super A6
2 Pages
 Super A4
2 Pages
 Super A1
2 Pages
 A3
A32 Pages
 A2
A22 Pages
- Radiology software
- Visualization software
- Planning software
- Dental software
- Dental milling machine
- Surgery software
- Benchtop milling machine
- 3D viewing software
- Dental laboratory milling machine
- Ceramic milling machine
- Titanium milling machine
- Dental imaging software
- Copying milling machine
- Dental laboratory polishing unit
- Dental parallelometer
- 1-arm dental parallelometer
- Milling machine with micromotor