- Catalogs
- Clover Next
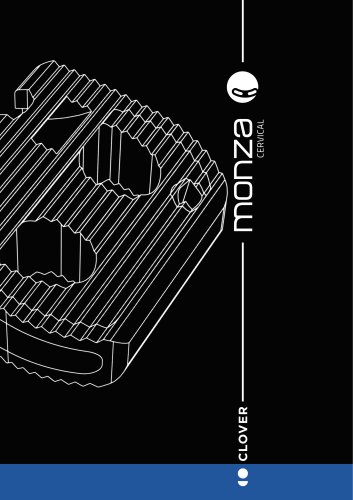
- MONZA CERVICAL
MONZA CERVICAL
1 /9Pages
MONZA CERVICAL
1 /9Pages
Catalog excerpts

monza CERVICAL Possibility of stand-alone or stabilized approach Specific tool for easy and safe removal of the anchors Zero-profile cage with stabilizing blades that preserve bone tissue compared to the use of screws Trabecular structure to facilitate the process of fusion between the vertebral bodies Cervical cage in trabecular titanium Monza Cervical is an innovative cervical cage that, thanks to its titanium trabecular structure made with the latest 3D printing techniques, provides immediate and secure mechanical stability and certain osseointegration to all types of implants. The cervical...
Open the catalog to page 2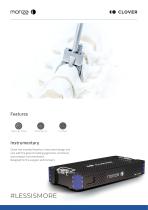
monza CERVICAL Features 3D TRABECULAR TITANIUM Instrumentary Clover has invested heavily in instrument design and care with the goal of creating ergonomic, functional, and compact instrumentation. Designed for the surgeon and his team.
Open the catalog to page 3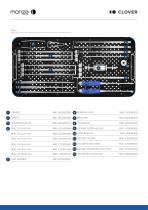
monza CERVICAL 9 LOCKING SYSTEM HOLDER MNC-C2SS00506S 12 HOLDER STAND ALONE MNC-C2SS00708S 13 IMPLANT HOLDER WITHOUT STOP MNC-C2SS00910S 14 HOLDER WITH SAFE STOP
Open the catalog to page 4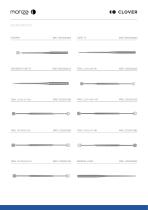
monza CERVICAL TEARDROP CURETTE REMOVAL HOOK
Open the catalog to page 5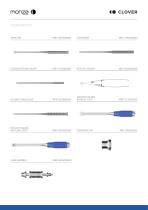
monza CERVICAL LOCKING SYSTEM HOLDER RATCHET HOLDER HOLDER STAND ALONE IMPLANT HOLDER WITHOUT STOP IMPLANT HOLDER WITH SAFE STOP SLIDE HAMMER
Open the catalog to page 6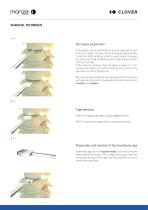
monza CERVICAL SURGICAL TECHNIQUE 1— Disc space preparation If necessary, use the distractor to achieve adequate access to the disc space. The pins should be placed approximately 7 mm from both vertebral plates to avoid contact between the caspar pins and the Monza anchor flap during insertion of the anchor flap. If the patient’s anatomy does not allow a space of 7 mm, remove the caspar pins before inserting the anchor fin to eliminate any risk of obstruction. Remove the disc and perform any removal of bone and tissue with special instruments found within the instrumentarium: curettes and scrapers...
Open the catalog to page 7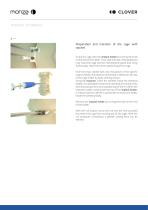
monza CERVICAL SURGICAL TECHNIQUE 4— Preparation and insertion of the cage with ratchet Screw the cage onto the implant holder by turning the knob on the end of the holder. Then with the help of the protective ring, insert the cage into the intervertebral space and, using fluoroscopy, check the correct positioning of the cage. Insert the two ratchet tabs into the groove of the specific implant holder; the direction of the tabs is defined on the top of the cage holder by laser marking arrows. Using the impactor, insert the ratchets inside the vertebral bodies. It is advisable to insert one ratchet...
Open the catalog to page 8
CERVICAL LORDOTIC CAGE - 6 RATCHET LOCKING SYSTEM monza d) evo O dixi 9 recon-i 9 rally 9 SISTEMA Dl GESTIONE QUALITA CERTIFICATO
Open the catalog to page 9All Clover Next catalogs and technical brochures
 MONOCYTES-R
5 Pages
 EVO
EVO9 Pages
 MISANO (OPEN)
17 Pages
 MISANO (MIS)
16 Pages
 MONZA LUMBAR PLIF TLIF
14 Pages
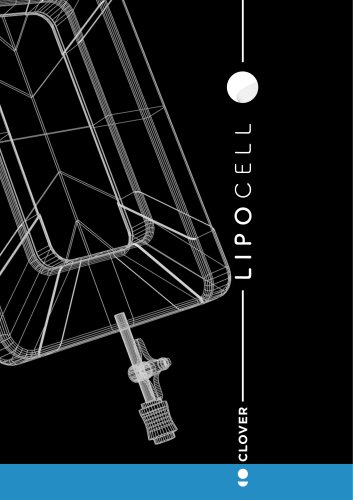 LIPOCELL™
6 Pages
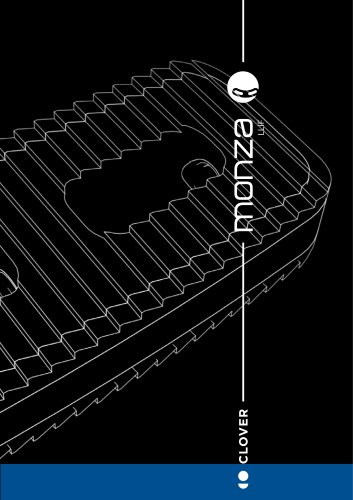 MONZA LLIF
4 Pages
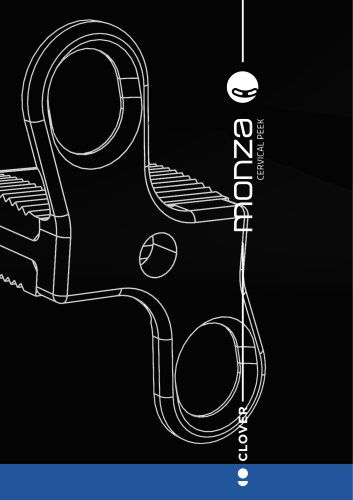 CERVICAL PEEK
7 Pages
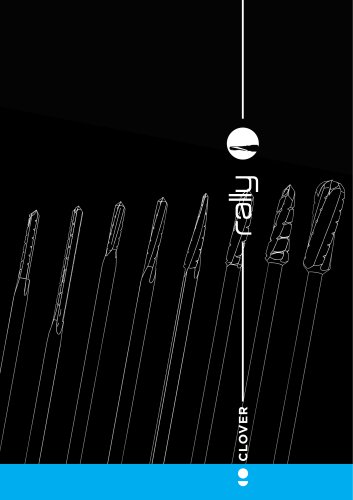 RALLY
RALLY4 Pages
 DIXI
DIXI4 Pages
- Interbody fusion cage
- Metal burr
- PEEK interbody fusion cage
- Collection kit
- Anterior interbody fusion cage
- Lumbar interbody fusion cage
- Spinal stabilization system
- Cervical interbody fusion cage
- Adult spinal osteosynthesis unit
- Titanium interbody fusion cage
- Posterior interbody fusion cage
- Transforaminal interbody fusion cage
- Surgical bur
- Straight burr
- Conical bur
- Shoulder prosthesis
- Lateral interbody fusion cage
- Titanium burr
- Orthopedic surgery burr
- 3D-printed interbody fusion cage