Catalog excerpts

Test With Confidence™ ELISA Tips • rack test inventory, including when tests are received and put into use. T • o not allow the plate to dry between washing and the addition of the reagent. D • o not mix reagents from different test lots. Tests are manufactured in D batches or lots according to strict quality standards. Each reagent in the test is optimized to work with the other reagents contained in the test. • e sure to use adhesive plate covers when directed to by the test insert. B • llow test components to sit at room temperature for 2–3 hours, including the A plates which should be sealed in their original bags with desiccants included. • easure all reagents using sterile or clean vessels. Be careful to measure M only what is needed for the number of plates being run. Do not return the reagents to the original stock bottles. We recommend using disposable reservoirs when handling reagents to minimize the risk of contamination. If you do reuse any disposable device, use a separate reservoir for each reagent and be sure to label them. Wash and thoroughly rinse the reservoirs with deionized or distilled water after use. • Monitor laboratory temperature on a daily basis. Consult the test insert for specific laboratory temperature information. • ix thawed samples thoroughly prior to dilution. Thoroughly mix samples M and diluent before transferring them onto the coated plate. • se standard (forward) pipetting for the preparation of sample dilutions U and use reverse pipetting for the addition of reagents (conjugate, substrate and stop). • o not reuse tips during the process of running an assay. D • hen pipetting samples or reagents into an empty microtiter plate, place the W pipette tips in the lower corner of the well, making contact with the plastic. • o not run the assay near a window with bright sunlight or direct flow from an D air conditioner or other drafts. • lways use the number of washes recommended in the test insert. Aspirate A and fill the first row, and then proceed down the rest of the plate. Repeat this process for the recommended number of washes. Be sure to tap the plate onto an absorbent material after the final wash. • onsult the test insert to make sure you are using all equipment mentioned. C Contact IDEXX Technical Service with any equipment questions. • ime the assay plate incubation as precisely as possible. Be consistent T when adding controls to the assay plate—we recommend that you add your controls first and then your samples. • nly use distilled or deionized water—water quality is very important. O • ead the plates as soon as possible following the addition of stop solution. R Before reading, use a lint-free wipe on the bottom of the plate to ensure no moisture or fingerprints interfere with the readings. • nsure that all laboratory equipment is properly cleaned and maintained. E Refer to equipment manuals for recommended maintenance schedules. Check your package insert for specific instructions for each assay you perform. See the ELISA Technical Guide for tips and troubleshooting ideas. Please contact your IDEXX representative or visit idexx.com/elisatech for additional information. Corporate Headquarters IDEXX Laboratories, Inc. One IDEXX Drive Westbrook, Maine 04092 USA European Headquarters IDEXX Europe B.V. Scorpius 60 Building F 2132 LR Hoofddorp The Netherlands Asian Headquarters IDEXX Laboratories, Inc. 3F-5 No. 88, Rei Hu Street Nei Hu District 11494 Taipei Taiwan Tel: +886 2 6603 9728 Fax: +886 2 2658 8242 © 2013 IDEXX Laboratories, Inc. All rights reserved. • 09-71577-01-EN-L All ®/ TM marks are owned by IDEXX Laboratories, Inc. or its affiliates in the United States and/or other countries. The ID
Open the catalog to page 1All Idexx Laboratories catalogs and technical brochures
Archived catalogs
-
IDEXX VetStat
86 Pages
-
Pseudalert
8 Pages
-
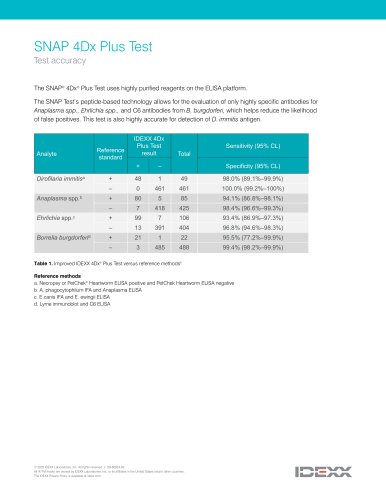
IDEXX SNAP 4Dx Plus
2 Pages
-
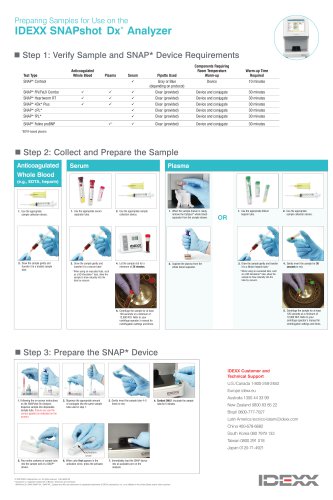
SNAPshot® DSR
2 Pages
-
Digital Imaging Brochure
10 Pages


