
- Catalogs
- JDENTALCARE SRL
- JDNasal


JDNasal
JDNasal
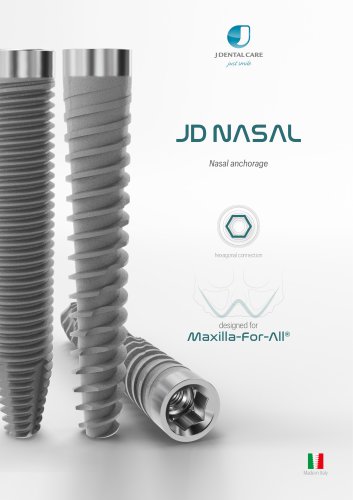
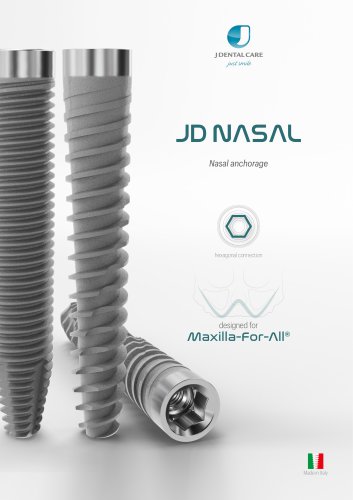
JDNasal Implants are designed for use in severely resorbed maxillae, utilizing the nasal bone for anchorage. The implant site starts at the crestal bone near the premolar and extends to the bone between the maxillary sinus and nasal cavity at the canine pillar. Implants are available up to 30mm in length and can be tilted to span the sinus. Sinus grafting is optional, but patients must show no signs of sinus infection before proceeding.
Implant Design
JDNasal implants have a cylindrical-conical shape with either standard or aggressive threads. The coronal part features a 1.5mm machined collar. Available diameters and lengths are detailed in a table, with diameters of 4.0mm and lengths ranging from 18mm to 30mm.
Product Catalogue
The catalogue lists various implants and their codes, including JDNasal and JDNasal Evo models. It also includes drills and depth probes, with specific codes for each tool.
Site Preparation Protocols
Trans-Sinus Site Preparation Sequence (Non-guided Protocol):
1. Open a window in the lateral sinus wall and reflect the Schneiderian membrane.
2. Use a series of twist drills (Ø 2.0mm to Ø 3.2mm) to perforate the maxillary sinus floor.
3. Insert the Initial drill JDNasal and engage the nasal bone.
4. Verify depth with a 26mm probe and continue drilling with Ø 2.4mm JDNasal drill.
5. Complete osteotomy with Ø 3.6mm drill or use JDNasal TranZ Drill for longer implants.
6. Place the implant with or without bone graft, ensuring an insertion torque between 25 Ncm and 80 Ncm.
Nasal Anchorage Site Preparation Sequence (Non-guided Protocol):
1. Begin with Ø 2.0mm JDNasal drill through crestal bone.
2. Verify depth with a 26mm probe.
3. Drill to final depth with Ø 2.4mm JDNasal drill.
4. Continue osteotomy with twist drills Ø 2.8mm to Ø 3.6mm.
5. Place the implant with an insertion torque between 25 Ncm and 80 Ncm.
Additional Information
The JDNasal Kit includes longer drills for trans-sinus implants and is designed for both trans-sinus and nasal anchorage surgeries. The document notes that not all products are available in all countries and advises consulting local distributors for more information.
Catalog excerpts
Nasal anchorage hexagonal connection
Open the catalog to page 1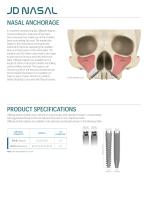
JD NASALNASAL ANCHORAGE In a severely resorbed maxilla, JDNasal Implants can be employed to make use of the nasal bone, because they enable use of the maxillary bone surrounding the nose. The implant site begins in the crestal bone at the premolar and ends in the bone separating the maxillary sinus and nasal cavity at the canine pillar. The implants used for these cases need to be longer to span across the sinus and they need to be tilted. JDNasal Implants are available up to a length of 30mm. Full product details and drilling protocol follow overleaf. The surgeon can choose to graft or not the...
Open the catalog to page 2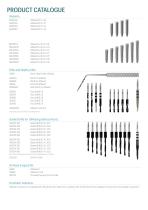
JDNasal Ø 4.0 L 20 JDNasal Ø 4.0 L 22 JDNasal Ø 4.0 L 24 JDNasal Ø 4.0 L 26 JDNasal Evo Ø 4.0 L 18 JDNasal Evo Ø 4.0 L 20 JDNasal Evo Ø 4.0 L 22 JDNasal Evo Ø 4.0 L 24 JDNasal Evo Ø 4.0 L 26 JDNasal Evo Ø 4.0 L 28 JDNasal Evo Ø 4.0 L 30 Drills and Depth probe: 15 JDNasal TranZ Drill Twist Drill Ø 2.0 Twist Drill Ø 2.4 Twist Drill Ø 2.8 Twist Drill Ø 3.2 Twist Drill Ø 3.6 Drill Ø 2.0 JDNasal* Drill Ø 2.4 JDNasal* Initial Drill JDNasal* Helix Drill Ø 2.4 JDNasal* 26mm Depth Probe JDNasal *these drills above are inserted in the JDNasal Kit Full Guided Drill Ø 2.4 L 18.0 Guided Drill Ø 2.4 L 20.0...
Open the catalog to page 3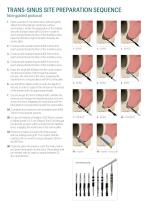
TRANS-SINUS SITE PREPARATION SEQUENCE Non-guided protocol 1. Open a window in the lateral sinus wall and gently reflect the Schneiderian membrane without perforating it. Initiate the preparation of the implant site with standard twist drill Ø 2.0mm in order to reach and perforate the floor of the maxillary sinus. Keep the drill with a right inclination towards the canine pillar. 2. Continue with standard twist drill Ø 2.4mm till to reach and perforate the floor of the maxillary sinus. 9B - implant + bone graft 3. Continue with standard twist drill Ø 2.8mm till to reach and perforate the floor...
Open the catalog to page 4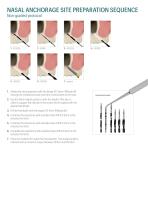
NASAL ANCHORAGE SITE PREPARATION SEQUENCE Non-guided protocol 1. Initiate the site preparation with the longer Ø 2.0mm JDNasal drill through the crestal bone and reach the cortical bone of the nose. 2. Use the 26mm depth probe to verify the depth of the site, in order to support the clinician in the choice of the implant with the appropriate length. 3. Drill to final depth with the longer Ø 2.4mm JDNasal drill. 4. Continue the osteotomy with standard twist drill Ø 2.8mm at the entrance for 6mm. 5. Continue the osteotomy with standard twist drill Ø 3.2mm at the entrance for 6mm. 6. Complete the...
Open the catalog to page 5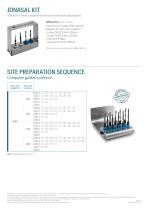
JDNasal Kit is made to prepare trans-sinus and nasal anchorage surgeries JDNasal Kit (patent pending) This kit has four longer Drills, specially designed for trans-sinus implants:* • Longer Drill 0 2,0mm JDNasal • Longer Drill 0 2,4mm JDNasal • Initial Drill JDNasal • Helix Drill 0 2,4mm JDNasal Computer guided protocol Note: All measurements in mm JDentalCare, the JDentalCare logo and other trademarks mentioned in this document are, excluding specifically mentioned exceptions, trademarks property of JDentalCare. The images of the products represented in this brochure are not necessarily to scale....
Open the catalog to page 6All JDENTALCARE SRL catalogs and technical brochures
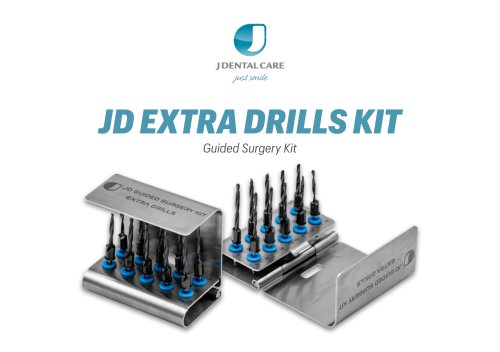 JD Extra Drills Kit
4 Pages
 JDPterygo Retractor
6 Pages
 JDNasal TranZ Drill
6 Pages
 Z-GO Guide™ Surgical Kit
6 Pages
 JD Bone Track Drill Kit
4 Pages
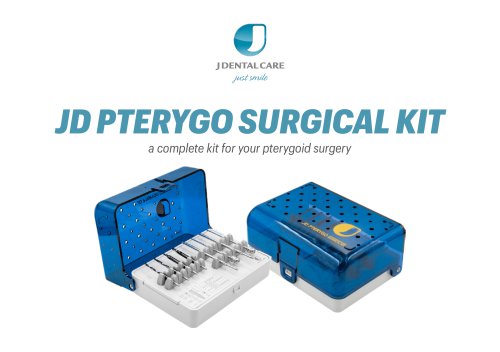 JDPterygo Surgical Kit
4 Pages
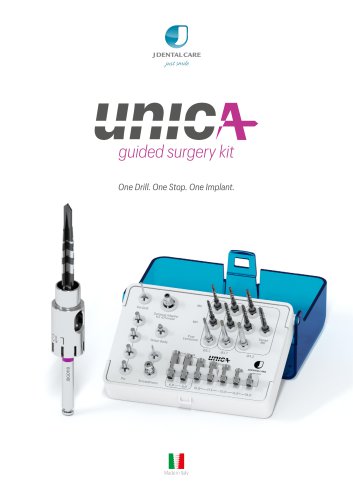 Unica Guided Surgery Kit
4 Pages
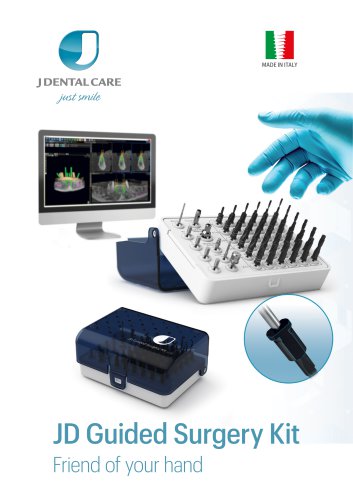 JD Guided Surgery Kit
8 Pages
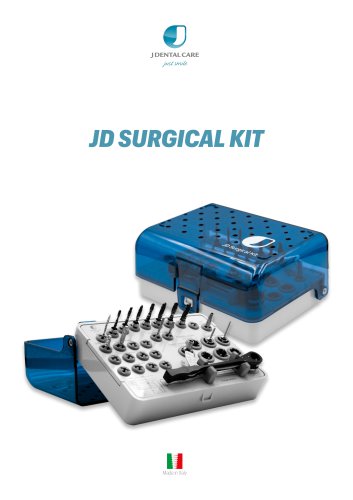 JD Surgical Kit
9 Pages
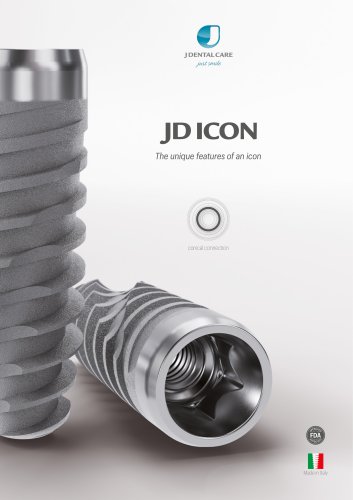 JDIcon
8 Pages
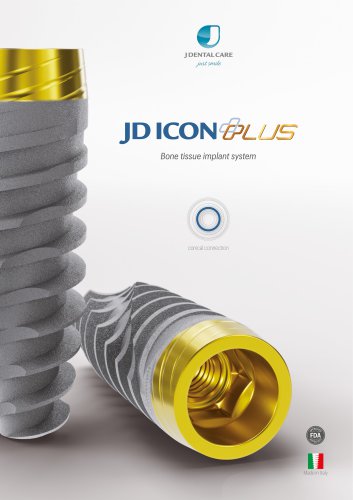 JDIcon Plus LE
12 Pages
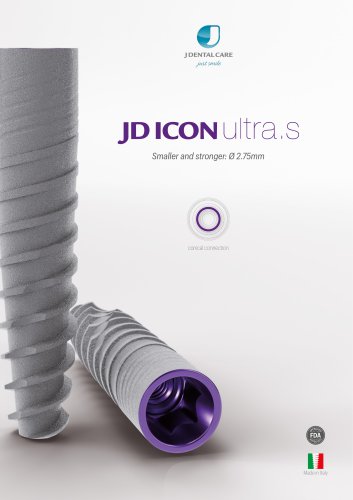 JDIcon Ultra S
4 Pages
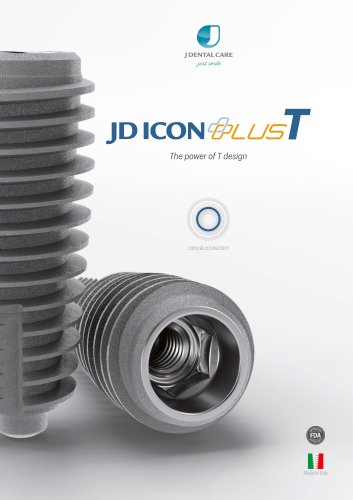 JDIcon Plus T
6 Pages
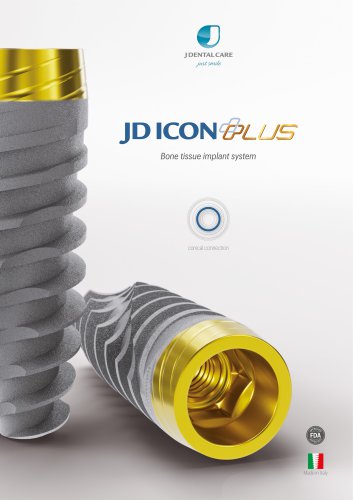 JDIcon Plus
12 Pages
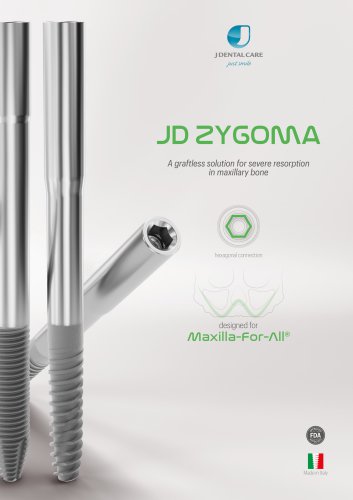 JDZygoma
6 Pages
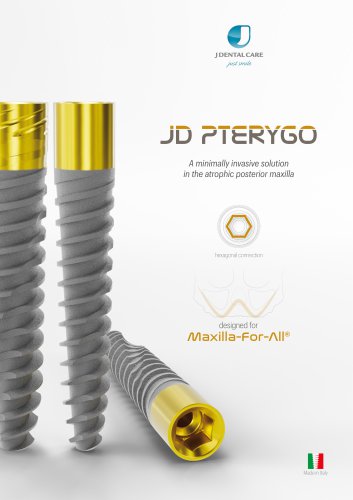 JDPterygo
6 Pages
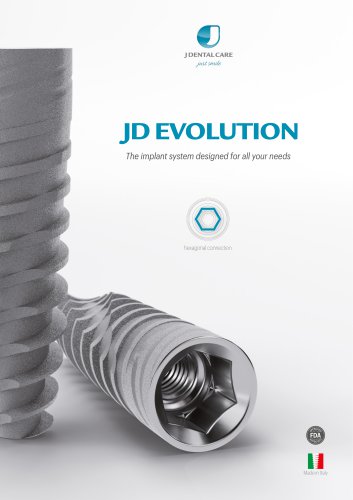 JDEvolution
8 Pages
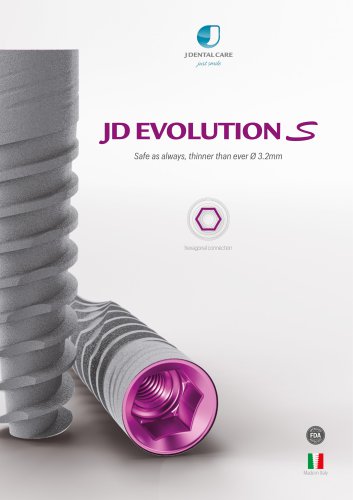 JDEvolution S
6 Pages
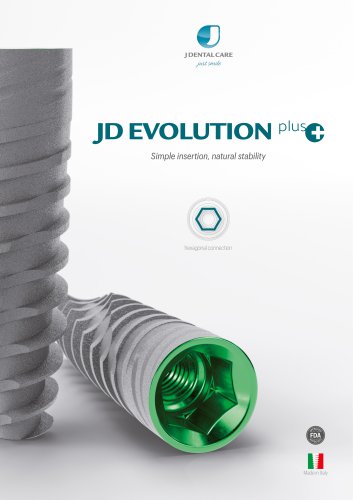 JDEvolution Plus
12 Pages
- Dental surgery instrument kit
- Dental burr
- Dental implant
- Titanium dental implant
- Retractor
- Diamond burr
- Surgical retractor
- Conical dental implant
- Cutting burr
- Drill bit
- Straight dental implant
- Dental implant surgery instrument kit
- Cloud-based software
- Dental software
- Treatment software
- Internal dental implant
- Cylindrical dental implant
- AI-assisted software
- Surgery software
- Dental drill bit