
- Catalogs
- Langer Medical
- Flyer_Tubeelectrode_V5.00_en_screen


- Company
- Products
- Catalogs
- News & Trends
- Exhibitions
Flyer_Tubeelectrode_V5.00_en_screen
Flyer_Tubeelectrode_V5.00_en_screen
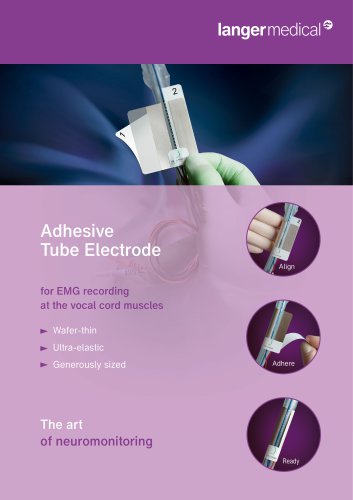
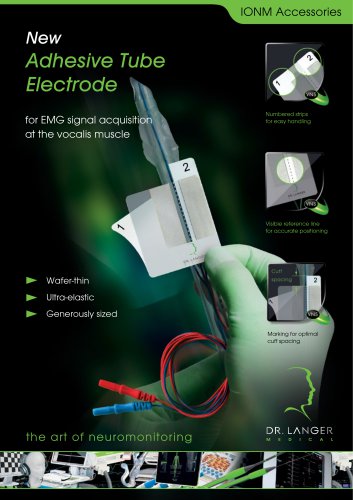
This document provides instructions for the application of an adhesive tube electrode designed for EMG recording at the vocal cord muscles, produced by Dr. Langer Medical GmbH.
The electrode is described as wafer-thin, ultra-elastic, and generously sized, ensuring a snug fit on the tube without folds.
- Step 1: Align - Remove the larger application paper labeled '1'. Align the electrode centrally on the outer curvature of the tube, ensuring the center line of the tube matches the center line of the electrode. Maintain a distance of approximately 1 cm between the cuff and the electrode, using the protruding distance mark from application paper '2' as a guide.
- Step 2: Adhere - Press the large adhesive surface against the tube, avoiding creases. Remove the smaller application paper labeled '2' and press the electrode surface onto the tube without wrinkles, ensuring the transparent part of the first fixed electrode surface is covered.
- Step 3: Ready - Ensure the two silvery electrode surfaces do not touch or overlap. The electrode should fit without folds and be centered on the tube.
The document notes that technical modifications may occur and includes a disclaimer for errors and omissions. The version of the document is 5.00, dated 25-APR-2025.
Catalog excerpts
Adhesive Tube Electrode for EMG recording at the vocal cord muscles Wafer-thin Ultra-elastic Generously sized
Open the catalog to page 1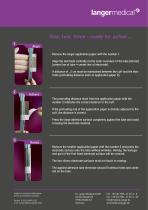
One, two, three - ready for action ... 1 • Remove the larger application paper with the number 1. • Align the electrode centrally on the outer curvature of the tube (dorsal) (center line of tube = center line of electrode). • A distance of ~1 cm must be maintained between the cuff and the electrode (protruding distance mark of application paper 2). • The protruding distance mark from the application paper with the number 2 indicates the correct distance to the cuff. • If the protruding end of the application paper is directly adjacent to the cuff, the distance is correct. • Press the large adhesive...
Open the catalog to page 2All Langer Medical catalogs and technical brochures
Archived catalogs
 TWISTER®MM_Flyer
2 Pages
 AVALANCHE® SI 2_product_brochure
18 Pages
 Saxophone_electrode_Flyer
2 Pages
 Tube_electrode_Flyer
2 Pages
 Electrode_tube_Flyer
2 Pages


- Disposable electrode
- Needle electrode
- Endotracheal tube
- Electrophysiological exploration electrode
- Tissue electrode
- Medical electrode
- Stimulation electrode
- Oral endotracheal tube
- EMG electrode
- Reusable sensor
- Disposable sensor
- Intraoperative nerve monitoring
- Intraoperative nerve monitoring system
- ENT surgery intraoperative nerve monitoring
- Nerve stimulation electrode
- ENT surgery intraoperative nerve monitoring system
- Neurosurgery intraoperative nerve monitoring
- Spine surgery intraoperative nerve monitoring
- Intraoperative nerve stimulator