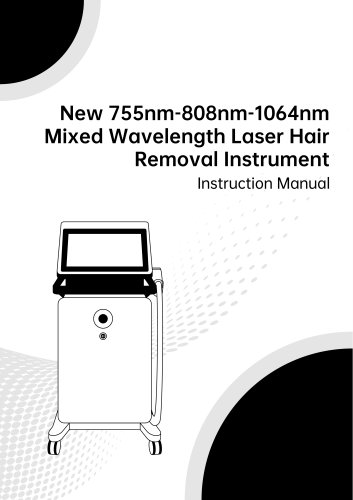
- Catalogs
- Miramhoo Aesthetics
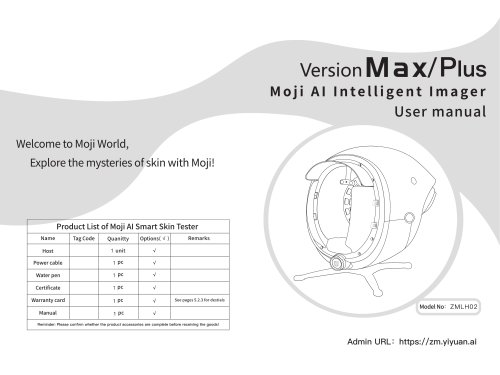
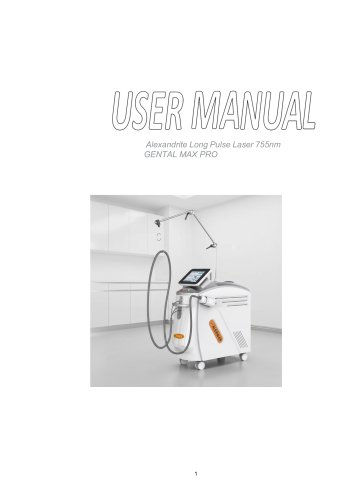
- 1940nm Endovenous Laser Ablation (EVLA)
1940nm Endovenous Laser Ablation (EVLA)
1 /12Pages
1940nm Endovenous Laser Ablation (EVLA)
1 /12Pages
Catalog excerpts
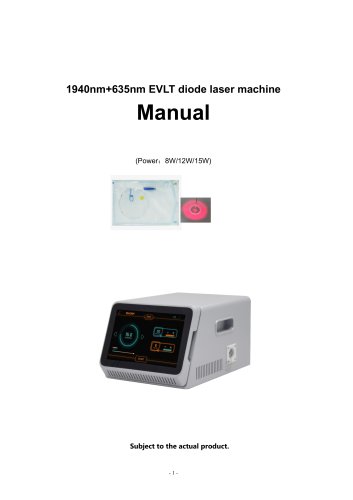
1940nm+635nm EVLT diode laser machine Subject to the actual product.
Open the catalog to page 1
When using the EVLT function, it must be handled by a professional physician. This instrument does not assume responsibility for medical risks! !
Open the catalog to page 2
Respected user: Thank you for choosing the instruments which carefully designed and manufactured by our company. In order to better utilize the product, we sincerely recommend: ♦ ♦ Please read this manual carefully before using the instrument. ♦ ♦ Please install, use and operate correctly according to the requirements in the manual. ♦ ♦ Do not disassemble or modify any parts of this machine. ♦ ♦ Except for authorized personnel of the company, it is strictly forbidden to open the cover and disassemble the host. ♦ ♦ Non-professionals are strictly forbidden to carry out repairs and renovations....
Open the catalog to page 3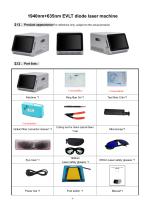
1940nm+635nm EVLT diode laser machine 【1】、Product appearance(For reference only, subject to the actual product) Consumables Optiacl fiber connector cleaner *1 Cutting tool for direct optical fibers *1set 1940nm Laser safety glasses *1 635nm Laser safety glasses *1
Open the catalog to page 4
The unique efficacy of the 1940nm laser stems from a fundamental physical property: it corresponds to a peak absorption wavelength for water molecules.This means that when its laser energy is delivered to biological tissue,it is instantaneously and efficiently absorbed by the water content within the tissue. 1. Precision Energy Delivery ♦The 1940nm laser beam penetrates the skin,and its energy is preferentially and inte- nsely absorbed by the water molecules within and surrounding the wall of the target vein. 2. Direct Vessel Wall Closure ♦ Upon absorption by water,the energy is immediately converted...
Open the catalog to page 5
♦Virtually Bruise-Free:Because the target is water and not hemoglobin,it avoids vessel rupture and red blood cell extravasation,resulting in almost no post-treatm-ent bruis- ing. ♦Very Low Risk of Hyperpigmentation:Energy is highly confined within the target vess- el wall,minimizing thermal damage to surrounding tissue and significantly reducing the risk of post-inflammatory hyperpigmentation. ♦Simultaneous Skin Tightening:The generated heat stimulates collagen contraction and remodeling in the dermis,leading to skin tightening in the treated area alongside vein ♦ Enhanced Patient Comfort:The...
Open the catalog to page 6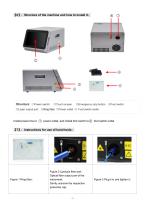
Structure: ①Power switch ②Touch screen ③Emergency stop button ④Foot switch ⑤Laser output port ⑥Ring fiber ⑦Power outlet ⑧ Foot switch outlet Install power line to ○ 7 power outlet, and install foot switch to○ 8 foot switch outlet Figure 1 Ring fiber; Figure 2 Lipolysis fiber port; Optical fiber output port of the instrument; Gently unscrew the respective protecti
Open the catalog to page 7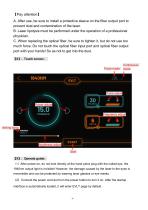
【Pay attention】 A. After use, be sure to install a protective sleeve on the fiber output port to prevent dust and contamination of the laser. B. Laser lipolysis must be performed under the operation of a professional physician. C. When replacing the optical fiber, be sure to tighten it, but do not use too much force. Do not touch the optical fiber input port and optical fiber output port with your hands! So as not to get into the dust. 【8】、Touch screen: Pulse mode Continuous mode Pulse adjust Power adjust Frequency adjust Aiming lamp Brightness adjust Start 【9】、Operate guide: (1)After power-on,...
Open the catalog to page 8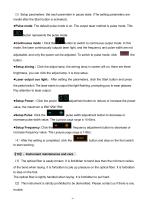
(3)Setup parameters: Set each parameter in pause state. (The setting parameters are invalid after the Start button is activated). ●Pulse mode: The default pulse mode is on. The output laser method is pulse mode. This button represents the pulse mode. button to switch to continuous output mode. In this mode, the laser continuously outputs laser light, and the frequency and pulse width are not adjustable, and only the power can be adjusted. To switch to pulse mode, click ●Setup aiming:Click the adjust lamp, the aiming lamp in screen will on, there are three brightness, you can click the adjust...
Open the catalog to page 9
(3)In order to ensure the normal use of the instrument, purchase or replacement of the spare parts of the instrument, please contact the company directly. 【Attention】The customer only needs to carry out daily cleaning and maintenance of the instrument or the simple fault elimination under the guidance of our company's engineering personnel. Other maintenance work should be performed by the company's technical staff. 【Warning】 Before you maintain this instrument, you must turn off the power and dial out the power cord. Powered maintenance is harmful to both power and equipment. 1. When replacing...
Open the catalog to page 10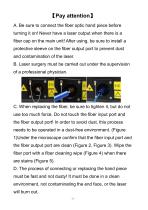
A. Be sure to connect the fiber optic hand piece before turning it on! Never have a laser output when there is a fiber cap on the main unit! After using, be sure to install a protective sleeve on the fiber output port to prevent dust and contamination of the laser. B. Laser surgery must be carried out under the supervision of a professional physician. C. When replacing the fiber, be sure to tighten it, but do not use too much force. Do not touch the fiber input port and the fiber output port! In order to avoid dust, this process needs to be operated in a dust-free environment. (Figure 1)Under...
Open the catalog to page 11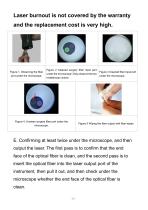
Laser burnout is not covered by the warranty and the replacement cost is very high. Figure 1. Observing the fiber port under the microscope. Figure 2 Cleaned surgery fiber input port under the microscope(Only observe the two middlemost circles). Figure 4. Unclean surgery fiber port under the microscope. Figure 3 Cleaned fiber input port under the microscope. Figure 5 Wiping the fiber output with fiber wipes. E. Confirming at least twice under the microscope, and then output the laser. The first pass is to confirm that the end face of the optical fiber is clean, and the second pass is to insert...
Open the catalog to page 12All Miramhoo Aesthetics catalogs and technical brochures
 Portable Velaslim 4 handle
20 Pages
 M17 Skin Analyzer VISIA 3D
2 Pages
 Emslim&Endorsfera 2 in 1
1 Page
 Morpheus8 RF-2
32 Pages
 Portable diode laser-1
30 Pages
 hydrabeauty 14 handle
13 Pages
 Alexandrite laser candela Laser
26 Pages
 endorshape 360
1 Page
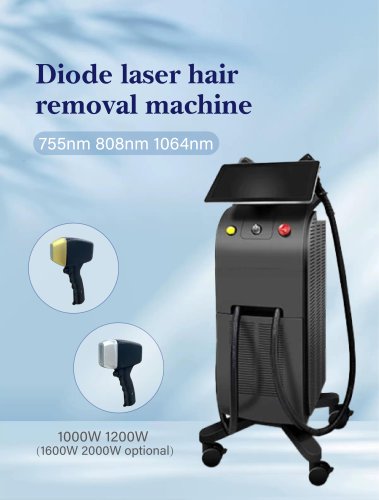
 4 wavelength Diodelaser
22 Pages
 Hydradermabrasion
13 Pages
 Cryo Zimmer skin Cooler-1
11 Pages
 Cryo Zimmer skin Cooler-2
10 Pages
 Poratble Fractional Laser-1
11 Pages
 DL4
DL46 Pages
 Miramhoo-HRL2
6 Pages
 Miramhoo-DL5
6 Pages
 Miramhoo-DL4
6 Pages
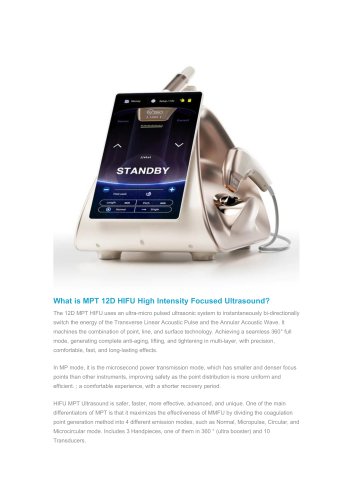 22D HIFU-1
9 Pages
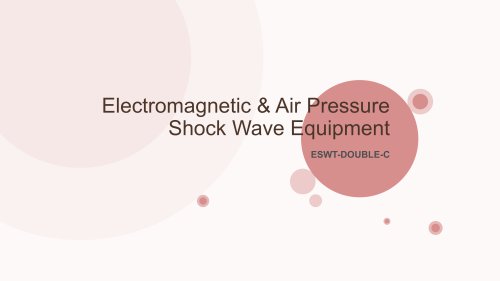 Shockwave ESWT
19 Pages
 Skin Analysis-2
6 Pages
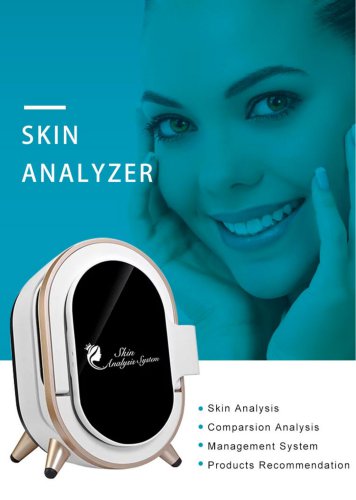
 Skin analysis-1
11 Pages
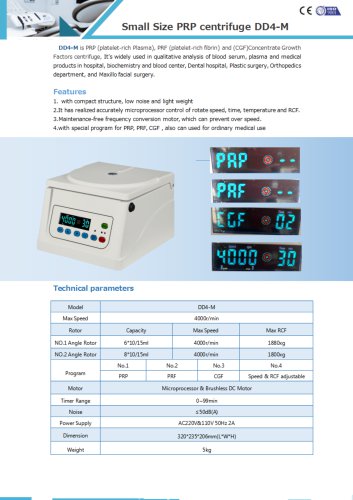 PRP Centrifuge-1
1 Page
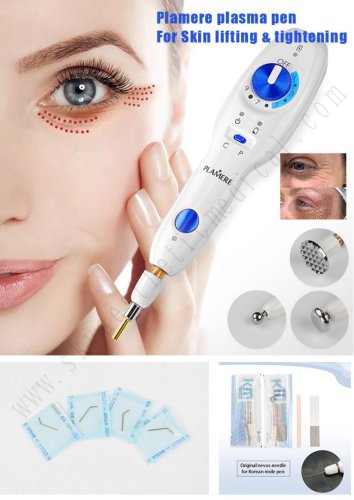 Plamere Plasma Pen-1
7 Pages
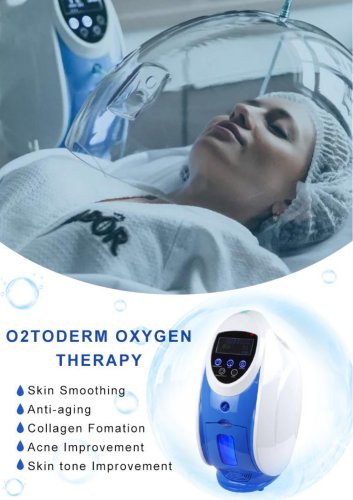 O2toDerm Oxygen + LED Dome
7 Pages
 carbon peeling
6 Pages
 Portable Picolaser-3
8 Pages
 LED Facial therapy lamp-3
9 Pages
 Miramhoo-IPL2
1 Page
 Miramhoo-HRL4
1 Page
 smart Ice Blue 7 in 1
8 Pages
 Oxygen+Hydrofacial 7 handle
9 Pages
 Miramhoo-HL2
5 Pages
 Portable Aquafacial 6 handle
6 Pages
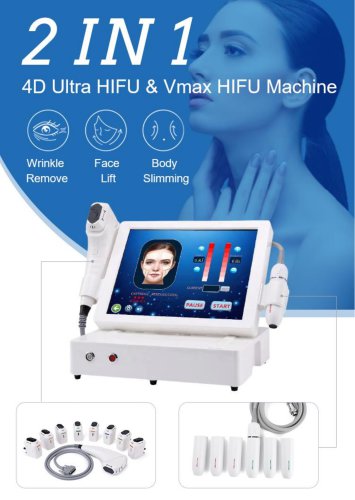 4d hifu with 2 handle-5
5 Pages
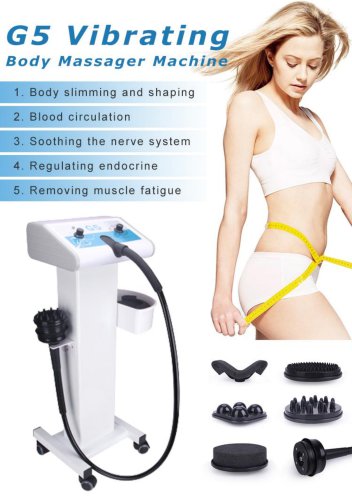 G5 Massager 1 handle -1
6 Pages
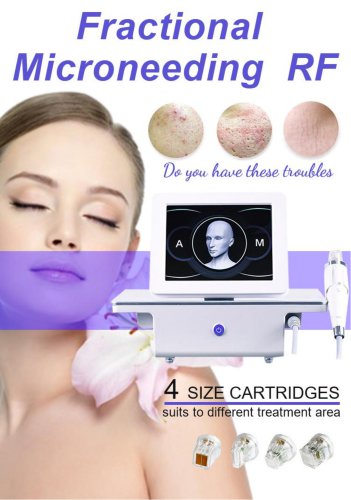 Microneeding RF-4
6 Pages
 vascular removal laser-2
1 Page
 truSculpt ID
6 Pages
 Miramhoo-BSF4
1 Page
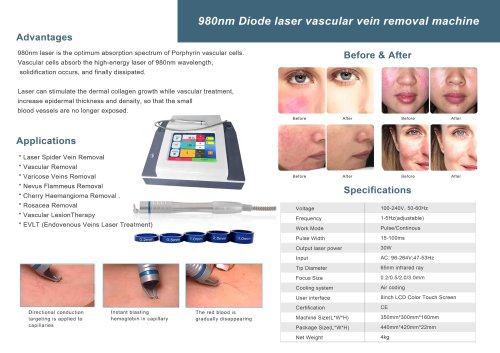
 vascular removal laser-1
5 Pages


- Aesthetic medicine laser
- Skin and body treatment unit
- Trolley-mounted laser
- Laboratory centrifuge
- Tabletop laser
- Benchtop centrifuge
- Hair removal laser
- Dermatology laser
- Nd:YAG laser
- Skin rejuvenation laser
- Phototherapy lamp
- Millisecond laser
- Multipurpose centrifuge
- Class 4 laser
- Surgical laser
- Tattoo removal laser
- Visible light phototherapy lamp
- Heat therapy unit
- Pigmented lesion treatment laser