- Catalogs
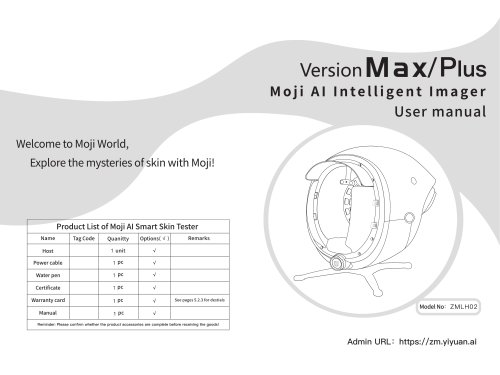
- Miramhoo Aesthetics
- Microwave body contouring unit Coolwaves
Microwave body contouring unit Coolwaves
1 /16Pages

Microwave body contouring unit Coolwaves
1 /16Pages
Catalog excerpts

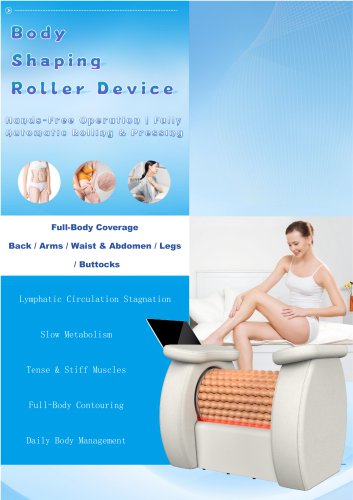
Catalog The Coolwaves Revolution. Smart and enhanced microwave, that Excel in a I I body contouring. • Coolwaves Principle statement • Coolwaves Manual instruction • System operation instructions
Open the catalog to page 1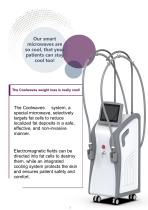
Our smart microwaves are so cool, that your patients can stay cool too! The Coolwaves weight loss is really cool! The Coolwaves weight loss is really cool! cool! The Coolwaves system, a special microwave, selectively targets fat cells to reduce localized fat deposits in a safe, effective, and non-invasive manner. Electromagnetic fields can be directed into fat cells to destroy them, while an integrated cooling system protects the skin and ensures patient safety and comfort.
Open the catalog to page 2
Specially designed smartphones: deep and thin and shallow The internal mechanics of handpieces are to emit Coolwaves in a controlled fashion, focusing is needed ( for example in the subcutaneous the event of localized fat deposits ) , preserving The two handpieces differ in their depth of specially designed energy only where it adipose tissue in the adjacent tissues action , each designed for different body areas or types of blemish •Localized fat deposits: Deep hands allow cold waves to penetrate deeply , destroying the cell membranes of subcutaneous fat cells. The lysate is then expelled by...
Open the catalog to page 3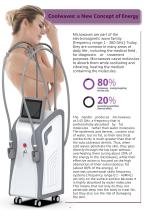
Coolwaves: a New Concept of Energy Microwaves are part of the electromagnetic wave family [frequency range: 1 - 300 GHz]. Today, they are common in many areas of daily life , including the medical field , for diagnostic or treatment purposes. Microwaves cause molecules to absorb them while oscillating and vibrating, heating the medium containing the molecules. CQolwves energ Secondary superficial thermal effect The handle produces microwaves at 2.45 GHz, a frequency that is preferentially absorbed by fat molecules rather than water molecules. The epidermis and dermis, contain a lot of water,...
Open the catalog to page 4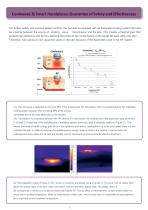
For further safety and improve patient comfort, the handset is equipped with an integrated cooling system that acts as a barrier between the source of cooling wave transmission and the skin. This creates a thermal layer that protects the epidermis and dermis, allowing the action to be concentrated on the target fat deep within the skin. Therefore, cold waves do not cause hot spots on the skin because of the electrodes used in the RF system. Coolwaves a^/RF or*. is the conductivity of the skin, o^changes with the frequency of electromagnetic waves. (A) : The cold wave is designed so that only...
Open the catalog to page 5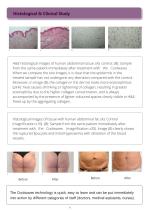
H&E histological images of human abdominal tissue. (A): control. (B): Sample from the same patient immediately after treatment with the Coolwaves . When we compare the two images, it is clear that the epidermis in the treated sample has not undergone any alteration compared with the control. Moreover, in image (B), the collagen in the dermis looks more eosinophilous (pink): heat causes shrinking or tightening of collagen, resulting in greater eosinophilia, due to the higher collagen concentration, and is always accompanied by the presence of lighter-coloured spaces clearly visible in H&E, freed...
Open the catalog to page 6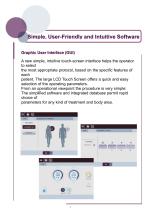
Simple, User-Friendly and Intuitive Software A new simple, intuitive touch-screen interface helps the operator to select the most appropriate protocol, based on the specific features of each patient. The large LCD Touch Screen offers a quick and easy selection of the operating parameters. From an operational viewpoint the procedure is very simple: The simplified software and integrated database permit rapid choice of parameters for any kind of treatment and body area.
Open the catalog to page 7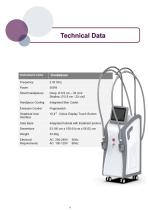
Technical Data instrument name Cooiwaves Frequency Smart Handpieces Handpiece Cooiing Emission Control Graphical User Interface Data Base integrated Skin Cooler 10,4” Colour Display Touch Screen Integrated tutorial with treatment protoco 53 (W) cm x 109 (H) cm x 58 (D) cm 53.2Kg
Open the catalog to page 8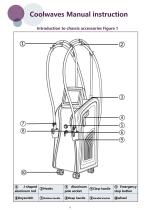
Coolwaves Manual instruction Introduction to chassis accessories Figure 1 J-shaped ②Hooks aluminum rod ⑧Deep handle ⑦Shallow handle pole socket ④Clasp handle ⑨Handle bracket
Open the catalog to page 9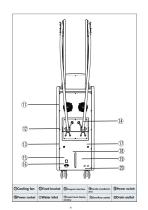
⑫Fixed bracket ⑬Program Interface ⑭Handle installation ⑮Power switch ⑯Power socket ⑰Water inlet ⑱ Liquid level display window
Open the catalog to page 10
Product Installation Introduction Handle bracket Installation (After assembly) (Before assembly) J-shaped aluminum rod Installation (Fix the hook onto the J-shaped aluminum rod) (Install required accessories) (two J-shaped aluminum rod) (place the handle hose on the hook)
Open the catalog to page 11
Introduction to the installation of handle hole positions (Before assembly) (After assembly) Steps for adding water to the water tank (Accessories for adding water) (Open the cover of the water inlet hole and overflow hole) (If you need to drain water, you can open the water outlet to drain it) (add water above the yellow indicator line)
Open the catalog to page 12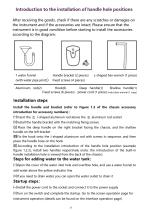
After receiving the goods, check if there are any scratches or damages on the instrument and if the accessories are intact; Please ensure that the instrument is in good condition before starting to install the accessories according to the diagram: 1 water funnel Handle bracket (2 pieces) L-shaped hex wrench (1 piece) (with water pipe joint)) Fixed screws (4 pieces) Fixed screws (6 pieces) power cord (1 piece) instruction manual (1 copy) Install the handle and bracket (refer to Figure 1.2 of the chassis accessory introduction for accessory numbers): —Insert the © J-shaped aluminum rod above the...
Open the catalog to page 13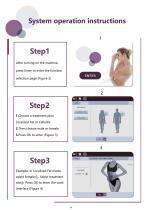
System operation instructions After turning on the machine, press Enter to enter the function selection page (Figure 2) 1.Choose a treatment plan Localized Fat or Cellulite 2.Then choose male or female 3.Press OK to enter (Figure 3) Example: In Localized Fat mode, select female.① Select treatment site② Press OK to enter the work interface (Figure 4)
Open the catalog to page 14
Work interface (Figure 4) operation steps 1.Select SHALLOW or DEEP handle 2.Press Button( cooling function. Note: This function can be used alone or stopped. 3.Press Button(STAND-BY) Activate microwave function At this time, press the red button switch on the handle to start working.During microwave operation(EMISSION)The indicator light is green In this state, the instrument will have an intermittent prompt sound 4.The circular indicator light on the handle Power regulation method: of the instrument will light up during 1.Click the up or down triangle button to adjust; operation (cooling or...
Open the catalog to page 15All Miramhoo Aesthetics catalogs and technical brochures
 Portable Velaslim 4 handle
20 Pages
 M17 Skin Analyzer VISIA 3D
2 Pages
 Emslim&Endorsfera 2 in 1
1 Page
 Morpheus8 RF-2
32 Pages
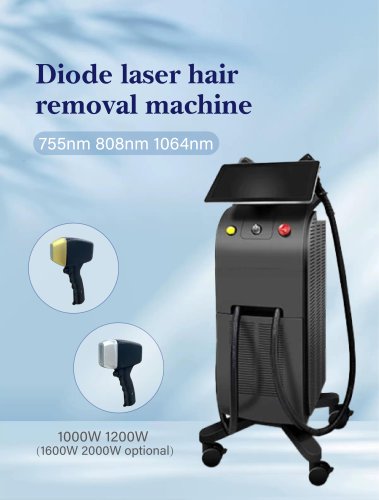
 Portable diode laser-1
30 Pages
 hydrabeauty 14 handle
13 Pages
 Alexandrite laser candela Laser
26 Pages
 endorshape 360
1 Page
 4 wavelength Diodelaser
22 Pages
 Hydradermabrasion
13 Pages
 Cryo Zimmer skin Cooler-1
11 Pages
 Cryo Zimmer skin Cooler-2
10 Pages
 Poratble Fractional Laser-1
11 Pages
 DL4
DL46 Pages
 Miramhoo-HRL2
6 Pages
 Miramhoo-DL5
6 Pages
 Miramhoo-DL4
6 Pages
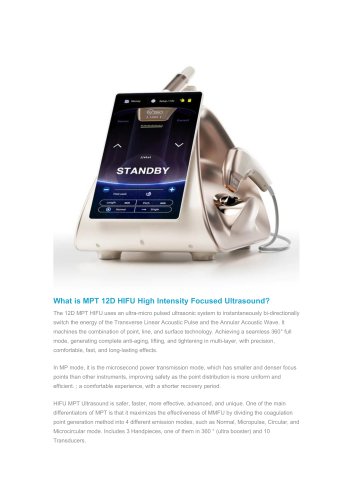 22D HIFU-1
9 Pages
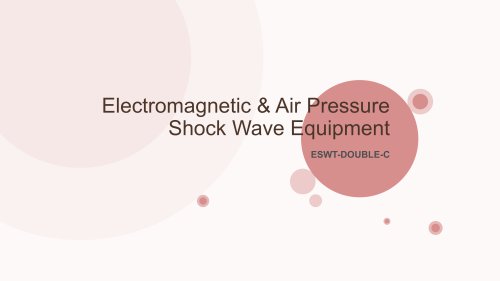 Shockwave ESWT
19 Pages
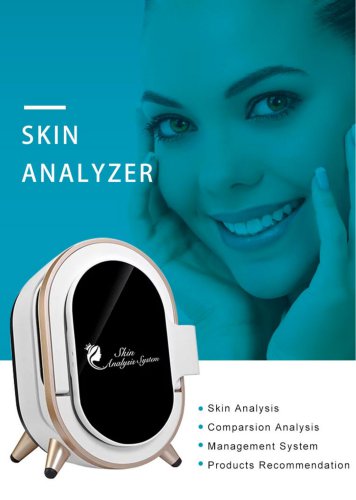 Skin Analysis-2
6 Pages
 Skin analysis-1
11 Pages
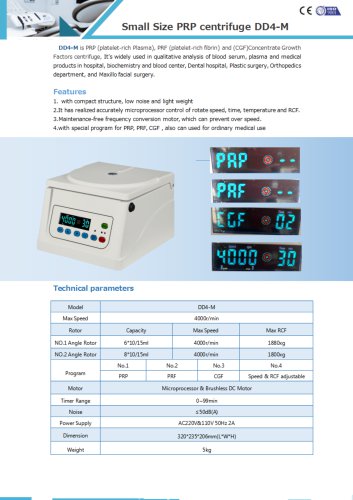 PRP Centrifuge-1
1 Page
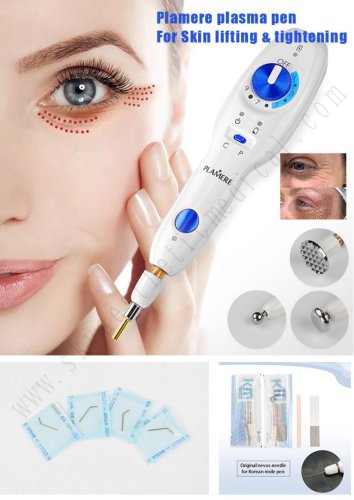 Plamere Plasma Pen-1
7 Pages
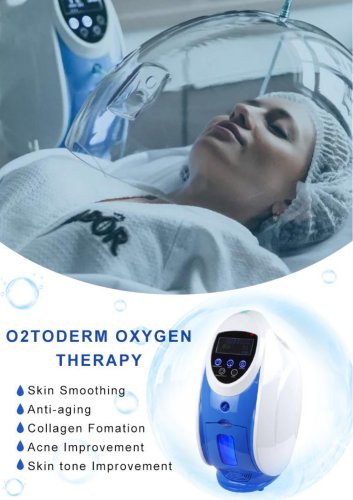 O2toDerm Oxygen + LED Dome
7 Pages
 carbon peeling
6 Pages
 Portable Picolaser-3
8 Pages
 LED Facial therapy lamp-3
9 Pages
 Miramhoo-IPL2
1 Page
 Miramhoo-HRL4
1 Page
 smart Ice Blue 7 in 1
8 Pages
 Oxygen+Hydrofacial 7 handle
9 Pages
 Miramhoo-HL2
5 Pages
 Portable Aquafacial 6 handle
6 Pages
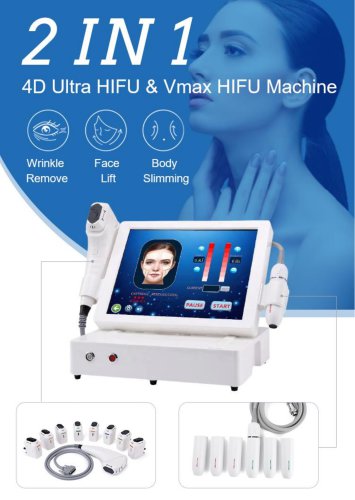 4d hifu with 2 handle-5
5 Pages
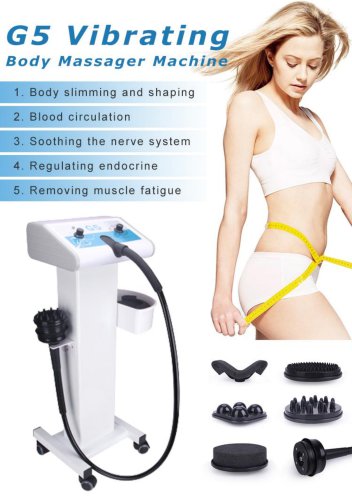 G5 Massager 1 handle -1
6 Pages
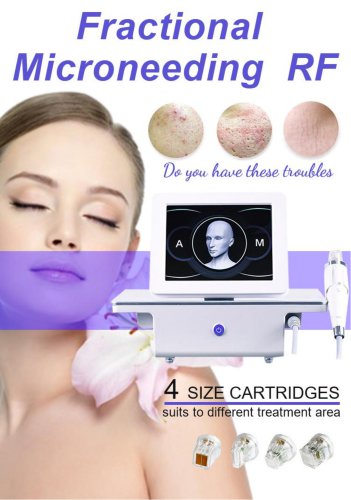 Microneeding RF-4
6 Pages
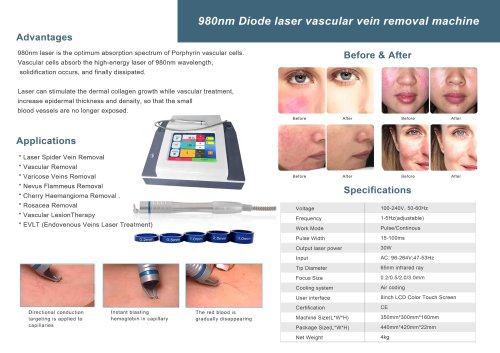 vascular removal laser-2
1 Page
 truSculpt ID
6 Pages
 Miramhoo-BSF4
1 Page
 vascular removal laser-1
5 Pages


- Aesthetic medicine laser
- Skin and body treatment unit
- Trolley-mounted laser
- Diode laser
- Laboratory centrifuge
- Tabletop laser
- Benchtop centrifuge
- Hair removal laser
- Dermatology laser
- Nd:YAG laser
- Skin rejuvenation laser
- Phototherapy lamp
- Millisecond laser
- Multipurpose centrifuge
- Class 4 laser
- Surgical laser
- Tattoo removal laser
- Visible light phototherapy lamp
- Heat therapy unit
- Pigmented lesion treatment laser