- Catalogs
- NeoSys Medical Solutions
- ACL Attachable Button System
ACL Attachable Button System
1 /9Pages

ACL Attachable Button System
1 /9Pages
Catalog excerpts

ACL Attachable Button System Surgical Technique
Open the catalog to page 1
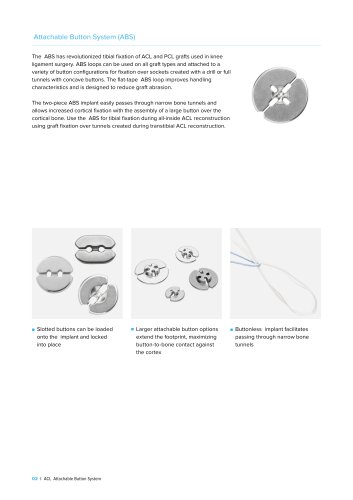
Attachable Button System (ABS) The ABS has revolutionized tibial fixation of ACL and PCL grafts used in knee ligament surgery. ABS loops can be used on all graft types and attached to a variety of button configurations for fixation over sockets created with a drill or full tunnels with concave buttons. The flat-tape ABS loop improves handling characteristics and is designed to reduce graft abrasion. The two-piece ABS implant easily passes through narrow bone tunnels and allows increased cortical fixation with the assembly of a large button over the cortical bone. Use the ABS for tibial fixation...
Open the catalog to page 2
ABS Implant (Standard) The standard ABS implant was designed specifically for grafts that can be folded over the looped end of the implant. The improved packaging design conveniently holds the ABS implant and blue passing suture. The passing suture can be attached in between the spliced portions of the ABS implant as a luggage tag stitch to aid in shuttling the ABS implant through the tunnel. ACL Attachable Button System I 03
Open the catalog to page 3
ABS Button Overview The advantages of the ABS implant include: ■ Strong, reliable cortical fixation superior to interference screws1 ■ Maximum graft-to-bone contact improves incorporation and healing2 Concave ABS Buttons Ideal for both sockets and full tunnel applications (14 mm and 20 mm buttons). The centering feature of these buttons maintains position over the tunnel and provides a better seal at the cortex than standard flat buttons. The concave surface countersinks sutures and knots. The 14 mm and 20 mm buttons have slots for the implant loop along with two holes for additional sutures....
Open the catalog to page 4
Graft Options ABS implant fixation can be used with any graft type. The ABS loop allows the fixation of grafts that can be passed around a closed loop (hamstrings). ACL Attachable Button System I 05
Open the catalog to page 5
Technique: Fixation Over Tibial Sockets Using the InternalBrace Technique A tibial socket can be prepared with the FlipCutter drill and the side-release RetroConstruction guide. FlipCutter drills create socket diameters from 6 mm to 12 mm while only leaving a small 3.5 mm perforation through the cortex. 2 Pass the ABS loop through the tibial socket by attaching a passing suture to the spliced area. Note: Pass any backup sutures attached to the graft. 06 I ACL Attachable Button System 3 Once the ABS loop is passed, remove the passing suture and pull on the inside of the loop and backup sutures...
Open the catalog to page 6
4 Load the 11 mm concave ABS button onto the proximal portion of the loop by passing each side through its respective slot on the button. Pull on the tensioning strands to advance the button toward the bone. Load the FiberTape and backup sutures into the slots before the button enters the skin. 6 Use the 5.2 mm tap in the drilled hole and tap the socket. 5 Using the spade-tip drill from the ACL Backup Kit, drill into the tibia to the depth of the drill collar. This represents 20 mm. 7 In full extension, pass the FiberTape and backup sutures through the SwiveLock anchor. Insert the anchor into...
Open the catalog to page 7
8 Cut the FiberTape suture flush. Cycle the knee several times and retension the RT and ABS implants. 08 I ACL Attachable Button System 9 Final fixation: Tie the tensioning sutures of the tibial ABS implant over the ABS button for additional resistance.
Open the catalog to page 8
Technique: Fixation Over Full Tunnels After passing the graft transtibially, attach the ABS button to the proximal ABS loop by inserting each side into its respective slot and pulling the button down to the spliced area where it will be locked onto the loop (1a). If using backup sutures, place them through the additional holes in the button. Pull the ABS implant tensioning strands to advance the button to bone. Ensure the collar of the button enters the tunnel and the button is lying on the cortex (1b). 2 Final graft tension may now be set by pulling on the tensioning strands of the implant....
Open the catalog to page 9All NeoSys Medical Solutions catalogs and technical brochures
 exosome
7 Pages
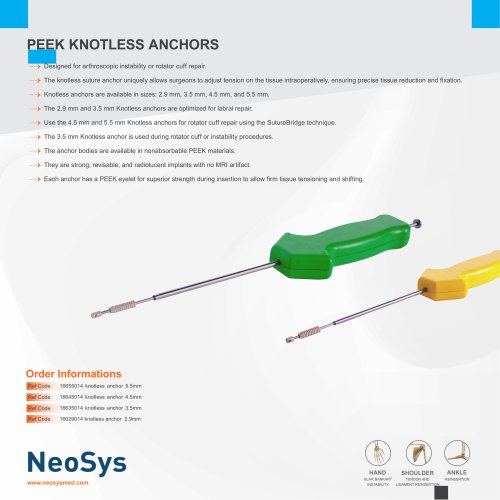
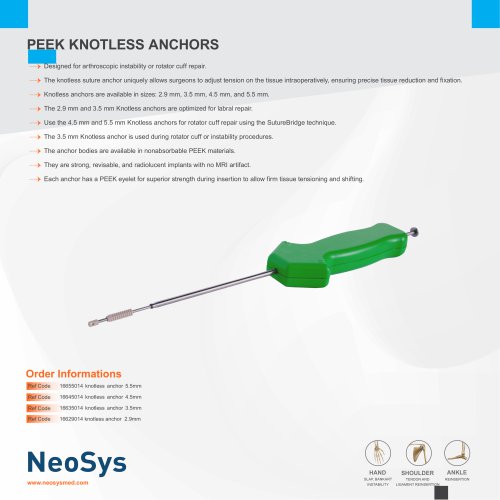 PEEK KNOTLESS ANCHORS
1 Page
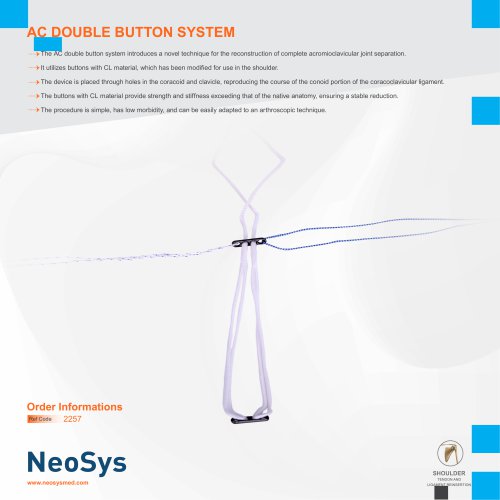 AC DOUBLE BUTTON SYSTEM
1 Page
 general catalog
63 Pages
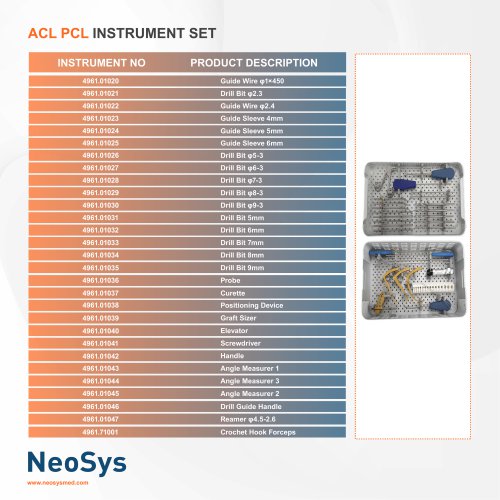 acl set
6 Pages
 suture lasso
1 Page
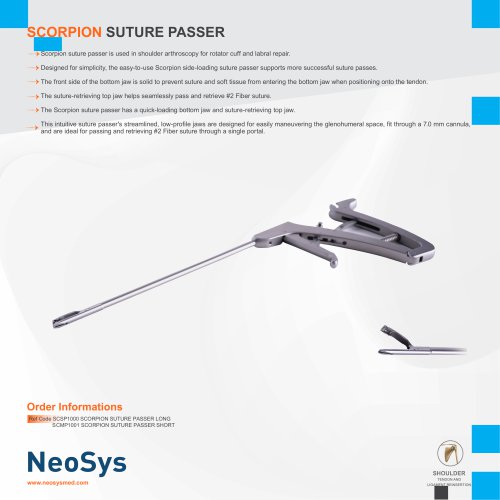 SCORPION SUTURE PASSER
1 Page
 SWIVELOCK ANCHORS
1 Page
 DISPOSABLE CANNULAS
1 Page
 GRAFT PASSING GUIDE PIN
1 Page
 RF ABLATION PROBES
1 Page
 mosaic plasty kit
1 Page
 FIBERTAPE SUTURE
1 Page
 fiber loop
1 Page
 PEEK KNOTLESS ANCHORS
1 Page
 TITANIUM SUTURE ANCHOR
1 Page
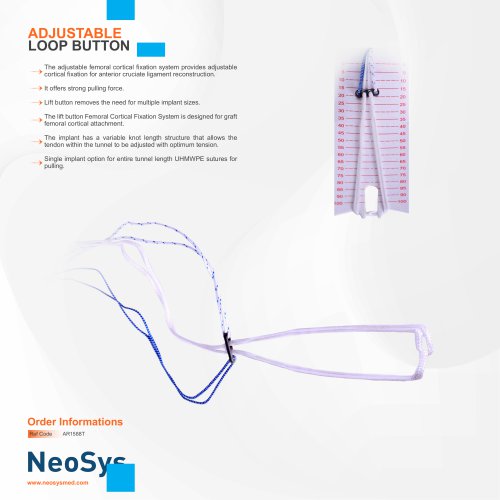 adjustable loop button
1 Page
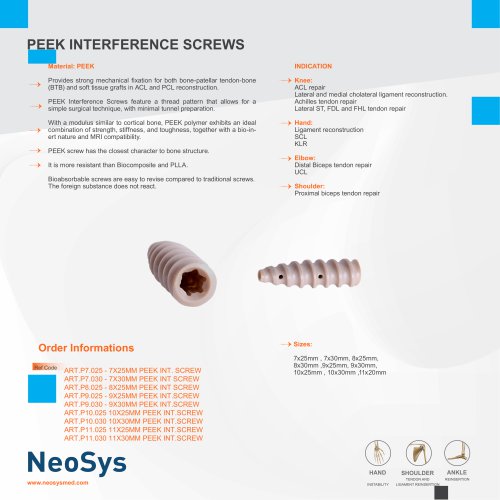 PEEK INTERFERENCE SCREWS
1 Page
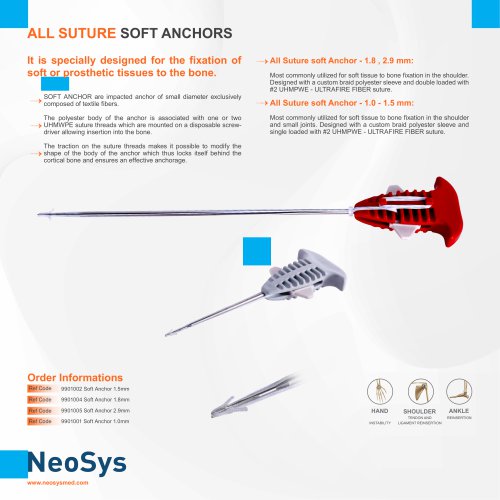 ALL SUTURE SOFT ANCHORS
1 Page
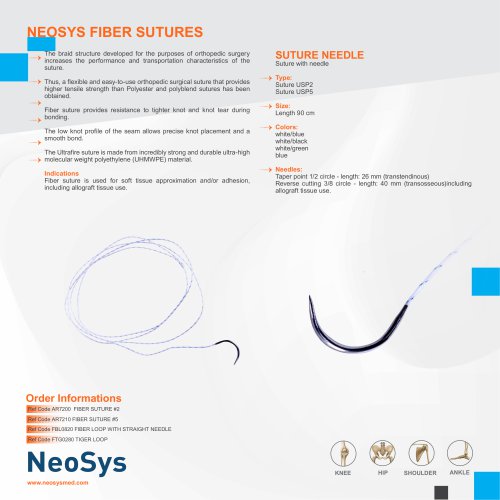 NEOSYS FIBER SUTURES
1 Page
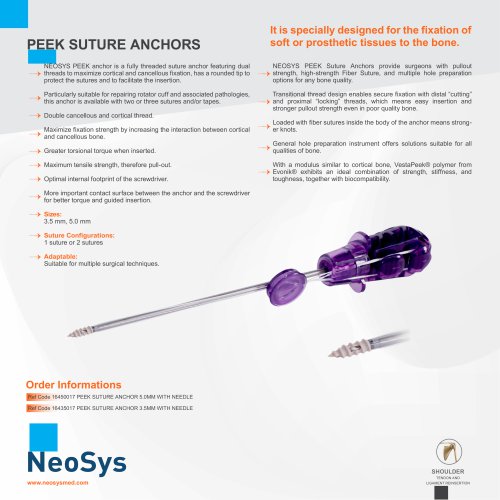 PEEK SUTURE ANCHORS
1 Page

Archived catalogs
 meniscal repair all inside
9 Pages
- Bone plate
- Grasping forceps
- Surgery electrode
- Cannula
- Electrosurgical electrode
- Orthopedic surgery instrument kit
- HF electrode
- Endoscopy forceps
- Monopolar electrode
- Interbody fusion cage
- Sealing forceps
- Tissue grasping forceps
- Disposable electrode
- Bone substitute
- Suture thread
- PEEK interbody fusion cage
- Anterior interbody fusion cage
- Lumbar interbody fusion cage
- Arthrodesis plate
- Endoscopy electrode