- Catalogs
- NeoSys Medical Solutions
- meniscal repair all inside
meniscal repair all inside
1 /9Pages

meniscal repair all inside
1 /9Pages
Catalog excerpts
Meniscal Repair System All-Inside Meniscal Repair INSTRUCTION OF USE
Open the catalog to page 1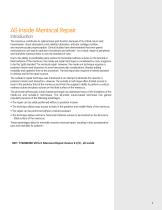
All-Inside Meniscal Repair Introduction The meniscus contributes to optimal knee joint function because of its critical role in load transmission, shock absorption, joint stability, lubrication, articular cartilage nutrition, and neuromuscular proprioception. Clinical studies have demonstrated that even partial meniscectomy can lead to early joint chondrosis and arthrosis1. As a result, repair of peripheral and red/white meniscal tears is now the standard of care. Due to the ability to predictably place vertical or horizontal mattress sutures on the femoral or tibial surfaces of the meniscus,...
Open the catalog to page 2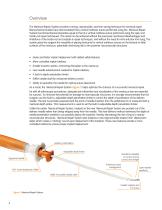
Overview The Meniscal Repair System provides a strong, reproducible, and time-saving technique for meniscal repair. Biomechanical studies have demonstrated that a vertical mattress suture performed using the Meniscal Repair System has biomechanical properties equal to that of a vertical mattress suture performed using the open and inside-out repair techniques. This result can be achieved without the previously mentioned disadvantages and limitations of the inside-out and outside-in repair techniques, and without the need for intra-articular knot tying. The system gives the surgeon the versatility...
Open the catalog to page 3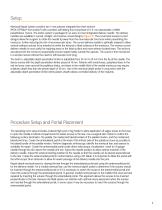
Setup Meniscal Repair System contains two 5 mm polymer integrated bio-inert anchors (PEEK-OPTIMA® from Invibio®) with a pretied, self-sliding knot comprised of 2-0, non-absorbable, UHMW polyethelene Suture. The entire system is packaged in an easy-to-insert integrated delivery needle. The delivery needles are available in curved, straight, and reverse curved designs (Figure 2). The curved and reverse curved designs allow the surgeon to rotate the needle tip away from the neurovascular structures when penetrating the meniscus, further reducing the risk of neurovascular injury. The curved delivery...
Open the catalog to page 4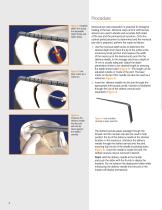
Procedure Figure 3. Establish depth limit using the adjustable depth limiter and depth probe. Figure 4. Use laser marks as a reference. Meniscal tear site preparation is essential for biological healing of the tear. Meniscal rasps and/or arthroscopic shavers are used to abrade and excoriate both sides of the tear and the perimeniscal synovium. Once the optimal portal placement is determined and the meniscal tear site is prepared, perform the repair as follows: 1. Use the meniscal depth probe to determine the desired depth limit. Place the tip of the probe at the meniscosynovial junction and measure...
Open the catalog to page 5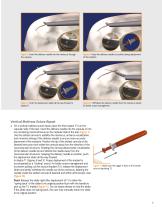
Figure 7. Insert the delivery needle into the meniscus through the capsule. Figure 8. Keep the delivery needle in position during deployment of the implants. Figure 9. Push the deployment slider all the way forward to deploy T1. Figure 10. Withdraw the delivery needle from the meniscus slowly for better suture management. Vertical Mattress Suture Repair 3. For a vertical mattress suture repair, place the first implant (T1) on the capsular side of the tear. Insert the delivery needle into the capsule or into any remaining meniscal tissue on the capsular side of the tear (Figure 7). Use the slotted...
Open the catalog to page 6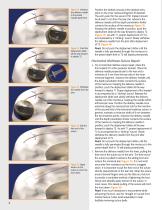
Figure 12. Advance the delivery needle to the preset needle depth limit. Figure 13. Push the deployment slider all the way forward to deploy T2. Position the slotted cannula at the desired entry point on the inner meniscal fragment (if desired). The entry point for the second (T2) implant should be at least 5 mm from the tear site. Advance the delivery needle until the depth penetration limiter contacts the surface of the meniscus (Figure 12). Keeping the delivery needle in position, push the deployment slider all the way forward to deploy T2 (Figure 13). As with T1, proper deployment of T2 is...
Open the catalog to page 7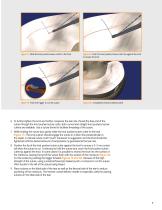
Figure 17. Slide the knot pusher/suture cutter to the knot. Figure 18. Push the knot pusher/suture cutter tip against the knot to recess the knot. Figure 19. Push the trigger to cut the suture. Figure 20. Completed vertical mattress stitch. 6. To further tighten the knot and further compress the tear site, thread the free end of the suture through the knot pusher/suture cutter. Both curved and straight knot pushers/suture cutters are available. Use a suture funnel to facilitate threading of the suture. 7. While holding the suture taut, gently slide the knot pusher/suture cutter to the knot (Figure...
Open the catalog to page 8
The Meniscal Repair System utilizes a high strength non-absorbable suture and allows the repair to be performed with a vertical mattress suture, which has been shown to be the strongest meniscal repair technique. As a result, the standard rehabilitation protocol used with inside-out repairs can be utilized. Prior to performing this technique, consult the Instruction for Use documentation provided with individual components - including indications, contraindications, warnings, cautions, and instructions. • Prepare meniscal tear site properly. • Choose the portal which most easily allows the delivery...
Open the catalog to page 9All NeoSys Medical Solutions catalogs and technical brochures
 exosome
7 Pages
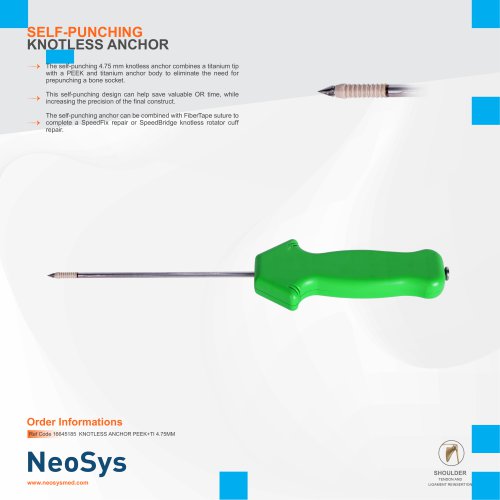
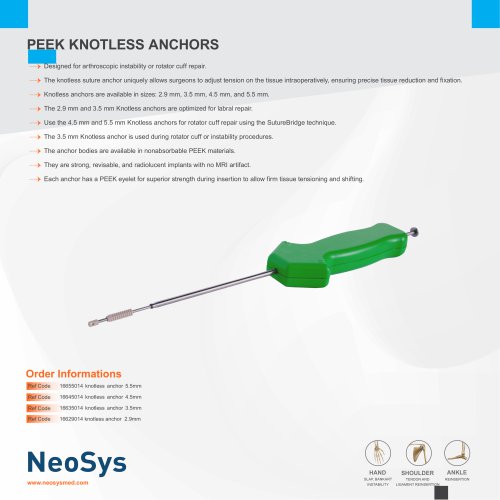 PEEK KNOTLESS ANCHORS
1 Page
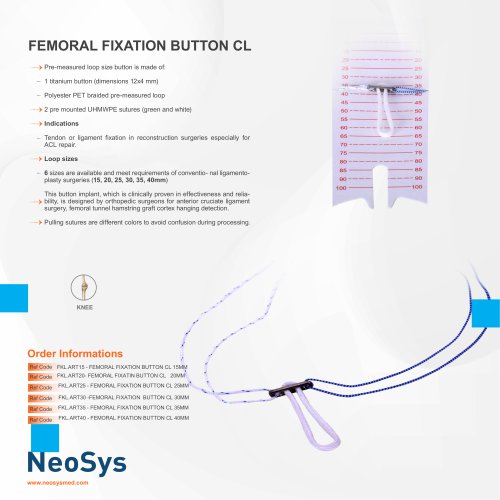
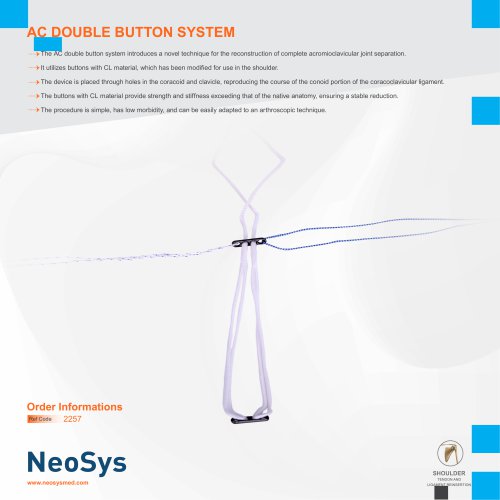 AC DOUBLE BUTTON SYSTEM
1 Page
 general catalog
63 Pages
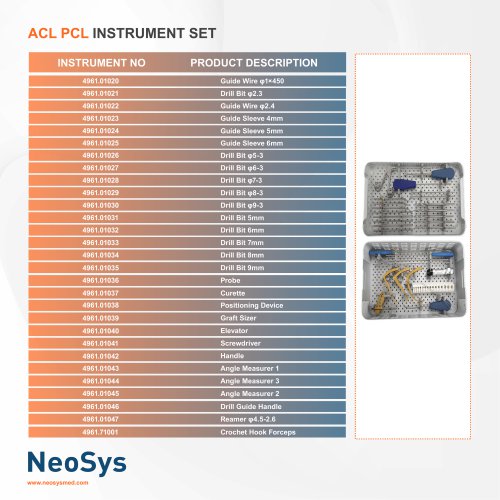 acl set
6 Pages
 suture lasso
1 Page
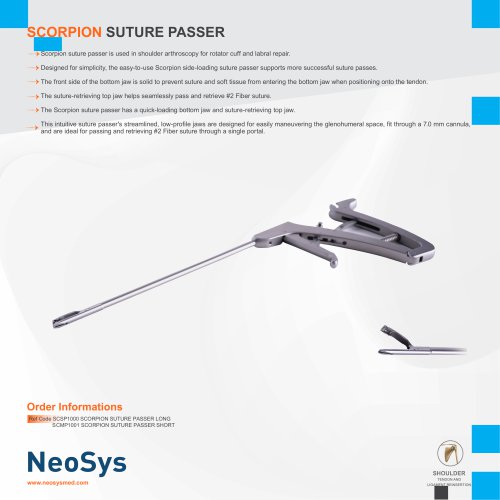 SCORPION SUTURE PASSER
1 Page
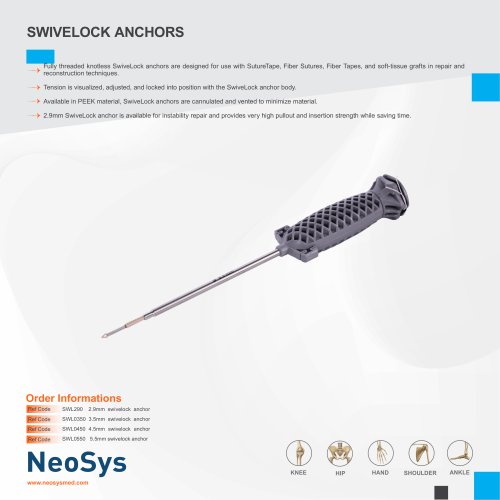 SWIVELOCK ANCHORS
1 Page
 DISPOSABLE CANNULAS
1 Page
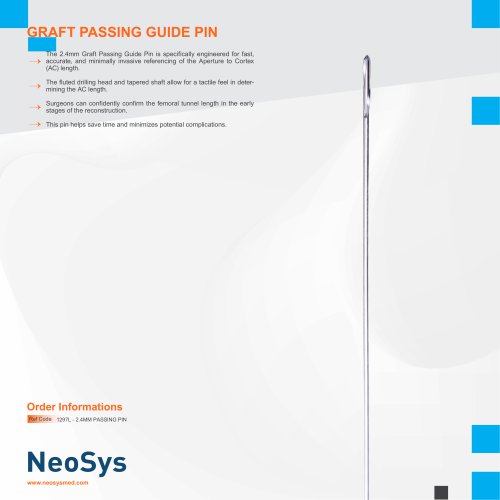 GRAFT PASSING GUIDE PIN
1 Page
 RF ABLATION PROBES
1 Page
 mosaic plasty kit
1 Page
 FIBERTAPE SUTURE
1 Page
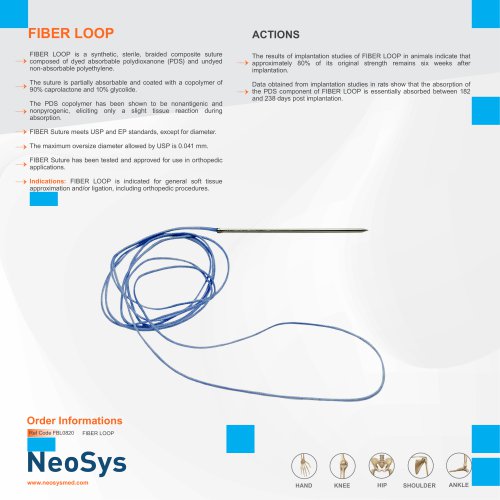 fiber loop
1 Page
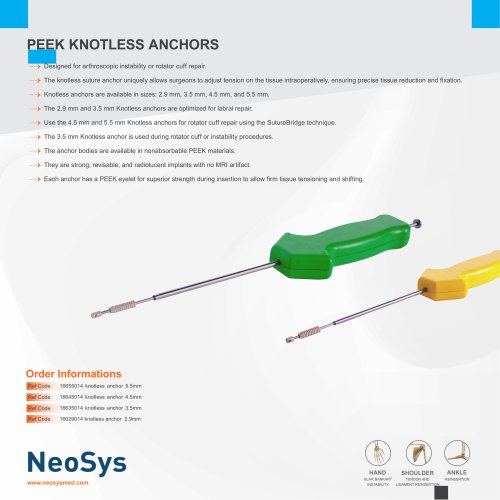 PEEK KNOTLESS ANCHORS
1 Page
 TITANIUM SUTURE ANCHOR
1 Page
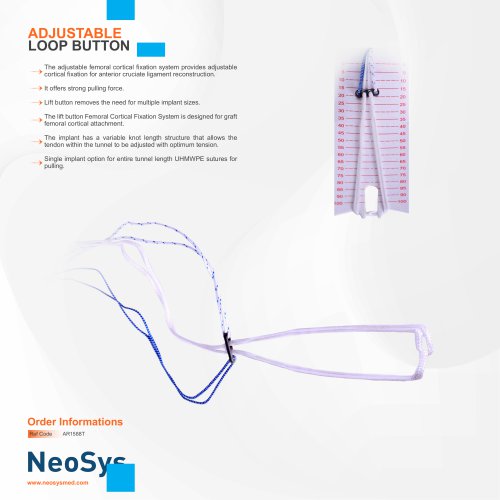 adjustable loop button
1 Page
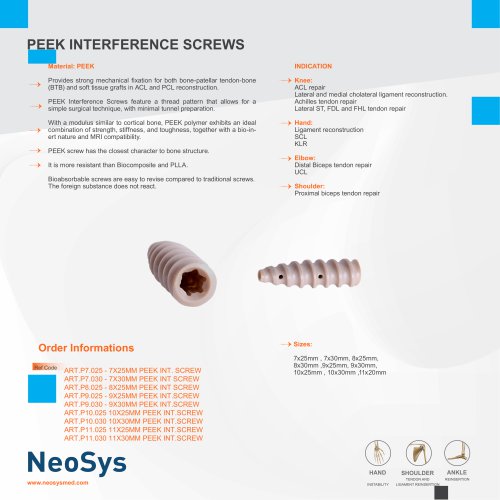 PEEK INTERFERENCE SCREWS
1 Page
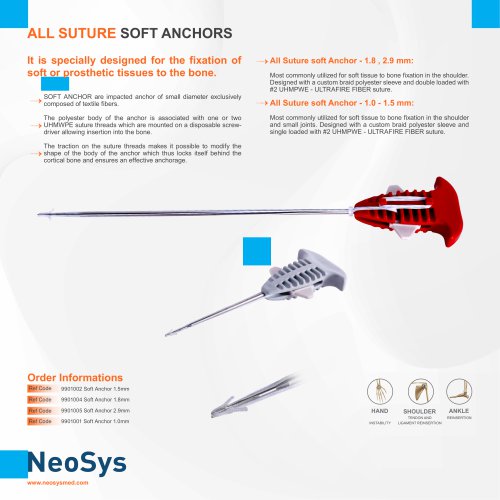 ALL SUTURE SOFT ANCHORS
1 Page
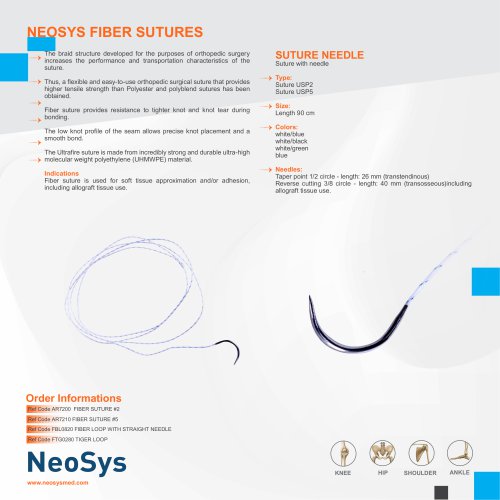 NEOSYS FIBER SUTURES
1 Page
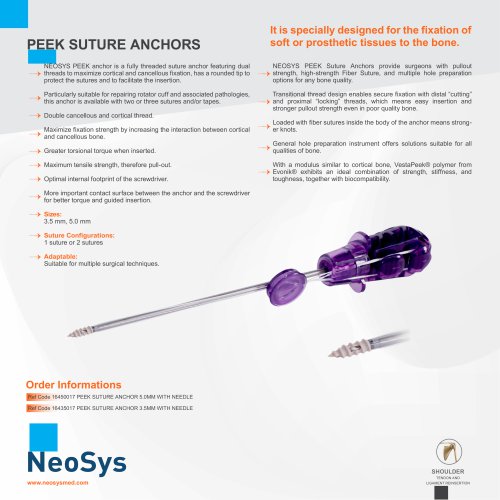 PEEK SUTURE ANCHORS
1 Page
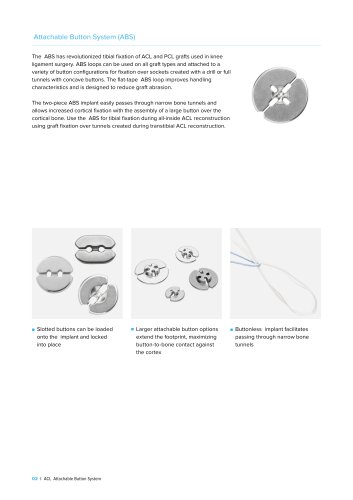
 ACL Attachable Button System
9 Pages

- Bone plate
- Grasping forceps
- Surgery electrode
- Electrosurgical electrode
- HF electrode
- Endoscopy forceps
- Orthopedic surgery instrument kit
- Monopolar electrode
- Interbody fusion cage
- Sealing forceps
- Tissue grasping forceps
- Disposable electrode
- Bone substitute
- Suture thread
- PEEK interbody fusion cage
- Anterior interbody fusion cage
- Lumbar interbody fusion cage
- Arthrodesis plate
- Endoscopy electrode