
- Catalogs
- NeoSys Medical Solutions
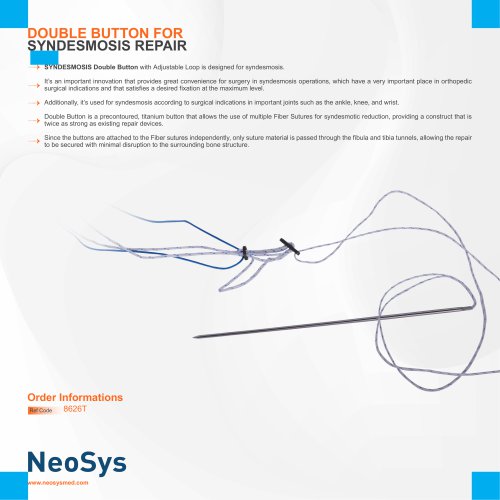
- syndesmosis button surgical technique

syndesmosis button surgical technique
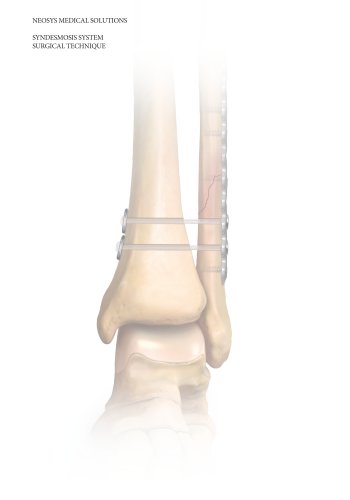
syndesmosis button surgical technique
The syndesmosis should be reduced before fixation, confirmed via fluoroscopy or direct visualization. Internal rotation with moderate ankle plantar flexion is the standard reduction method.
The system provides fixation for syndesmosis disruptions, with or without ankle fractures, using a #5 UHMWPE tensioned between metallic buttons. It offers physiological stabilization, reduces the need for removal, and is suitable for osteoporotic bone. The system includes stainless steel and titanium plates with locking screws for various ankle fractures.
- No routine removal needed
- Eliminates broken screw complications
- Strong, anatomic fixation
- Simplified insertion technique
- Facilitates double implant technique for Maisonneuve fracture
- Allows earlier weightbearing
The implant is intended for syndesmosis fixation during healing after syndesmotic trauma, often seen with Weber B and C ankle fractures.
- Stabilize fractures before implant insertion. Drill 1.5 cm above the ankle joint using a 4.5 mm drill bit.
- Pass sutures through the drill hole and out the medial skin.
- Advance the oblong button through the tibial cortex, ensuring proper placement.
- Seat the button along the medial cortex and confirm with a C-arm.
- Slide the round button down to the plate or bone, then cut and remove sutures.
Immobilize the ankle in neutral dorsiflexion. Partial weightbearing may be allowed between 2 to 6 weeks, with full weightbearing typically at 6 weeks, transitioning to a functional brace.
Routine removal is not required. If necessary, cut the suture over the lateral button to facilitate removal.
A second implant can be used for additional stability, placed 1 cm above the first with slight axial divergence.
Catalog excerpts
NEOSYS MEDICAL SOLUTIONS SYNDESMOSIS SYSTEM SURGICAL TECHNIQUE
Open the catalog to page 1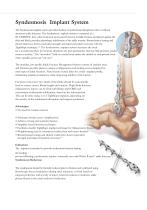
Syndesmosis Implant System The Syndesmosis implant system provides fixation of syndesmosis disruptions with or without associated ankle fractures. The Syndesmosis implant system is composed of a #5 UHMWPE, that, when tensioned and secured between metallic buttons and placed against the tibia and fibula, provides physiologic stabilization of the ankle mortise. Biomechanical testing and clinical trials have shown equivalent strength and improved patient outcome with the TightRope technique.1,2 The Syndesmosis implant system decreases the need for a second procedure for removal, eliminates any knot...
Open the catalog to page 2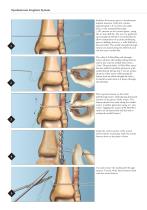
Stabilize all fractures prior to Syndesmosis implant insertion. Drill all 4 cortices approximately 1.5 cm above the ankle joint, in the transmalleolar plane (~30° anterior to the coronal plane), using the 4.5 mm drill bit. The use of a guidewire and cannulated drill bit is recommended to allow confirmation of accurate positioning prior to drilling; however, a solid drill bit is also provided. The needle and pull-through sutures are passed along the drill hole and out the intact medial skin. The white 2-0 FiberWire pull-through suture advances the leading oblong button, until it just exits the...
Open the catalog to page 3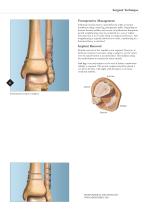
Surgical Technique Postoperative Management Following wound closure, immobilize the ankle in neutral dorsiflexion using a short-leg, postoperative splint. Depending on fracture fixation stability and severity of syndesmosis disruption, partial weightbearing may be permitted in a cast or walker boot between 2 to 6 weeks based on surgeon preference. Full weightbearing is typically allowed at 6 weeks, transitioning to a functional brace as tolerated. Implant Removal Routine removal of the implant is not required. However, if hardware removal is necessary, using a scalpel to cut the suture over the...
Open the catalog to page 4All NeoSys Medical Solutions catalogs and technical brochures
 exosome
7 Pages
 PEEK KNOTLESS ANCHORS
1 Page
 AC DOUBLE BUTTON SYSTEM
1 Page
 general catalog
63 Pages
 acl set
6 Pages
 suture lasso
1 Page
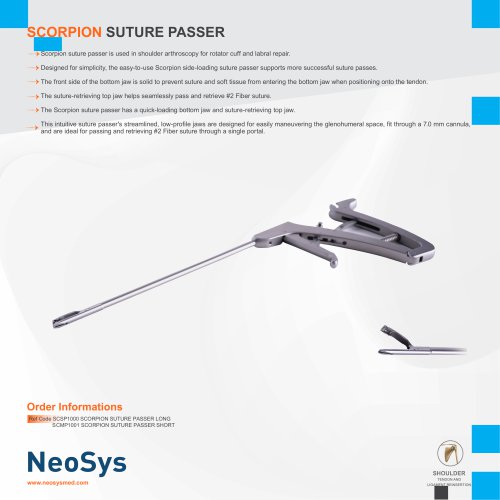 SCORPION SUTURE PASSER
1 Page
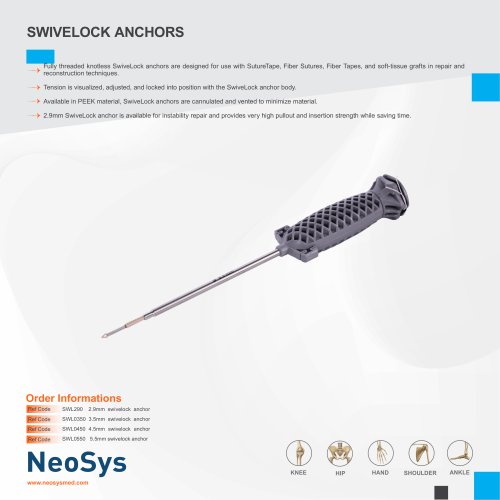 SWIVELOCK ANCHORS
1 Page
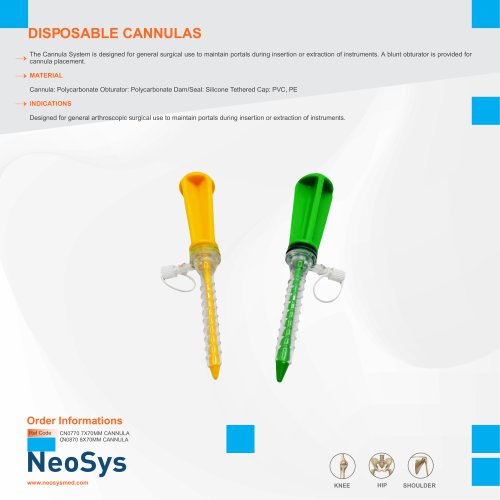 DISPOSABLE CANNULAS
1 Page
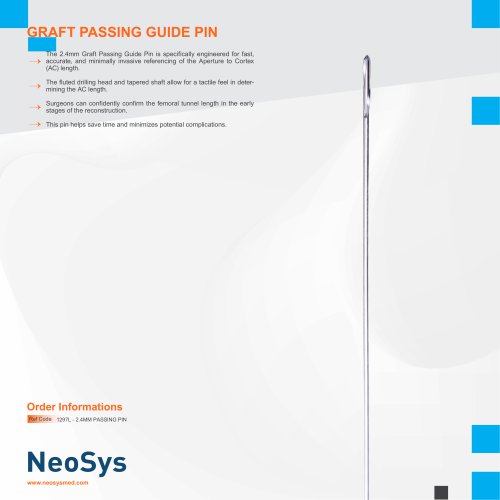 GRAFT PASSING GUIDE PIN
1 Page
 RF ABLATION PROBES
1 Page
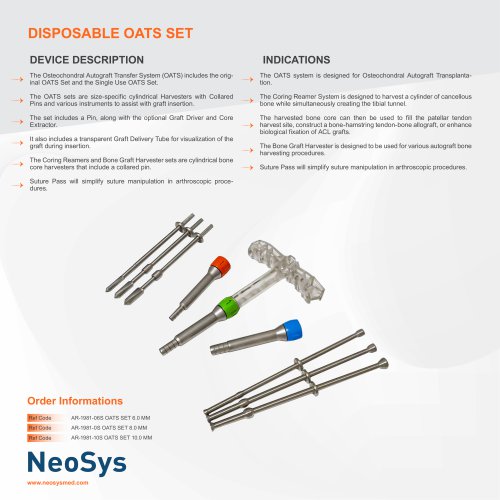 mosaic plasty kit
1 Page
 FIBERTAPE SUTURE
1 Page
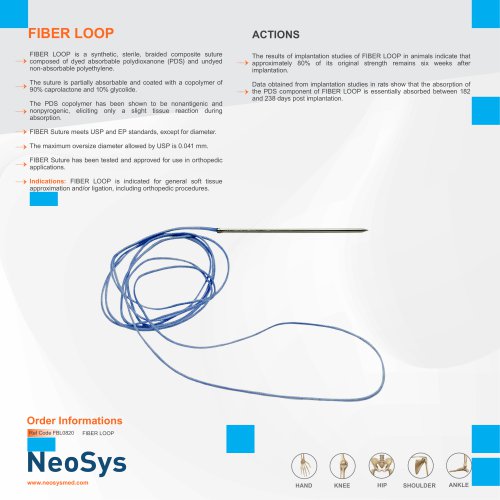 fiber loop
1 Page
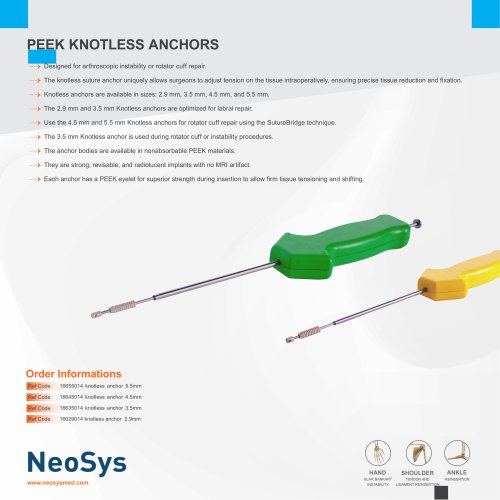 PEEK KNOTLESS ANCHORS
1 Page
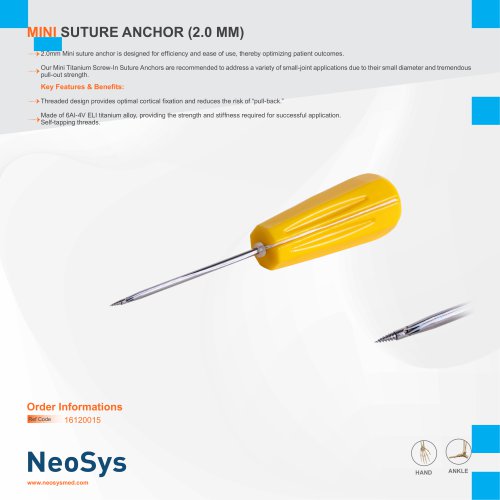
 TITANIUM SUTURE ANCHOR
1 Page
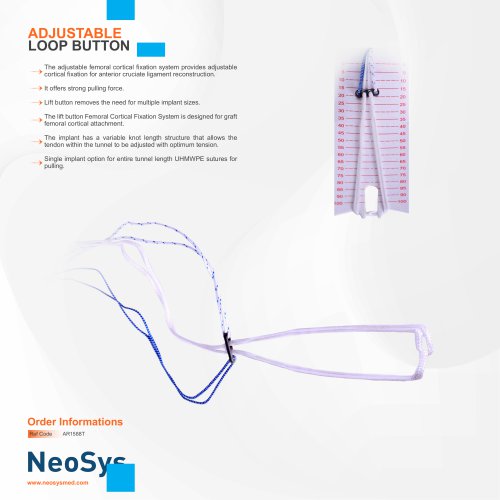 adjustable loop button
1 Page
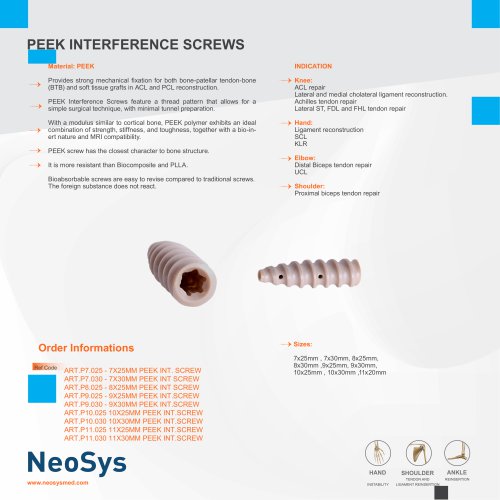 PEEK INTERFERENCE SCREWS
1 Page
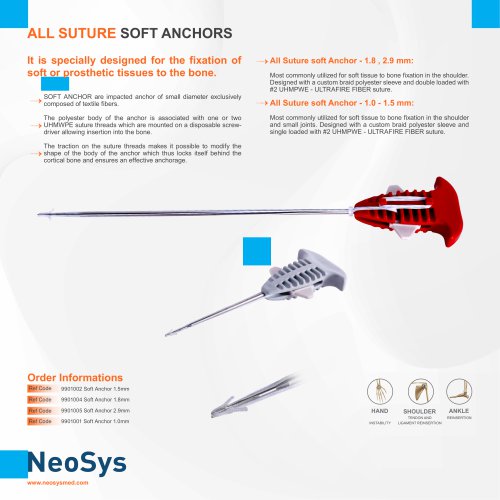 ALL SUTURE SOFT ANCHORS
1 Page
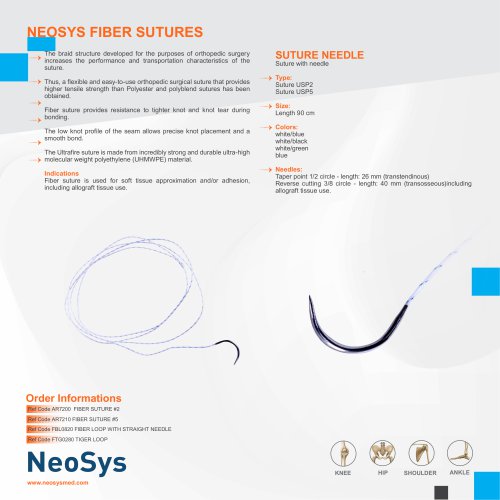 NEOSYS FIBER SUTURES
1 Page
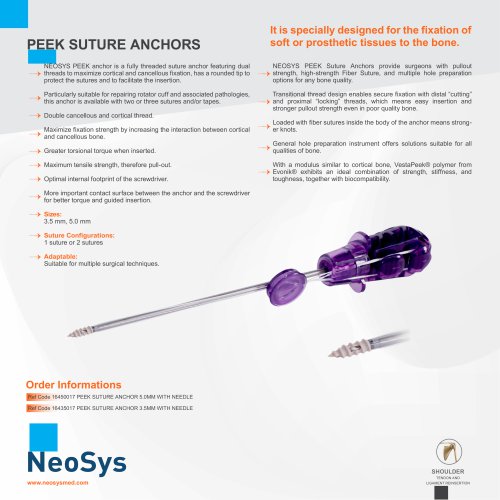 PEEK SUTURE ANCHORS
1 Page
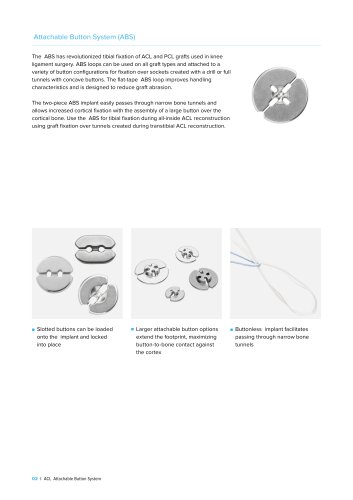
 ACL Attachable Button System
9 Pages

Archived catalogs
 meniscal repair all inside
9 Pages
- Bone plate
- Grasping forceps
- Surgery electrode
- Cannula
- Histology reagent
- Electrosurgical electrode
- Orthopedic surgery instrument kit
- HF electrode
- Endoscopy forceps
- Monopolar electrode
- Interbody fusion cage
- Sealing forceps
- Disposable electrode
- Tissue grasping forceps
- Freeze-dried reagent kit
- Bone substitute
- Suture thread
- PEEK interbody fusion cage
- Anterior interbody fusion cage
- Lumbar interbody fusion cage