
- Catalogs
- Orthosyn Medikal
- GRANDUS MENISCAL REPAIR SYSTEM CATALOG

GRANDUS MENISCAL REPAIR SYSTEM CATALOG
GRANDUS MENISCAL REPAIR SYSTEM CATALOG
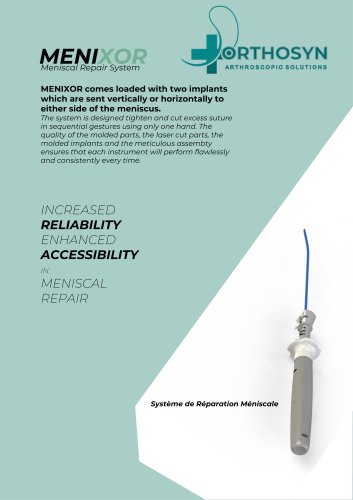
- Ergonomic Handle: Allows for one-handed operation with audible 'click' confirmation of implant deployment.
- Solid PEEK Implants: Ensure strong fixation with minimal meniscal damage.
- Adjustable Depth Setter: Permits optimal implant placement without the need for a cannula.
- UHMWPE Suture: Provides strength and visibility for secure fixation.
- Laser Cut Needle: Reduces damage during insertion and is available in flexible designs for better access.
Catalog excerpts
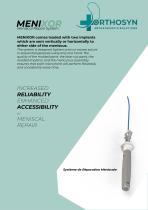
MENIXOR Meniscal Repair System MENIXOR comes loaded with two implants which are sent vertically or horizontally to either side of the meniscus. The system is designed tighten and cut excess suture in sequential gestures using only one hand. The quality of the molded parts, the laser cut parts, the molded implants and the meticulous assembty ensures that each instrument will perform flawlessly and consistently every time. INCREASED RELIABILITY ENHANCED ACCESSIBILITY IN MENISCAL REPAIR Système de Réparation Ménisca
Open the catalog to page 1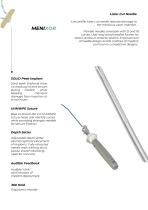
> Low profile laser cut needle reduces damage to the meniscus upon insertion. Flexible needles available with 12 and 18 curves. User may bend needles further for easier access to anterior lesions. Improvement of needle design avoids misfires of implant, common in competitive designs. SOLID Peek Implant Solid peek implants have no weak point and ensure strong fixation while keeping meniscal damage from lnsertion to a mlnimum. Blue co-braid USP 2-0 UHMWPE suture helps user identify suture while providing strength needed for secure fixation. Adjustable depth setter permits optimal placement of implants....
Open the catalog to page 2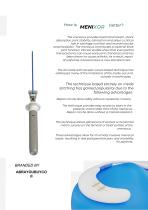
MENIXOR The meniscus provides load transmission, shock absorption, joint stability, lubrication and plays a critical role in cartilage nutrition and neuromuscular proprioception. The meniscus contributes to optimal knee joint function. Clinical studies show that even partial meniscectomy can cause early joint chondrosis and has been shown to cause arthritis. As a result, repair of red/white meniscal tears is now standard care. The all inside arthroscopic suture-based technique has addressed many of the limitations of the inside-out and outside-in techniques. The technique based entirely on inside...
Open the catalog to page 3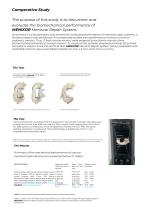
Comperative Study The purpose of this study is to document and evaluate the biomechanical performance of MENIXOR Meniscal Repair System. Since there is no standardized test method for evaluating performance of meniscal repair systems, a literature search was performed. All comparable studies were performed on human or animal cadaveric menisci. Thus, 12 fresh bovine menisci were prepared since bovine menisci show biomechanical similarity to human menisci. To insure all the samples prepared similarly, 3D printed template is used to mark the artificial tear. MENIXOR Meniscal Repair System comes preloaded...
Open the catalog to page 4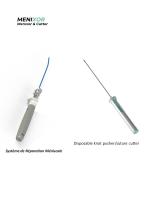
Menıxor & Cutter
Open the catalog to page 5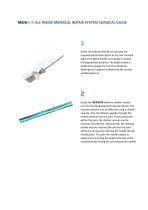
Utilize the Meniscal Probe to evaluate the required penetration depth at the tear location. Adjust the depth limiter accordingly to match the appropriate distance. The depth probe is designed to gauge the meniscus thickness, allowing the surgeon to determine the correct needle exposure Guide the MENIXOR delivery needle into the joint via the designated arthroscopic portal. The insertion process can be aided by using a slotted cannula. Pass the delivery needle through the slotted cannula into the joint. Once positioned within the joint, the slotted cannula can be removed if preferred. Alternatively,...
Open the catalog to page 6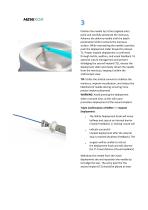
MENIXOR Position the needle tip at the targeted entry point and carefully penetrate the meniscus. Advance the delivery needle until the depth penetration limiter contacts the meniscus surface. While maintaining the needle's position, push the deployment slider forward to release T1. Proper implant deployment is confirmed through tactile, auditory, and visual feedback. To optimize suture management and prevent dislodging the second implant (T2), release the deployment slider and slowly retract the needle from the meniscus, keeping it within the arthroscopic view. TIP: Utilize the slotted cannula...
Open the catalog to page 7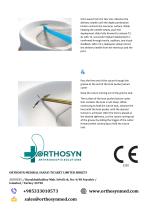
5mm away from the tear site. Advance the delivery needle until the depth penetration limiter contacts the meniscus surface. While keeping the needle steady, push the deployment slider fully forward to release T2. As with T1, successful implant deployment is confirmed through tactile, auditory, and visual feedback. After T2 is deployed, slowly retract the delivery needle from the meniscus and the joint Pass the free end of the suture through the groove at the end of the knot pusher/suture cutter Keep the suture coming out of the groove taut. The surface of the knot pusher/suture cutter that contacts...
Open the catalog to page 8All Orthosyn Medikal catalogs and technical brochures
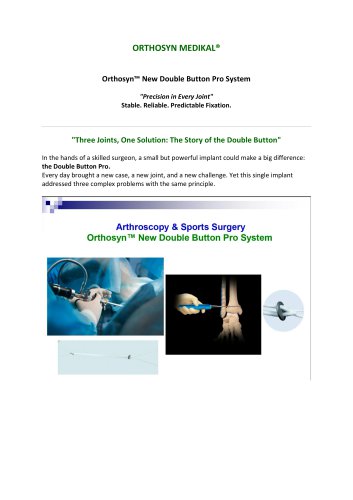 ORTHOSYN DOUBLE BUTTON PRO
6 Pages

Archived catalogs
 E-Catalog
35 Pages
- Surgery forceps
- Surgery electrode
- Stainless steel forceps
- Straight forceps
- Orthopedic surgery instrument kit
- Reusable forceps
- HF electrode
- Monopolar electrode
- Endoscopy forceps
- Sealing forceps
- Coagulation electrode
- Bent forceps
- Suture thread
- Ablation forceps
- Blunt needle
- Tissue electrode
- Disposable cannula
- Sterile instrument kit
- Ablation electrode