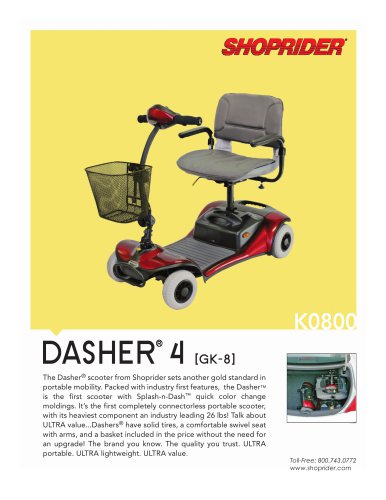
 Website:
Shoprider
Group: Pihsiang Machinery MFG
Catalog excerpts

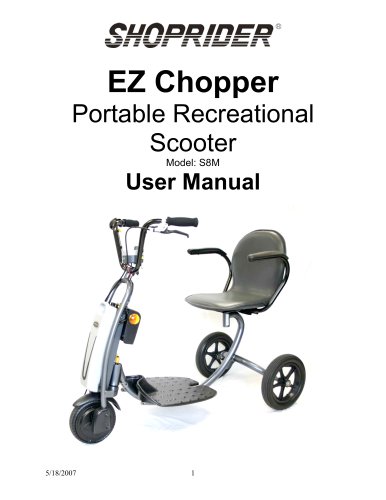
Portable Recreational User Manual
Open the catalog to page 1
INTRODUCTION Congratulations on your purchase of the Shoprider® EZ Chopper Portable scooter. The EZ Chopper is the ultimate combination of style, durability and portability. The EZ Chopper Portable scooter is super lightweight and can be stored in small areas such as the trunk or back seat of your car. The EZ Chopper Portable scooter goes with you wherever you go and can be assembled or disassembled within seconds. The compact features support easy transportation of your EZ Chopper for today’s active lifestyle. The EZ Chopper Portable scooter’s high ground clearance allows for use outdoors,...
Open the catalog to page 3
SAFETY ADVICE • • • • • • • • • • • • • • • • • • • • • • • • • DO NOT carry passengers. DO NOT exceed inclines over 8 degrees (14% grade). DO NOT turn on steep inclines. DO NOT turn suddenly at high speeds. DO NOT get on or off the scooter unless the scooter is switched off. DO NOT switch off the scooter while the scooter is moving. DO NOT drive the scooter where you can not safely or legally walk. DO NOT attempt to drive over curbs greater than 3 inches in height. Doing so could cause your scooter to turn over, causing injury or damage to the scooter. DO NOT drink or use a mobile phone...
Open the catalog to page 4
EMI WARNING Shoprider® scooters may be susceptible to electromagnetic interference (EMI), which is a kind of interfering electromagnetic energy (EM) emitted from sources such as radio stations, TV stations, amateur radio (HAM) transmitters, two-way radio, and cellular phones. The interference (from radio wave sources) can cause the scooter to release its brakes, move by itself, or move in unintended directions. It can also permanently damage the scooter’s control system. The sources of radiated EMI can be broadly classified into three types: 1. Hand-held portable transceivers...
Open the catalog to page 5
WARNINGS 1. Do not operate hand-held transceivers (transmitters-receivers), such as citizens band (CB) radios, or turn ON personal communication devices, such as cellular phones, while the scooter is turned ON. 2. Be aware of nearby transmitters, such as radio or TV stations, and try to avoid coming close to them. 3. If unintended movement or brake release occurs, turn the scooter OFF as soon as it is safe. 4. Be aware that adding accessories or components, or modifying the scooter may make it more susceptible to EMI. NOTE! There is no easy way to evaluate the overall immunity of the...
Open the catalog to page 6
ADJUSTMENTS Handlebar Adjustment (Fig 2) The handlebar angle may be adjusted farther or closer to the seat. To adjust, loosen the nut that secures the tiller control head. Push the tiller control head to the left side. Loosen the hex bolt nut and move the handlebars to the desired position. Tighten the hex bolt nut securely. Push the tiller control head back into place and tighten nut. Hex Bolt Nut Tiller Control Head Nut Arm Rests (Fig 3) Arm rests can be pushed up and out of the way. Hold the end of the arm rest and pull upwards. This makes for clear easy transfers in and out of the seat....
Open the catalog to page 7
SCOOTER TILLER CONTROLS (FIG 4a &4b) Speed Controls The speed control allows you to set a speed between turtle (minimum) and rabbit (maximum). Battery Level Indicator Gauge Where the needle sits, shows the amount of charge left in your batteries. The amount of charge will only show at its true level when the scooter is in drive. Caution – Do not allow the gauge needle to go down completely as complete discharge of the batteries could cause irreversible damage. Horn A yellow button at the left side of the tiller control head operates the horn. Hand Lever Controls The right hand lever...
Open the catalog to page 8
HAND BRAKE (FIG 5) The hand brake, when applied, will easily stop the scooter. Do not apply the hand brake at the same time that the forward / reverse lever is applied or serious injury or damage to the scooter could occur. Shoprider® is not responsible for damage or injury incurred due to improper or misuse of the scooter. The hand brake is equipped with a locking mechanism which allows the EZ Chopper wheels to be locked to prevent rolling when not in use. Squeeze the brake lever, push the lock pin in and the scooter wheels will be locked. To release, squeeze the hand brake. Hand Brake
Open the catalog to page 9
STARTING TO DRIVE YOUR SCOOTER First Time Use Prior to using your EZ Chopper Portable scooter for the first time, you must charge the batteries fully (refer to Battery Charging Procedures). Charging may take up to 12 hours. Charging the batteries completely prior to first time use will benefit battery efficiency. Failure to do so may cause permanent damage. Getting Started • Select a level area with plenty of space. • Mount the scooter by pushing the arm upward out of the way and sliding onto the seat. • Adjust the tiller as previously described. Starting Scooter Movement • Ensure that you...
Open the catalog to page 10
EXTRA GUIDELINES IN THE CONTROL OF YOUR SCOOTER Ramps The stability of your scooter is governed by several factors such as the seating position, the angle of the slope and your height and weight. When approaching an incline, do so directly and not at an angle and where ever possible avoid making turns. When going down a ramp or slope keep the speed settings to slow. This will ensure there is a safe controlled descent. Caution - Do not turn off the control key while the unit is in motion Grass and Gravel Please follow the guidelines given previously and your scooter will perform admirably...
Open the catalog to page 11
TRANSPORT / STORAGE The EZ Chopper Portable scooter is designed to be quickly and easily disassembled into sections for transportation and storage. Follow these simple guidelines for disassembly: EZ Chopper Disassembly (Fig 6, 7, & 8) 1) Remove battery pack. Pull yellow lever to release and remove battery pack. (Fig 6) Battery Release Lever (yellow) 2) Remove seat. Lift seat up and off seat post. (Fig 7) 3) Remove rear wheels. Push the quickrelease button in center of wheel to remove. (Fig 8) 4) Remove handlebars. Unscrew yellow lever located at bottom of handlebars and lift frame up and...
Open the catalog to page 12All Shoprider catalogs and technical brochures
-
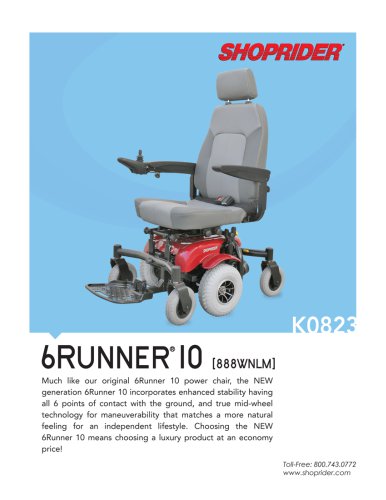
6Runner 10
28 Pages
-
6Runner 10 Rehab
1 Pages
-
Shoprider HD
2 Pages
-
Streamer Sport Rehab
2 Pages
-
Streamer Sport
2 Pages
-
Smartie
2 Pages
-
Jimmie
2 Pages
-
FPC
2 Pages
-
FeatherLite
2 Pages
-
6 Runner 14
2 Pages
-
6 Runner 10 REHAB
2 Pages
-
6Runner 10 DLX
2 Pages
-
Sprinter XL 4
20 Pages
-
Sunrunner 3
20 Pages
-
Compact Scooters
18 Pages
-
Start 3
20 Pages
-
Flagship
16 Pages
-
Echo 3
20 Pages
-
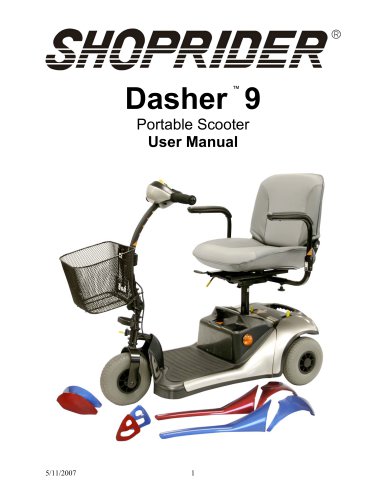
Dasher 9
18 Pages
-
Dasher 4
20 Pages
-
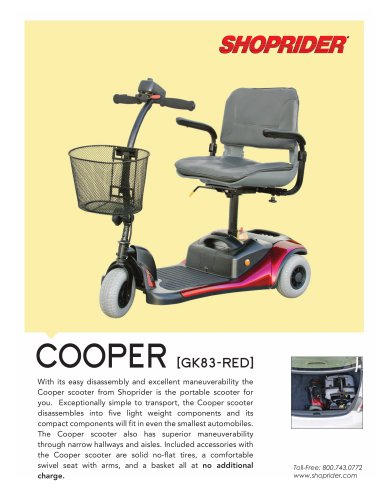
Cooper
20 Pages
-
ECHO
2 Pages
-
COOPER
2 Pages
-
DASHER 9
2 Pages
-
6 Runner 10
2 Pages
Archived catalogs
-
DASHER 4 - 2014
2 Pages

