


OASYS®

OASYS®
The OASYS Occipito-Cervico-Thoracic System is designed for treating pathologies in the occipitocervical junction and the posterior cervical and upper thoracic spine. It includes modular components such as hooks, polyaxial screws, rods, plates, and bone screws, with various occiput plates and connectors.
- Polyaxial Screws: Available in multiple types with different angulation options and color-coded for easy identification.
- Hooks: Available in various throat heights and offsets to match patient anatomy.
- Rods: Offered in Vitallium, Titanium Alloy, and Commercially Pure Titanium, with different lengths and diameters.
- Occipital Fixation: Includes midline and bilateral occiput plates in various sizes and angles.
- Connectors: Includes transverse, cross, offset, and rod-to-rod connectors for added rigidity and flexibility in construct design.
- Preoperative Planning: Involves imaging to determine the appropriate size and type of instrumentation.
- Patient Positioning and Exposure: The patient is positioned prone with a midline incision for exposure.
- Polyaxial Screw Placement: Involves marking entry points, preparing screw pathways with drills and taps, and aligning screw holes to minimize rod contouring.
- Patented Buttress Thread Technology to minimize cross-threading.
- Multiple rod options for different stiffness requirements.
- Biased Angle Screw allowing for 55º of angulation.
- Variety of laminar hooks to match patient anatomy.
The document outlines the compatibility of tap sleeves with different screw sizes, emphasizing the use of a 4.5mm Tap Sleeve for 4.5mm taps. It also describes the attachment process of polyaxial screws using a Polyaxial Screwdriver and the importance of verifying screw dimensions before implantation.
- Screw Insertion: Align the Polyaxial Screwdriver with the screw hole for insertion. An optional outer sleeve can be used for better stabilization.
- Rod Placement: Use a Rod Template to estimate rod length and contour. The Rod/Plate Cutter and Rod/Plate Bender are used for cutting and shaping the rod.
- Blocker Insertion: Various tools like the Locking Persuader and Hexdriver are used for inserting blockers. Final tightening is achieved using a Torque Wrench to ensure a torque of 3Nm.
- Ensure the screwdriver sleeve is tightly assembled before attaching a screw.
- Lubricate the Rod/Plate Cutter for ease of use.
- Inspect rods for damage before implantation and replace if necessary.
- Do not use the Persuader for spinal correction.
- Final tightening should not be performed with the Hexdriver to avoid damage.
- Transverse Connectors should only be used on the 3.5mm diameter portion of a Transition Rod.
The document lists various tools with their respective codes, such as the Quick Release Handle, Polyaxial Screwdriver, Tap Sleeve, Rod/Plate Cutter, and Torque Wrench, among others.
The Offset Connector bar is available in two sizes: 12mm and 20mm, allowing for offsets of up to 4mm and 12mm respectively. The bar can be shortened using a Rod/Plate Cutter.
These connectors are available for rods with diameters of 6.0, 5.5, 4.5, or 3.5mm, in side-to-side and axial versions. Preloading on the larger rod is recommended, and final tightening should be done with a Torque Wrench to 3Nm.
Designed for connecting the OASYS system to Xia II or Xia 3 Polyaxial screws, allowing larger bone screws in the thoracic area. The connector should be placed in the tulip-head of the Xia screw, with the rod fixed using standard blockers.
Used for constructs spanning the cervico-thoracic junction, compatible with OASYS and Xia systems. The rod should be cut and contoured to fit the patient's anatomy, with specific instructions for different diameter portions.
Available in various sizes, designed to contour to the patient's anatomy, reducing rod contouring needs. The plate features five fixation points and can be contoured in all planes.
Plates should be contoured using Occiput Plate Bending Irons, avoiding excessive bending. The plate is positioned using a Plate Holder, and screws are inserted with appropriate drivers.
Involves using an Awl and Drill Guide to determine depth, with specific drill and tap sizes for different screw diameters. The rod is fixed to the plate with blockers tightened to 3Nm.
Available in straight and pre-contoured versions, these plates feature anchor holes and a foot for rod connection, minimizing rod contouring in the sagittal plane.
The document outlines the procedure for bending and contouring plates used in spinal surgeries. It emphasizes that plates should first be bent in the frontal plane and should not be reverted to their original shape to maintain strength. The sagittal plane bending should be done gradually to avoid excessive contouring, which could compromise material integrity. Bending should occur between screw holes to minimize deformation and ensure proper screw fit. Plates should not be contoured more than 8° per segment, and damaged or overbent plates should be replaced.
After contouring, the plate is used to mark pilot hole entry points. Drilling is performed using a drill guide, with the depth determined by preoperative imaging and anatomy. At least three screws should be used per plate for increased construct strength, with crosslinks recommended for stability.
The document lists various components such as Vitallium rods, biased angle screws, medial biased angle screws, smooth shank screws, cancellous screws, and non-biased angle polyaxial screws. It also includes connectors, hooks, and occiput fixation plates.
The STRYKER Spine OASYS System is designed to aid in spine fusion, consisting of screws, hooks, plates, rods, and connectors. It is indicated for conditions like degenerative disc disease, spondylolisthesis, spinal stenosis, fractures, and tumors. The system is intended for use in the cervical spine and occipito-cervico-thoracic junction.
Contraindications include severe osteoporosis, bone absorption, osteopenia, active infection, insufficient bone quality, previous infection history, excessive inflammation, open wounds, neuromuscular deficits, and obesity, which may affect the success of the procedure.
Surgeons must inform patients about the limitations and risks associated with the implant, including the need for rehabilitation, physical therapy, and periodic follow-ups. Patients should be aware that the implant does not replicate the properties of healthy bone and may require replacement. Smoking and degenerative diseases can affect the implant's longevity.
The document lists potential adverse effects of spinal implants, such as bending, fracture, pain, pressure on the skin, dural leaks, loss of spinal curvature, delayed union, loosening of implants, and complications from cervical spine procedures. These effects may necessitate reoperation or revision.
Implants are temporary and may be removed after healing or if complications arise, such as corrosion, migration, pain, infection, or bone growth restraint. Removal requires careful consideration of risks and may involve special instruments.
Only trained and experienced surgeons should perform the implantation of pedicle screw spinal systems. Care must be taken to avoid excessive stress on the spine or implants, and instruments should be used cautiously near vital organs.
The device is restricted to sale by licensed physicians and is only established for specific spinal conditions. The safety and effectiveness for other conditions are unknown. The system has not been evaluated for MR environment safety.
Surgeons must rely on their clinical judgment and refer to product instructions before use. Product availability may vary by market.
Catalog excerpts

Surgical Technique Occipito-Cervico-Thoracic System
Open the catalog to page 1
OASYS Surgical Technique System Overview The OASYS Occipito-Cervico-Thoracic System was developed to provide the surgeon with versatility for the treatment of pathologies of the occipitocervical junction, and the posterior cervical and upper thoracic spine. The modular system consists of hooks, polyaxial screws and rods as well as plates and bone screws. A variety of occiput plates and connectors complement the product line. Occipital Fixation Options — Midline Occiput Plate, Small — Midline Occiput Plate, Medium — Midline Occiput Plate, Large — Midline Occiput Plate, Large Long — Midline Occiput...
Open the catalog to page 2
Surgical Technique Table of Contents System Overview . . . . . . . . . . . . . . . . . . . . . 2 Implant Overview . . . . . . . . . . . . . . . . . . . . 4 Surgical Procedure . . . . . . . . . . . . . . . . . . . 11 Polyaxial Screw Placement . . . . . . . . . . . 11 Rod Placement . . . . . . . . . . . . . . . . . . . . 14 Blocker Insertion . . . . . . . . . . . . . . . . . . 16 Transverse Connection . . . . . . . . . . . . . 18 Offset & Rod to Rod Connectors . . . . . 20 Hook Placement . . . . . . . . . . . . . . . . . . . 21 Transition Rod . . . . . . . . . . . . . . . . . . . . 22 Occipital...
Open the catalog to page 3
Surgical Technique Implant Overview Polyaxial Screws One of the key features of the Biased Angle Polyaxial Screw is the offset angle of the screw head, which allows for combined divergent screw angulation of 110° (or 55° in one direction). The high degree of angulation promotes screw placement at an optimal anatomic position, helping to simplify the surgical procedure by minimizing the need for rod contouring due to linear placement of the screw heads. There are five types of polyaxial screws available in the OASYS System. (See complete screw listing on page 35-37). The standard Biased Angle...
Open the catalog to page 4
OASYS Surgical Technique The Non-Biased Angle Polyaxial Screws are available in diameters of 3.5mm, 4.0mm and 4.5mm. The 3.5mm and 4.0mm screws are 10 to 20mm in length in 2mm increments while the 4.5mm screws are 20 to 52mm in length in 4mm increments. The Non-Biased Angle Polyaxial Screws offer up to 30° of angulation in each direction or 60° conical. These screws can be used in instances where the surgeon does not need the angulation offered with the Biased Angle Screws. A combined color approach has been used to identify the screw type and diameter. The tulip heads of the Non-Biased Angle Polyaxial...
Open the catalog to page 5
Surgical Technique Hooks A variety of laminar Hooks are available to better match the individual patient’s anatomy. Standard hooks are available in four throat heights: 3.5, 5.0, 6.5 and 8.0mm. Right and left offset hooks are also available for both right and left application. Part # Hook, Standard, 3.5mm Hook, Standard Short, 5.0mm Hook, Standard, 6.5mm Hook, Standard Tall, 8.0mm Hook, Offset Right Hook, Offset Left Hook, Standard Tall, 8.0mm Hook, Standard Short, 5.0mm Hook, Offset Right Rods A variety of Rod offerings are available to provide intraoperative solutions. For added stiffness,...
Open the catalog to page 6
Surgical Technique Occipital Fixation The OASYS System offers a midline occiput plate option as well as bilateral occiput plates to better match individual patient anatomy. Part # Description 48551040 130° Occiput Plate 48551041L 130° Pre-contoured Occiput Plate, Left 48551041R 130° Pre-contoured Occiput Plate, Right 48551043L 100° Pre-contoured Occiput Plate, Left 48551043R 100° Pre-contoured Occiput Plate, Right Midline Occiput Plate, Small Midline Occiput Plate, Medium Midline Occiput Plate, Large Midline Occiput Plate, Large Long Midline Occiput Plate, Mini Midline Straight Pre-contoured...
Open the catalog to page 7
OASYS Surgical Technique Connectors Several types of Connectors are available in the OASYS System. Transverse Connector The Transverse Connector is designed for added torsional rigidity of a bilateral rod construct. The clip-on design features a very low profile and does not add significantly to the height of the construct. The transverse bar is available in 40, 60, and 80mm lengths. The bar of the transverse connector can be cut so that the length can be adjusted to better match individual patient anatomy. Part # Description Cross Connector Plate In cases where screws are closer together,...
Open the catalog to page 8
Surgical Technique Rod-to-Rod Connector The Rod-to-Rod Connector facilitates connection of the 3.5mm diameter rod to a spine construct using: 3.5, 4.5, 5.5, or 6.0mm diameter rods. Parallel Rod-to-Rod Connectors 3.5mm to 3.5mm Parallel Rod-to-Rod Connector 3.5mm to 4.5mm Parallel Rod-to-Rod Connector 3.5mm to 5.5mm Parallel Rod-to-Rod Connector 3.5mm to 6.0mm Parallel Rod-to-Rod Connector 3.5mm to 3.5mm Axial Connector 3.5mm to 4.5mm Axial Connector 3.5mm to 5.5mm Axial Connector 3.5mm to 6.0mm Axial Connector Axial Connector 48551084, 48551085, 48551086, 48551087 Saddle Connector The Saddle...
Open the catalog to page 9
Surgical Technique Transition Rod The OASYS Transition Rod provides an additional option for spanning the cervico-thoracic junction. Transition Rods are available to connect the following systems: • OASYS and Xia • OASYS and Xia 4.5 • OASYS and SR90D Transition Rods are offered in two different rod composition options, Titanium Alloy and Vitallium for added stiffness. Each rod is 600mm long. Refer to the Surgical Technique for Xia, Xia 4.5, and/or SR90D for instructions on usage of the larger diameter of the Transition Rod. Titanium Alloy 3.5mm-4.5mm Transition Rod Vitallium 3.5mm-4.5mm Transition...
Open the catalog to page 10
Surgical Technique Surgical Procedure Preoperative Planning Use the appropriate imaging techniques to outline the patient’s osseous anatomy and to determine the proper size and type of instrumentation to be used. Identify the components to be used for the assembly. Keep in mind that changes to the final configuration may become necessary based on intraoperative findings. Patient Positioning and Exposure The patient is placed in the prone position with head and neck held securely in optimum alignment. A standard midline incision is performed at the appropriate levels. The exposure may be extended...
Open the catalog to page 11All Stryker catalogs and technical brochures
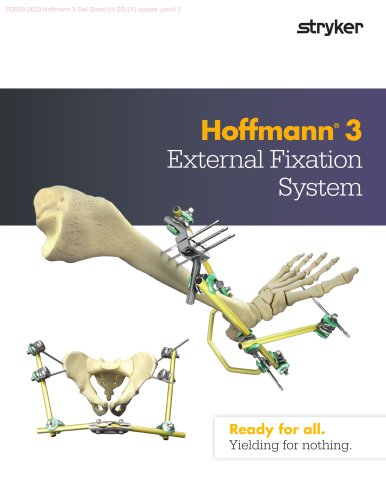 Hoffmann® 3
2 Pages
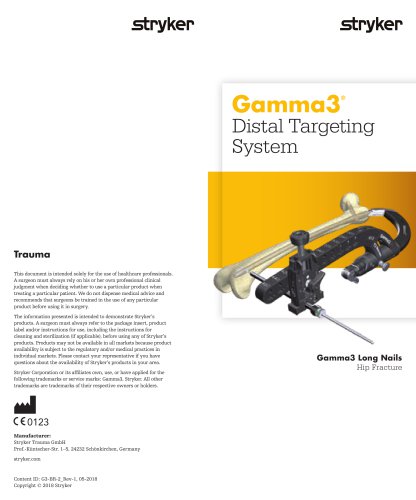 Gamma3
2 Pages
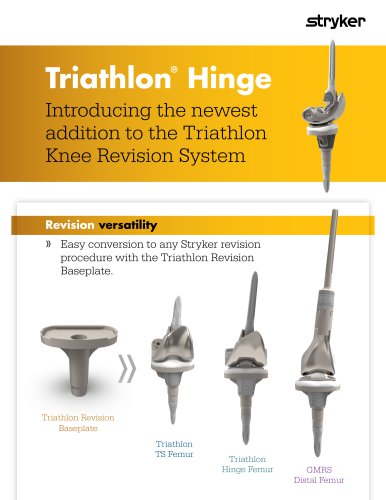 Triathlon Hinge Sell Sheet
2 Pages
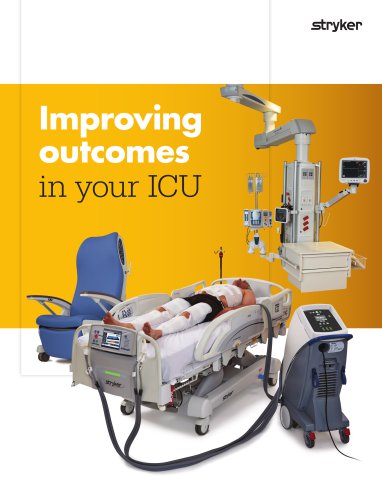 ICU Brochure
6 Pages
Archived catalogs
 C-Arm T racking System
2 Pages
 ACL Instrumentation Brochure
6 Pages
 System 7
7 Pages
 System 7 Precision
2 Pages
 System 7 Battery
2 Pages
 System 7 Sterilization Case
2 Pages
 CD4 & SABO2 Family
5 Pages
 Gamma3 Trochanteric Nail 180
48 Pages
 Gamma3 Long Nail R2.0
48 Pages
 Gamma3 Fragment Control Clip
6 Pages
 Gamma3 U-Blade Lag Screw
18 Pages
 trident
12 Pages
 GMRS
GMRS13 Pages
 Scorpio ®Knee TS
6 Pages
 CBC II
2 Pages
 the Mill
2 Pages
 Gamma3 T
6 Pages
 Label Changes
2 Pages
 SmartTip ™
3 Pages
 SDC 3
SDC 32 Pages
 System 7 Family
7 Pages
 Mixevac III
2 Pages
 InterPulse - Orthopaedics
4 Pages
 Neptune 2
2 Pages
 Neptune E-SEP
2 Pages
 Right Angled Screwdriver
8 Pages
 Universal Neuro III
10 Pages
 EasyClip
2 Pages
 Asnis ® Micro Xpress
2 Pages
 S3 MedSurg Bed
8 Pages
 Stryker NAV3i
4 Pages
 Cast Cutter
2 Pages
 Cast Vac
2 Pages
 Revolution
6 Pages
 SmartPump
2 Pages
 Disposable Cuff
2 Pages
 Patient Education
2 Pages
 Reusable Cuff
2 Pages
 SurgiCount
4 Pages
 Reflex®
24 Pages
 Escalate®
16 Pages
 Stryker Biologics
46 Pages
 Aero® -C
6 Pages
 Dynatran
13 Pages
 Aviator™
2 Pages
 AVS Anchor® -C
2 Pages
 Humeral Nailing System
44 Pages
 Luxor
Luxor4 Pages
 OrthoMap®
4 Pages
 ENT navigation system
7 Pages
 AxSOS 3® Titanium
36 Pages
 Smart Equipment Management
3 Pages
 Prime TC®
4 Pages
 TruRize™ Clinical Chair
4 Pages
 TruRize® Clinical Chair
2 Pages
 VariAx® 2
20 Pages
 ACCOLADE® II
20 Pages
 VariAx® DistalFibula
20 Pages
 company overview
12 Pages


- Hospital bed
- Bone plate
- Catheter
- Compression plate
- Metallic compression plate
- Locking compression plate
- Inclinable bed
- Surgical table
- Universal operating table
- Adjustable height operating table
- Surgical system
- Electric operating table
- Cutting electrosurgical system
- Tilting surgical table
- Coagulation surgical system
- Distal compression plate
- Surgical table with legrest
- Agitator
- Interbody fusion cage
- Drill