- Catalogs
- True Phantom Solutions
- Assembly Instruction FB-P01
- Company
- Products
- Catalogs
- News & Trends
- Exhibitions
Assembly Instruction FB-P01
1 /8Pages
Assembly Instruction FB-P01
1 /8Pages
Catalog excerpts

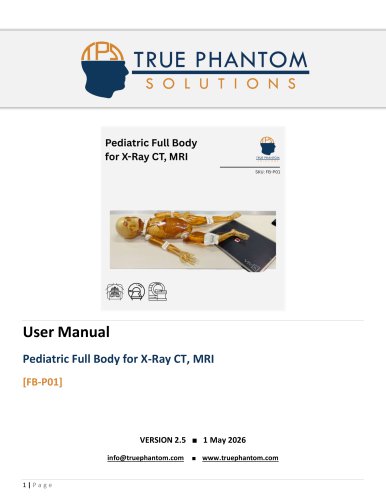
TRUE PHANTOM SOLUTIONS Assembly InstructionsPediatric Full Body for X-Ray CT, MRI [FB-P01] VERSION 2.4 ■ 1 May 2026 [email protected] ■ www.truephantom.com
Open the catalog to page 1
TRUE PHANTOM SOLUTIONS INC.
Open the catalog to page 2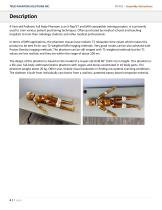
TRUE PHANTOM SOLUTIONS INC. Description 4-Year-old Pediatric Full Body Phantom is an X-Ray/CT and MRI-compatible training product. It is primarily used to train various patient positioning techniques. Often purchased by medical schools and teaching hospitals to train their radiology students and other medical professionals. In terms of MRI applications, the phantom tissues have realistic T2 relaxation time values which makes this product to be best fit for any T2-weighted MRI imaging methods. Very good results can be also achieved with Proton Density imaging methods. The phantom can be still...
Open the catalog to page 3
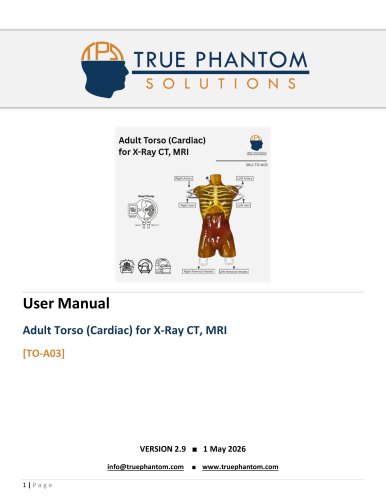
TRUE PHANTOM SOLUTIONS INC. FB-P01 | Assembly Instructions 1. Pediatric Head for X-Ray CT, MRI - 1 Unit 2. Pediatric Torso for X-Ray CT, MRI - 1 Unit Spine Ribcage Shoulders Clavicles Pelvis Trachea Heart Lungs Diaphragm Liver Large and Small Intestines
Open the catalog to page 4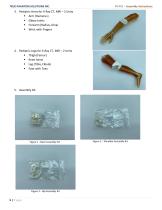
TRUE PHANTOM SOLUTIONS INC. 3. Pediatric Arms for X-Ray CT, MRI – 2 Units Arm (Humerus) Elbow Joints Forearm (Radius, Ulna) Wrist with Fingers 4. Pediatric Legs for X-Ray CT, MRI – 2 Units Thigh (Femur) Knee Joints Leg (Tibia, Fibula) Foot with Toes Figure 1 - Neck Assembly Kit
Open the catalog to page 5
TRUE PHANTOM SOLUTIONS INC. Assembly Kit The individual parts of the full body phantom should be connected using the attached with the phantom assembly kit and plastic screws. Please do NOT overtighten the screws when you assemble the phantom. Step 1 Connect the left and right shoulders using the assembly kit as it is shown on the following image (note that the image shows only the right shoulder; the left one is done in the same way as the right one): Step 2 Connect the legs with the pelvis using the hip joints:
Open the catalog to page 6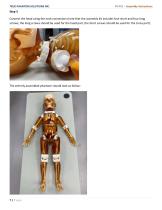
TRUE PHANTOM SOLUTIONS INC. Step 3 Connect the head using the neck connectors (note that the assembly kit includes four short and four long screws; the long screws should be used for the head part, the short screws should be used for the torso part): The entirely assembled phantom should look as follow:
Open the catalog to page 7
TRUE PHANTOM SOLUTIONS INC. FB-P01 | Assembly Instructions The phantom is fabricated based on the anatomy of an actual human body, and it can be scanned in supine, prone, and Fowler positions; more importantly, scanning can be performed from multiple directions. ■ For ultrasound applications, this phantom can be scanned either with or without the ultrasonic gel. ■ For X-Ray CT applications, the artificial heart can be filled with any common contrast agents. ■ The phantom is made of urethane-based material, and it should be protected from direct exposure to any strong UV light. ■ The experiments...
Open the catalog to page 8All True Phantom Solutions catalogs and technical brochures
 User Manual US-A04
8 Pages
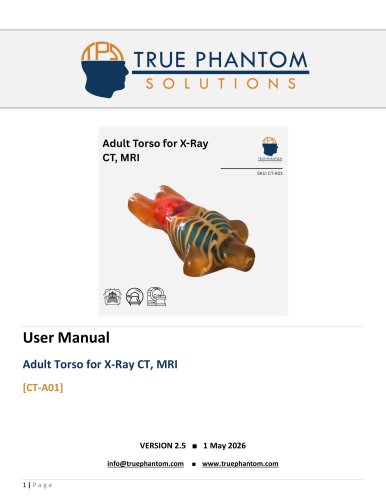 User Manual CT-A01
10 Pages
 User Manual RT-C04
7 Pages
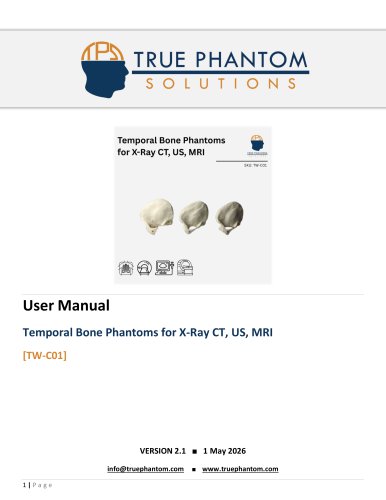 User Manual TW-C01
7 Pages
 User Manual CA-C01
7 Pages
 User Manual SL-A03
7 Pages
 User Manual HN-P01
9 Pages
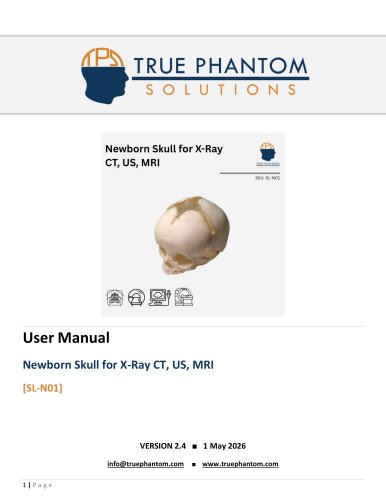 User Manual SL-N01
8 Pages
 User Manual HD-N02
8 Pages
 User Manual HD-N03
8 Pages
 User Manual HD-N01
8 Pages
 User Manual AM-S01
8 Pages
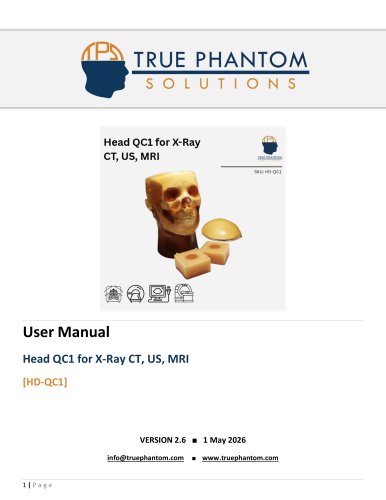 User Manual HD-QC1
8 Pages
 User Manual DP-C01
8 Pages
 User Manual SL-G01
8 Pages
 User Manual HD-G01
8 Pages
 User Manual TX-A01
8 Pages
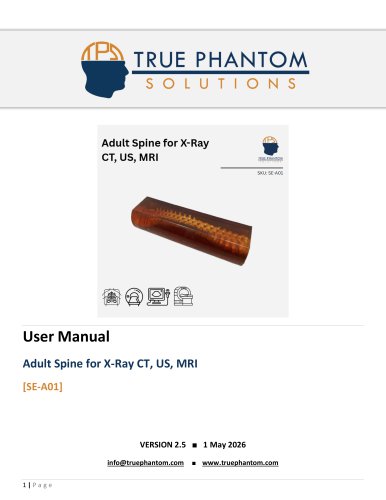 User Manual SE-A01
8 Pages
 User Manual SL-A02
8 Pages
 User Manual SL-A01
8 Pages
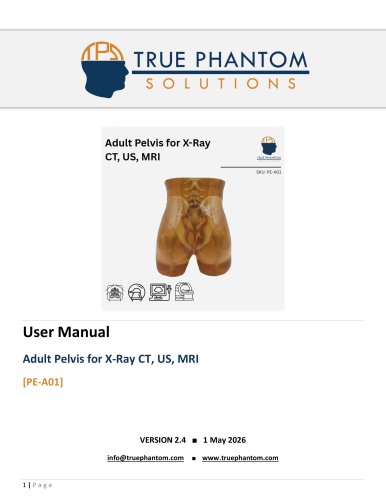 User Manual PE-A01
8 Pages
 User Manual LG-A01
8 Pages
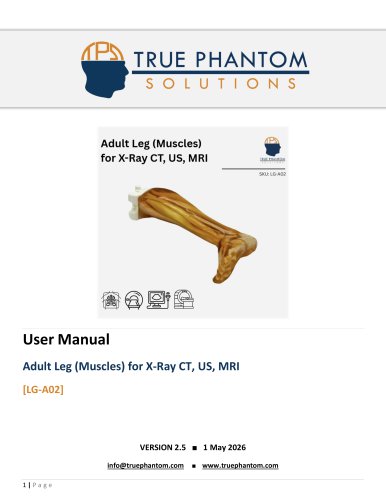 User Manual LG-A02
8 Pages
 User Manual KE-A01
8 Pages
 User Manual KE-A03
8 Pages
 User Manual HT-A02
8 Pages
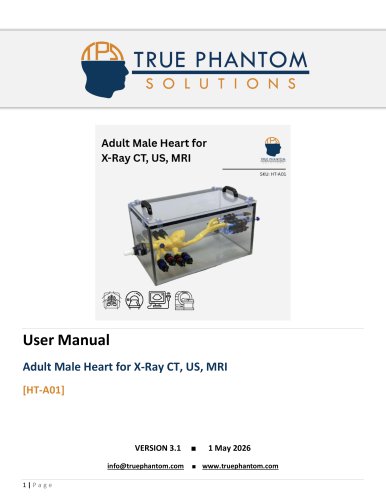 User Manual HT-A01
9 Pages
 User Manual HD-A04
8 Pages
 User Manual HD-A03
10 Pages
 User Manual HD-A01
8 Pages
 User Manual HD-C02
9 Pages
 User Manual HD-A05
8 Pages
 User Manual HD-C03
10 Pages
 User Manual HD-A02
8 Pages
 User Manual FT-A01
8 Pages
 User Manual AR-E01
8 Pages
 User Manual ER-A01
8 Pages
 User Manual BT-A01
8 Pages
 User Manual BT-A02
8 Pages
 User Manual BN-A02
9 Pages
 User Manual BN-A01
9 Pages
 User Manual BN-A03
7 Pages
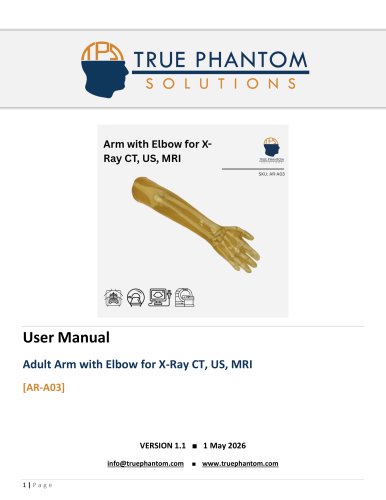 User Manual AR-A03
8 Pages
 User Manual AR-A01
8 Pages
 User Manual AR-A02
8 Pages
 User Manual RT-C03
7 Pages
 User Manual RT-A02
7 Pages
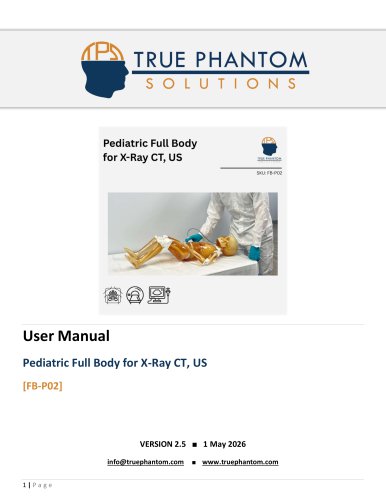 User Manual FB-P02
11 Pages
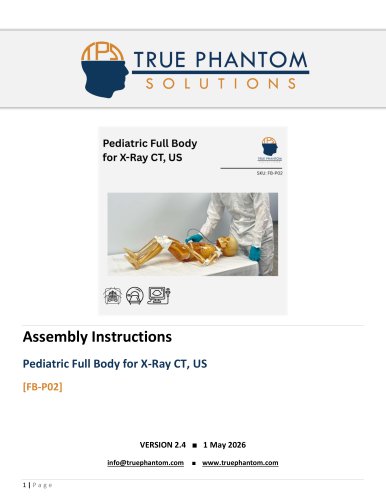 Assembly Instructions FB-P02
8 Pages
 User Manual US-A02
8 Pages
 User Manual US-N02
8 Pages
 User Manual AN-N01
8 Pages
 User Manual US-A02
10 Pages
 User Manual US-S01
10 Pages
 User Manual TO-A04
17 Pages
 User Manual TO-A02
16 Pages
 User Manual US-A03
9 Pages
 User Manual PE-A03
8 Pages
 User Manual KE-A02
8 Pages
 User Manual FB-A03
11 Pages
 Assembly Instructions FB-A03
9 Pages
 User Manual FB-A04
11 Pages
 Assembly Instructions FB-A04
9 Pages
 User Manual US-A05
12 Pages
 User Manual RT-C01
7 Pages
 User Manual RT-A01
7 Pages
 User Manual FB-P01
11 Pages
 User Manual AN-N02
8 Pages
 User Manual TO-A03
23 Pages
 User Manual TO-A05
18 Pages
 User Manual FB-S01
12 Pages
 Assembly Instructions FB-A01
9 Pages
 User Manual FB-A02
11 Pages
 Assembly Instructions FB-A02
9 Pages
 User Manual CT-A02
12 Pages
 User Manual PE-A02
8 Pages
 User Manual RT-C02
7 Pages
 User Manual SE-A03
8 Pages
 User Manual FB-A05
11 Pages
 User Manual HD-D01
7 Pages
 User Manual CN-A02
11 Pages
 User Manual FB-A01
10 Pages
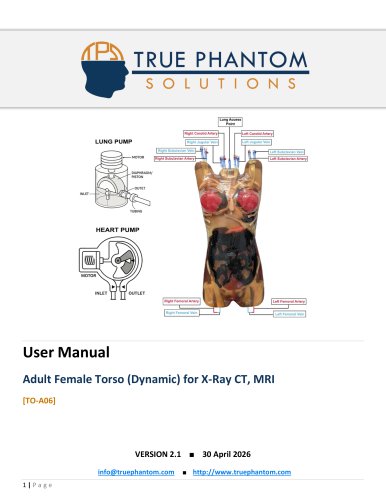 User Manual TO-A06
17 Pages
 User Manual CN-A01
8 Pages
 All Product Catalog
105 Pages
 User Manual LP-A01
6 Pages
 User Manual HP-A05
11 Pages
 Full Body Flyer
1 Page
- Test phantom
- Tomography test phantom
- Liquid pump
- Radiography test phantom
- CT scan test phantom
- General purpose test phantom
- Ultrasound imaging test phantom
- Torso test phantom
- MRI test phantom
- Head test phantom
- Radiation therapy test phantom
- Breast test phantom
- Adjustable-flow pump
- Medical simulation pump
- Pediatric test phantom
- Abdomen test phantom
- Pelvis test phantom
- Piston pump
- Whole body test phantom
- Skull test phantom