Excertos do catálogo
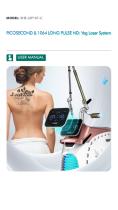
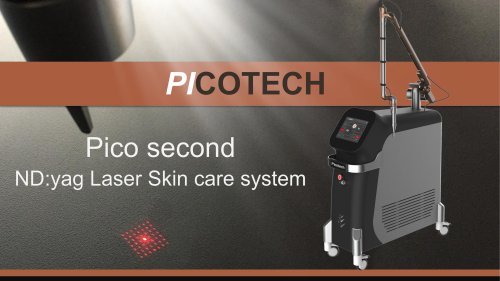
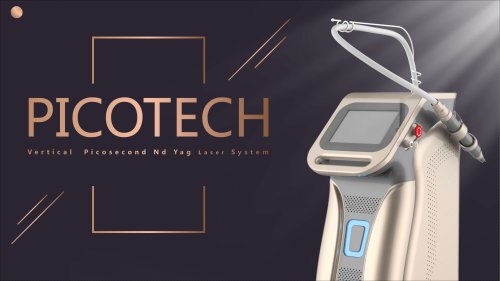
PICOSECOND & 1064 LONG PULSE ND: Yag Laser System USER MANUAL
Abrir o catálogo na página 1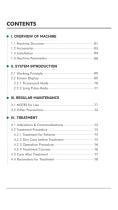
CONTENTS Ⅰ. OVERVIEW OF MACHINE 1.1 1.2 1.3 1.4 Machine Structure Accessories Installation Machine Parameters Ⅱ. SYSTEM INTRODUCTION 2.1 Working Principle 2.2 Screen Display 2.2.1 Picosecond Mode 2.2.2 Long Pulse Mode Ⅲ. REGULAR MAINTENANCE 3.1 NOTES for Use 3.2 Other Precautions Ⅳ. TREATMENT 4.1 Indications & Contraindications 4.2 Treatment Procedure 4.2.1 Treatment for Patients 4.2.2 Skin Care before Treatment 4.2.3 Operation Procedure 4.2.4 Treatment Courses 4.3 Care After Treatment 4.4 Parameters for Treatment
Abrir o catálogo na página 2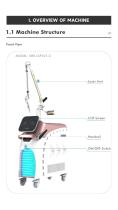
Front View MODEL: SHE-LSP107-C Handrail ON/OFF Switch
Abrir o catálogo na página 3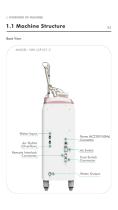
Back View MODEL: SHE-LSP107-C Water Input Air Outlet (Overflow) Remote Interlock Connector Power (AC220V/50Hz) Connector Air Switch Foot Switch Connector Water Output
Abrir o catálogo na página 4
1.2 Accessories Product Name Product Name Laser Arm and Its Related Parts Laser Protective Glasses Funnel (for Water Input) Interlock Connector Foot Switch Power Line Test Photographic Paper Laser Arm and Its Related Parts Laser Protective Glasses & Eyeshade Foot Switch CPC Parts & Funnel (for Water Input) Power Line Test Photographic Paper Remote Interlock
Abrir o catálogo na página 5
Take out the accessories and place them indoors for 30 minutes before installation. Step ①: Install laser arm. Install the anti-shock pad of laser arm. Turn the laser outlet connector part to the position of anti-shock pad Install and fix the treatment head holder. Align holder with the holes and apply the screws. Install the hammer. Align the part with holes and apply the screws as shown in the picture. Then install the metal shell. Align the Pedestal with holes and install it
Abrir o catálogo na página 6
Step ①: Install laser arm. Install treatment head. Install data cable of treatment head. Install treatment head as shown in the picture. Insert the data cable well as shown in the picture directed by red arrow. Install data cable of laser arm. Insert the data cable well and twist to tighten it. Step ②: Install laser arm on the main body of machine. Twist to remove the dust-proof cover. Twist to fix the pedestal on the machine. Remove the dust-proof cover as shown in the picture. Install the laser arm. Install the laser arm on pedestal as shown in the picture. Please do not grasp the laser...
Abrir o catálogo na página 7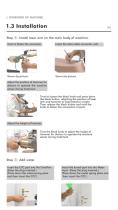
Step ②: Install laser arm on the main body of machine. Twist to fasten the connector. Insert the data cable connector well. Adjust the position of hammer for doctors to operate the machine easier during treatment. Twist to loosen the black knob and press down the black button, adjusting the position of laser arm and hammer to keep balance weight. Then release the black button and twist the knob to fasten the connection of parts. Adjust the height of hammer. Twist the black knob to adjust the height of hammer for doctors to operate the machine easier during treatment. Step ③: Add water....
Abrir o catálogo na página 8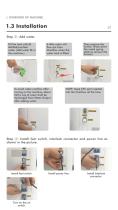
Step ③: Add water. Fill the tank with 8L distilled/purified water. (Add water 8L in the machine.) A little water will flow out from Overflow when the water tank is filled. To avoid water overflow after turning on the machine, about half a cup of water shall be discharged from Water Output after adding water. Then remove the funnel. (Press down the metal spring plate to remove the funnel.) NOTE: Keep CPC part inserted into the Overflow all the time. Step ④: Install foot switch, interlock connector and power line as shown in the picture. Install foot switch. Install power line. Install...
Abrir o catálogo na página 9
1.4 Machine Parameters Laser Type Machine Power Laser Output System Laser Wave Length Treatment Head Pulse Duration (Pulse Width) Spot Size FREQUENCY (Hz) Coolant Screen Cooling System Power Supply Picosecond Technology; ND:Yag 1300W Korea-Imported Hammer Type 7-Joint Picosecond Laser Arm 1064nm&532nm Standard Focused Laser Treatment Head PICOSECOND: 2000P LONG PULSE: SLP: 300ms MLP: 1-50000us PICOSECOND: Q1064nm:80-800mj Q532nm:40-400mj PTP1064nm:80-1600mj PTP532nm:40-800mj Genesis mode:80-2400 LONG PULSE: SLP:1-30j MLP:200-3000mj 2-10mm PICOSECOND: 1-10Hz LONG PULSE: SLP: 1Hz MLP:1-10Hz...
Abrir o catálogo na página 10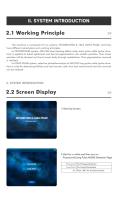
The machine is composed of two systems: PICOSECOND & 1064 LONG PULSE. And they have different parameters and working principles. In PICOSECOND system, ND:YAG laser blasting effect under short pulse width (pulse duration) is applied to break epidermal and dermal pigmentation into smaller particles. Then these particles will be drained out from human body through metabolism. Thus pigmentation removal is realized. In LONG PULSE system, selective photothermolysis of ND:YAG long pulse width (pulse duration) is used for destroying follicles and red vascular cells, thus hair removal and red vein...
Abrir o catálogo na página 11
Functions Screen Red pigment For Red Pigment Removal Birthmark For Birthmark Removal Body tattoo For Body Tattoo Removal Eyebrow tattoo For Eyebrow Tattoo Removal Laser Toning For Skin Rejuvenation Double Click to Choose the Function for Treatment. Details of Parameter Screen (Parameter Screens are all the same for the Five Functions). Q1064 Single Pulse 1064nm; ENERGY: 80-800mj Q532 Single Pulse 532nm; ENERGY: 40-400mj PTP1064 Double Pulse 1064nm; ENERGY: 80-1600mj PTP532 Double Pulse 532nm; ENERGY: 40-800mj Genesis mode Multi-Pulse Mode; ENERGY: 80-2400mj (Wave Length: (Skin Rejuvenation...
Abrir o catálogo na página 12
2.2.2 Long Pulse Mode SLP Single Long Pulse; ENERGY: 1-30j MLP Multi Long Pulse; ENERGY: 200-3000mj ENERGY Level of Energy (j/mj) FLUENCE Energy Density, J/cm²(Cannot be adjusted on screen.) R-LIGHT R-LIGHT is for adjusting brightness of red indicator light. mm Spot Size (Cannot be adjusted on screen.) Under SLP mode, FREQUENCY(Hz) FREQUENCY (Hz) is 1. (Unadjustable) Under MLP mode, FREQUENCY (Hz) ranges from 1-10. (Adjustable) simmer Ready working Start Working (Step on foot switch for laser output.) “COUNT“ is for Quantity of Laser Shots COUNT /Laser Emission Times), Click “COUNT” to...
Abrir o catálogo na página 13
(1) Laser arm shall be fixed firmly and it shall be installed according to steps shown in user manual pictures. (2) Avoid dust when installing laser arm. (3) Fix the Remote Interlock firmly before turning on machine. (4) Fill the tank with purified water/distilled water before turning on the machine. (5) Renew water once a month, only purified water/distilled water water is allowed. (6) Insert the CPC part into the Overflow (Keep the plug inserted). (7) Avoid eyes and skin (except for treatment area) exposure to direct or scattered laser beam. (8) Avoid eyes or skin hurt by laser beam...
Abrir o catálogo na página 14Todos os catálogos e folhetos técnicos Beijing Sanhe Beauty
-
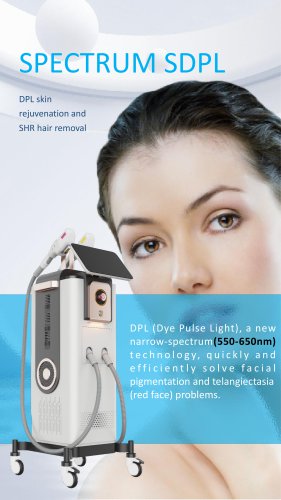
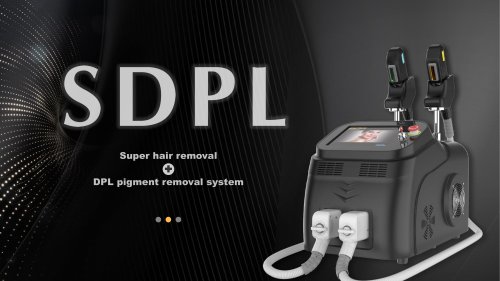
 DPL Hair Removal + Filter DPL Skin Care
21 Páginas
-
 Portable DPL pigment removal system
13 Páginas
-
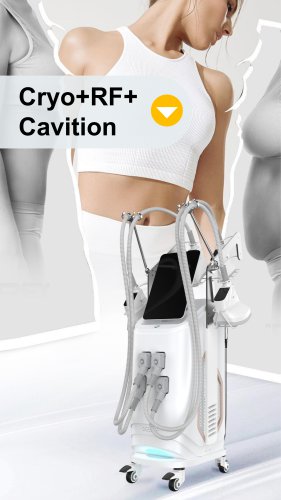
 CPP007 4 handle MULTI 360 CRYO German
14 Páginas
-
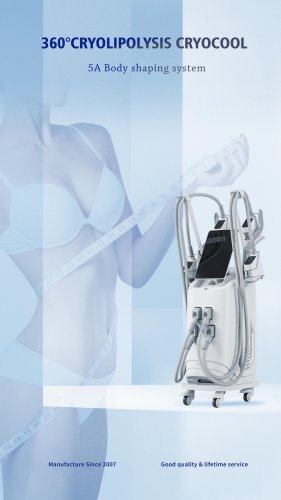
 360 cryolipolysis slimming machine
14 Páginas
-
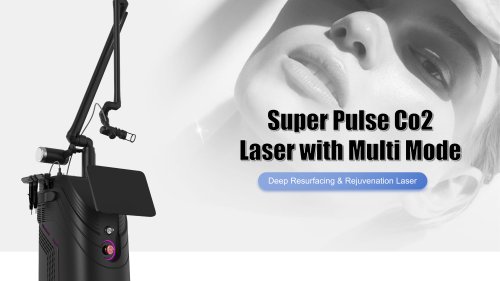 CO2 catalog Fractional co2 Laser SC-6
21 Páginas
-
 3000W Laser Hair Removal Machine
13 Páginas
-
 DPL-P
DPL-P13 Páginas
-
 DPL
DPL6 Páginas
-
 360 cryolipolysis
11 Páginas
-
 360 cryolipolysis
11 Páginas
-
 SC-2
SC-215 Páginas
-
 SC-4
SC-413 Páginas
-
 SHR950S-2
13 Páginas
-
 SHR950B
12 Páginas
-
 ICOOL-2
17 Páginas
-
 SH650-2
15 Páginas
-
 Magshape
15 Páginas
-
 PINXEL-V
14 Páginas
-
 SP-5
SP-516 Páginas
-
 SP-4
SP-418 Páginas
-
 P808S
P808S16 Páginas
-
 2 handles laser hair removal
17 Páginas
-
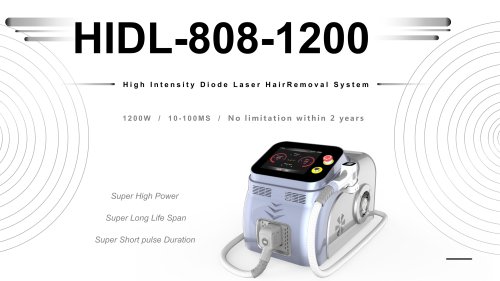
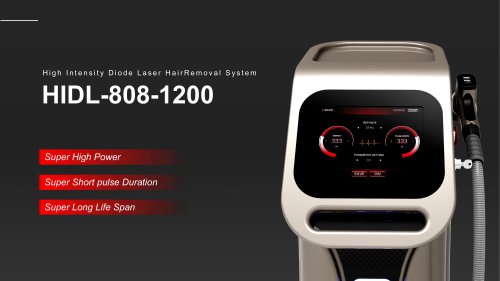 HIDL-808
16 Páginas
-
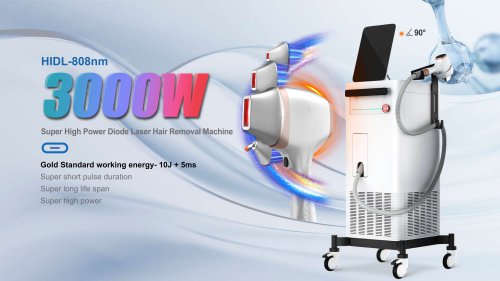 3000W
3000W17 Páginas
-
 Vacuum microneedle RF machine
13 Páginas
-
 Portable PICOTECH ND Yag Laser machine
15 Páginas
-
 Laser hair growth machine
18 Páginas
-
 Micro needle RF face lifting machine
15 Páginas
-
 Skin Air Cooling machine
9 Páginas